How I made “perch trees” for our aviaries
Wherever possible, I like to take cues from how parrots live in the wild. In our aviaries, I wanted to provide something that would be similar to trees birds might roost on in the wild. Ideally, I wanted something that could be placed anywhere and potentially be moved.
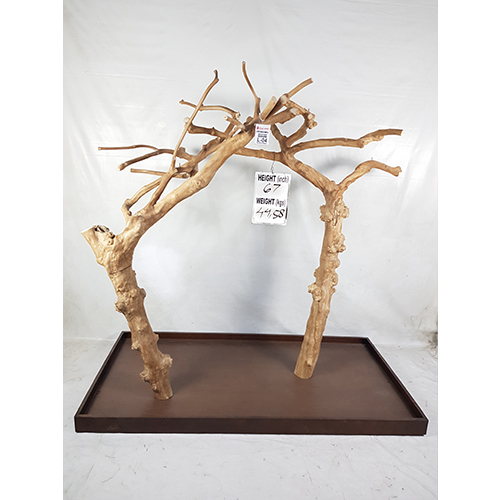
The only option I could find for sale were these “java wood” trees, but even a 5’ high tree is over $1,000 from some sources. These “trees” are stripped of any bark, lichen, or moss. That takes all the fun out of it! And there are not a lot of spots to attach toys. And would it survive outside in a wet or cold climate?
I started by keeping an eye on my neighbourhood to see whether any trees were getting pruned or removed, but it was hard finding something that worked. It turns out that most trees don’t develop branches of sufficient thickness until they are too tall to fit in a house or an aviary. I needed a large tree, only a small version of that. 😃 I needed to take a different approach. I decided to find branches and then build a tree out of them.
Perch trees 1.0
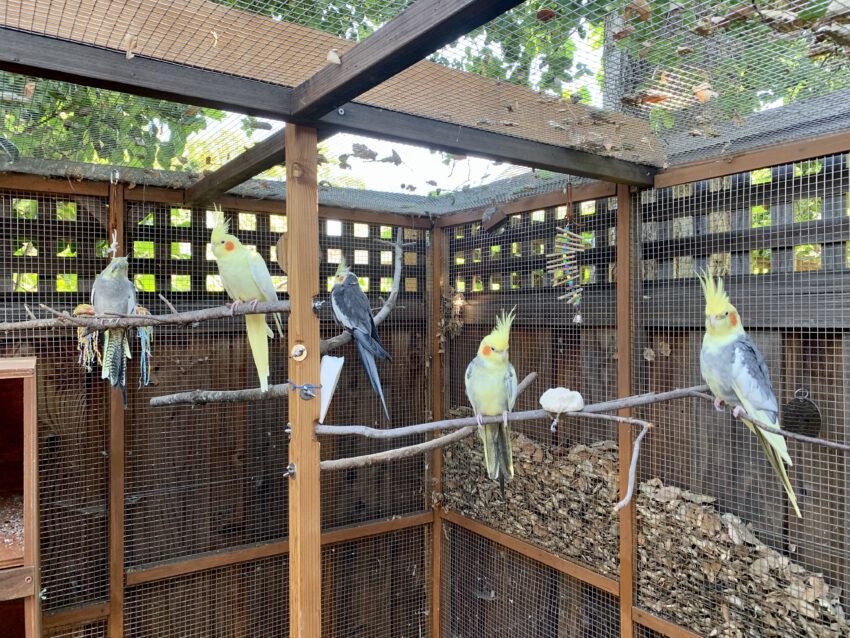
I described my original “perch tree” design and construction in detail in my Aviary 2.0 article. The main idea was to create something that was tree-like, but with perches that could be replaced as they finished removing the bark or destroying them entirely. I also wanted to have stable attachment points for perches so they didn’t have to be attached to the wire or the outside frame of the aviary. This way I could place perches anywhere.
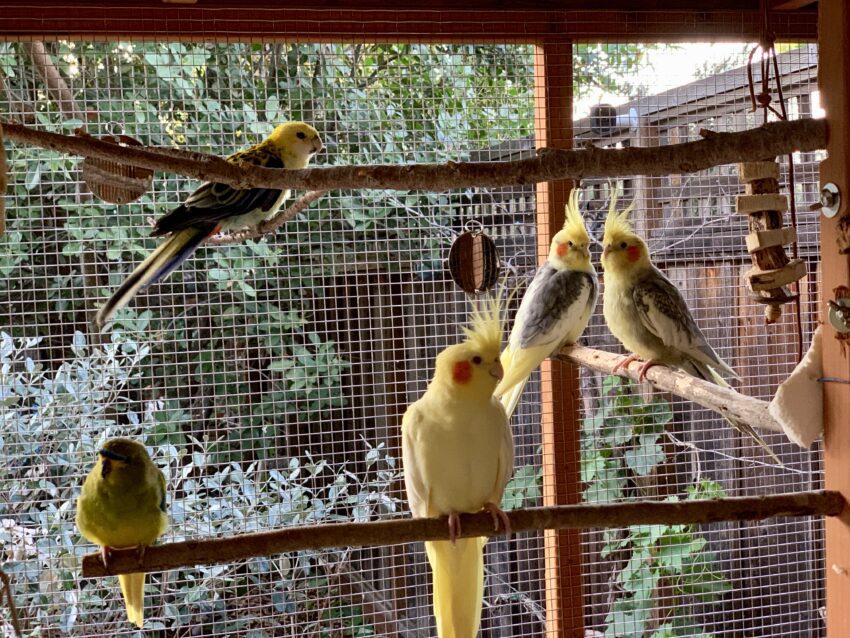
It’s not the most attractive solution, but it worked well supporting the aviary with 23 birds at one point using three perch trees.
Perch trees 2.0
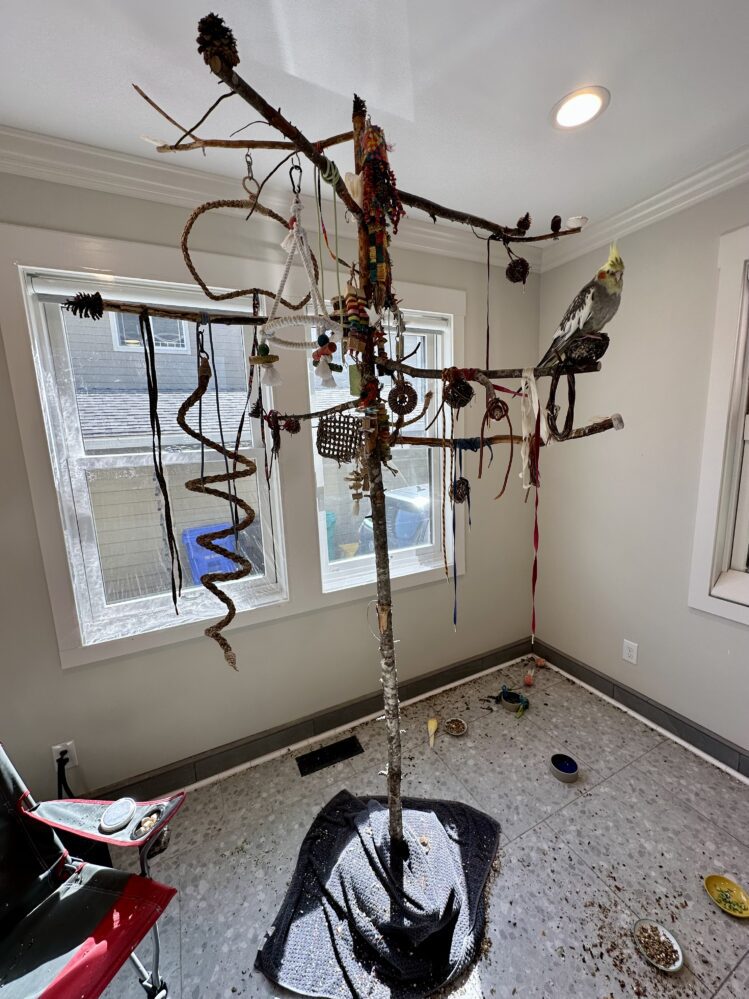
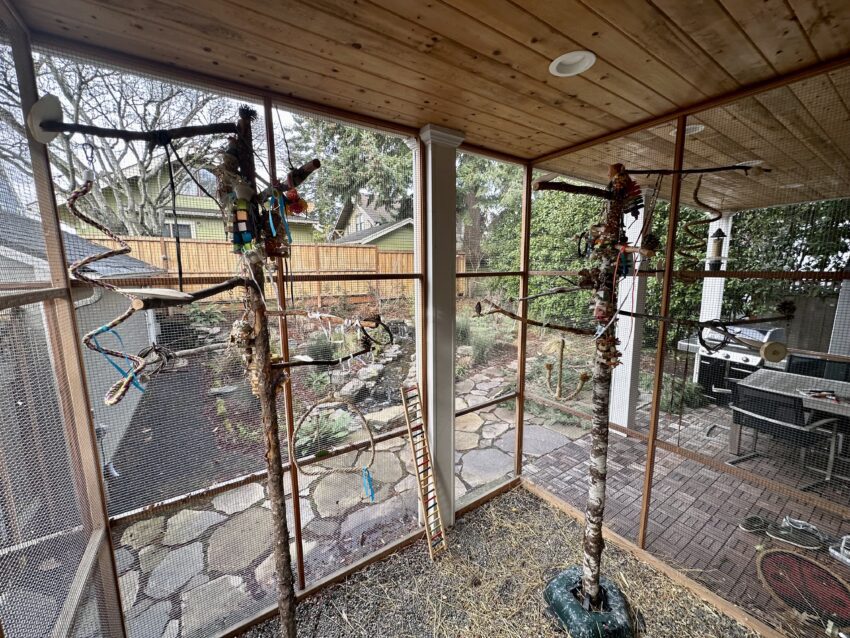
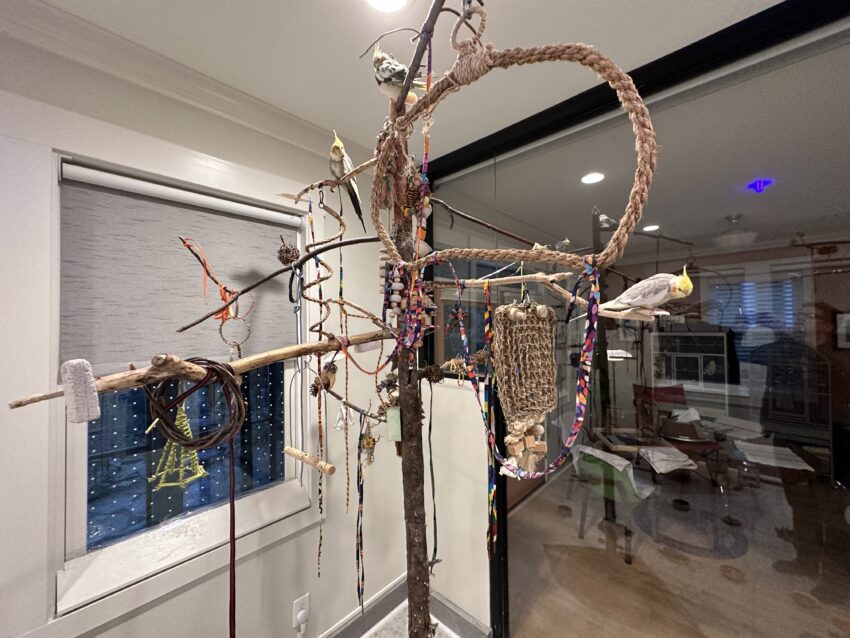
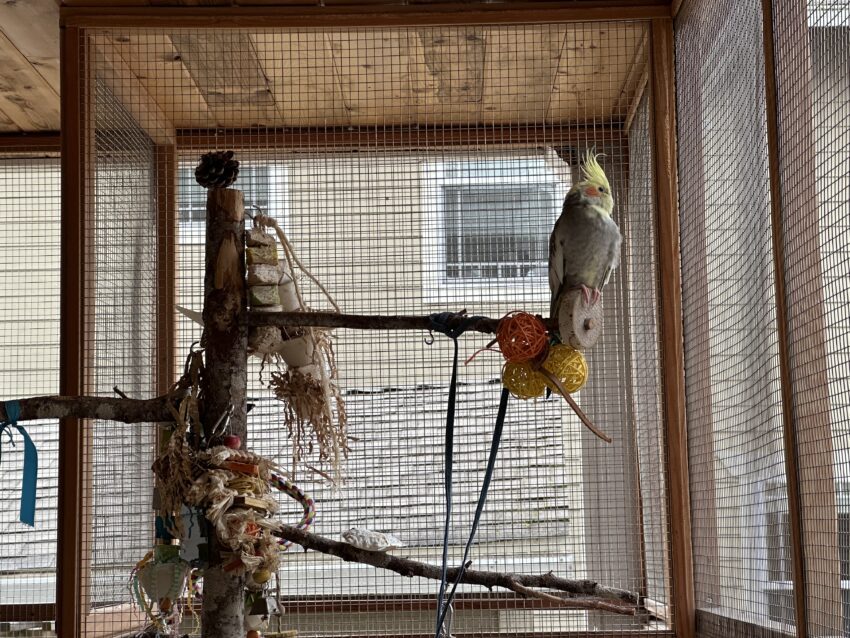
Our new aviary is both indoor and outdoor, so I needed something that would work well in both locations. In the 1.0 version, the “trunks” were dug into the ground and I wanted to be able to re-position them. I wanted natural wood trunks and I needed a way to keep them upright. There were definitely more challenges with this design, but here’s one of the six trees that I built. In the rest of the article, I’ll talk about how they were made.
Sourcing the wood
Several of the national forests issue permits to collect dead wood from the ground, sometimes called a firewood permit. They are generally either free or very affordable. In Mt Hood National Forest, the permits are $10 a year but are also sometimes offered for free. The limit to the wood you can collect is far more than I’d need to build perch trees for everyone in the neighbourhood.
Wood safety
My biggest concern was finding wood that was safe for birds to eat. Luckily, my partner is good at identifying trees! If you’re not so lucky, there are apps like Picture This that claim to accurately identify trees by taking a photo of different parts of the tree or even the wood grain from a specimen that’s been cut.
Luckily I have my list of bird-safe and toxic plants to use as a reference. Searching for “perch” finds woods suitable for perching.
Shopping list
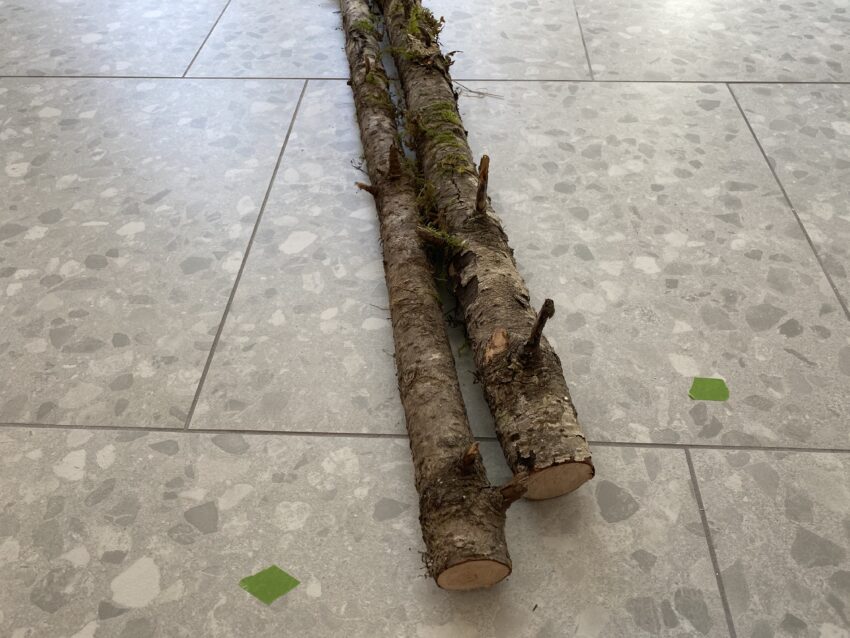
For trunks, I wanted specimens at least a 2″ diameter. A larger diameter would make for a more stable tree and be able to accommodate larger perches. But I had to consider what my tree stand could handle. I wanted trunks to be as straight as possible so the trees would be balanced. A tree stand is not as strong as a root system!
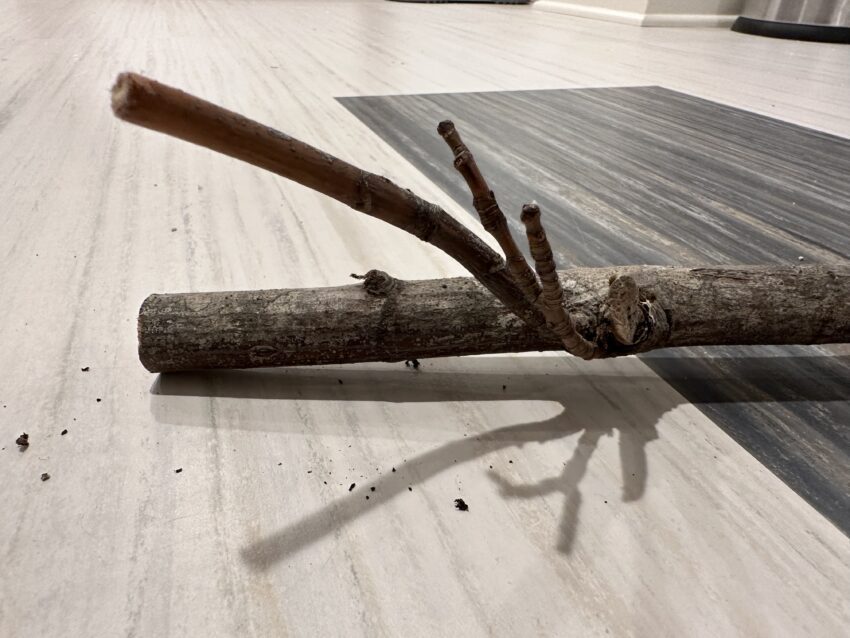
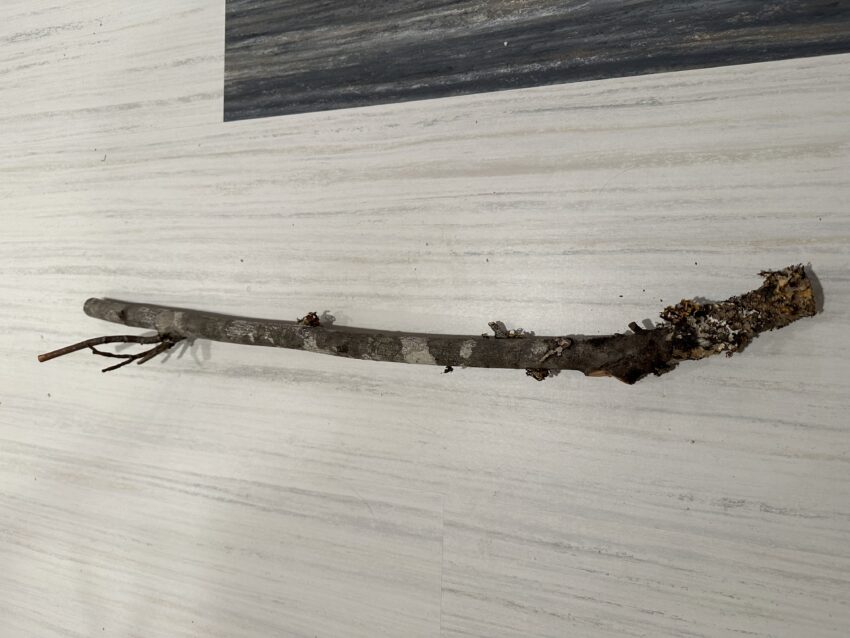
For branches, I wanted a wide variety of diameters to give my birds a foot workout. Although the narrow end of the branch could be any size, I wanted the wide end where it would attach to the trunk to be at least 1/2 inch in diameter.
Collecting wood
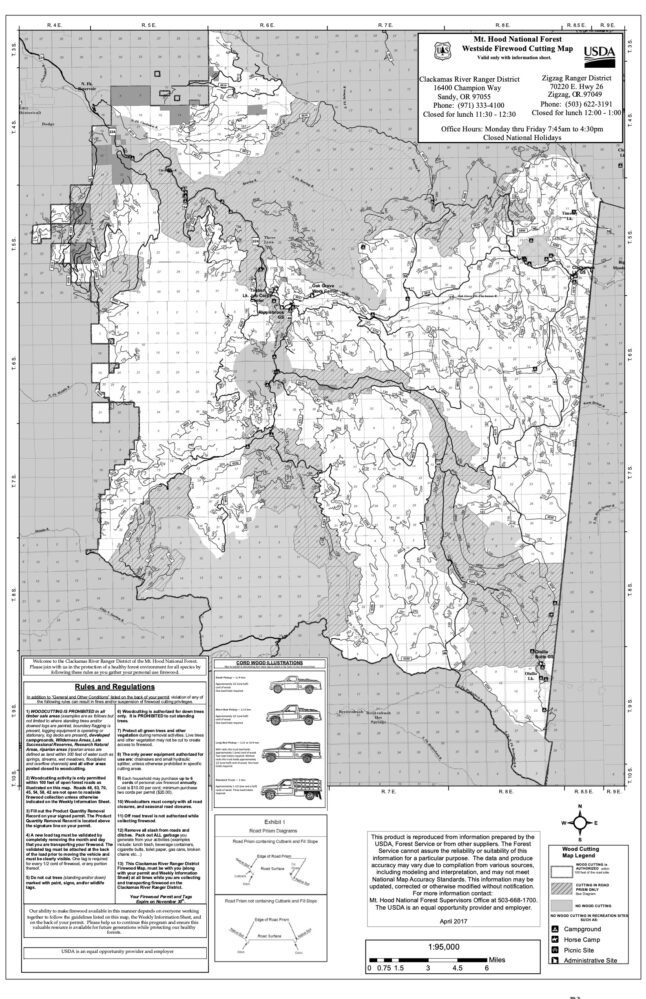
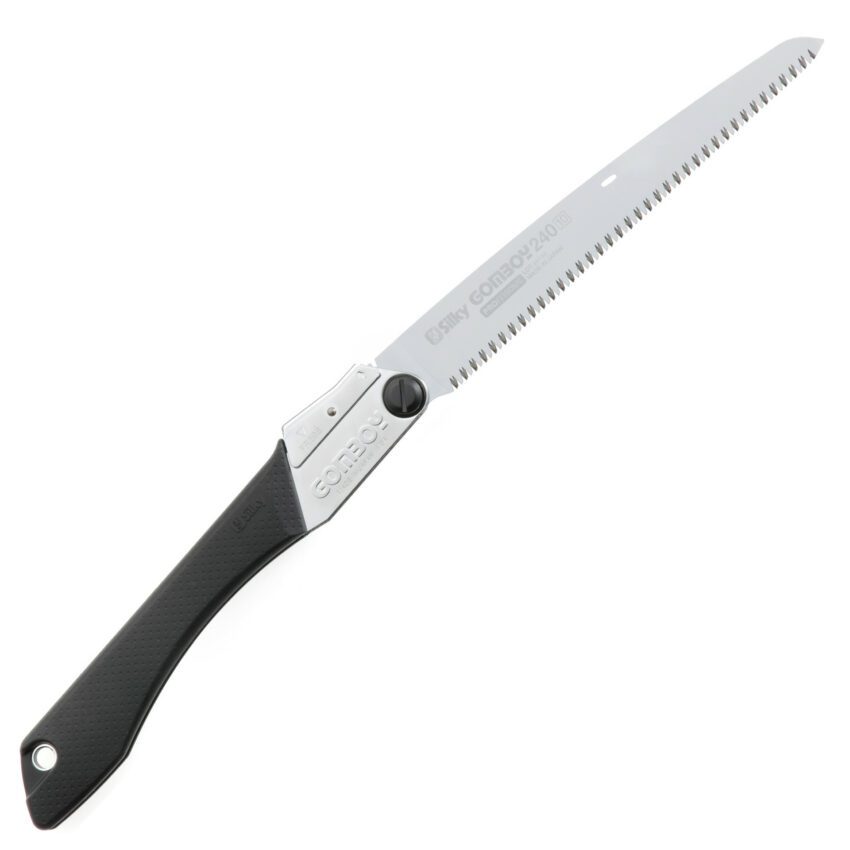
The rules in Mount Hood National Forest, where we went, specified only certain areas you could gather wood. Within those areas, you could only gather fallen wood. The map was rather inscrutable. Can you figure out where it’s OK to harvest firewood? We also brought with us a trusty tree saw and thick leather gloves.
We tried to bring back more than we needed, both in quantity in length. You never know what surprises might be in store once you get back home and start assembly.
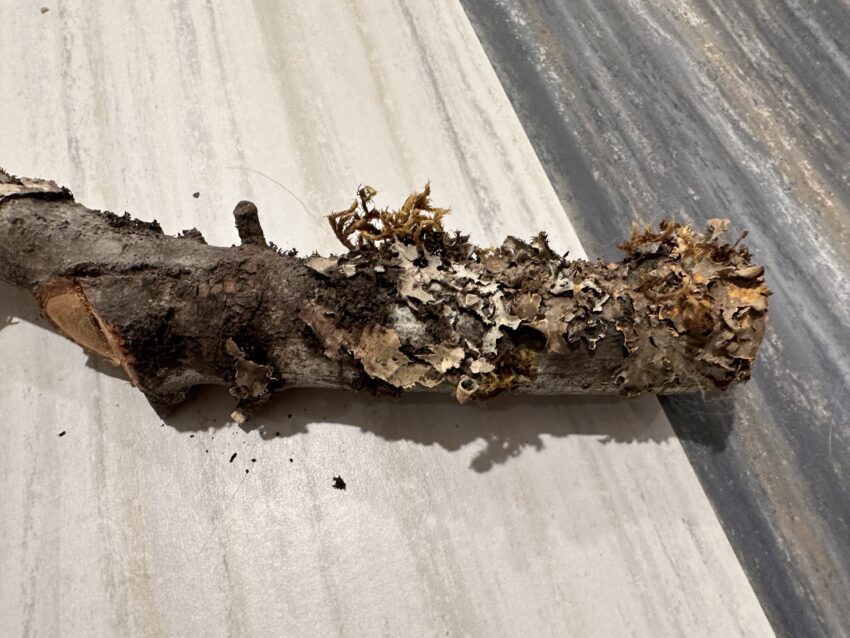
We tried to find specimens with a good amount of bark as well as mosses and lichens. Unlike cage perches you buy in stores that strip off any shoots, we tried to leave a few inches of them in place. Every branch is a toy! You’d be surprised that even cockatiels will perch on these tiny shoots.
Preparing the wood
Even though these branches were unlikely to be contaminated with pesticides, I did a thorough rinsing of them in water and sprayed them with a thyme-based disinfectant. Otherwise, they were left as-is.
Cutting
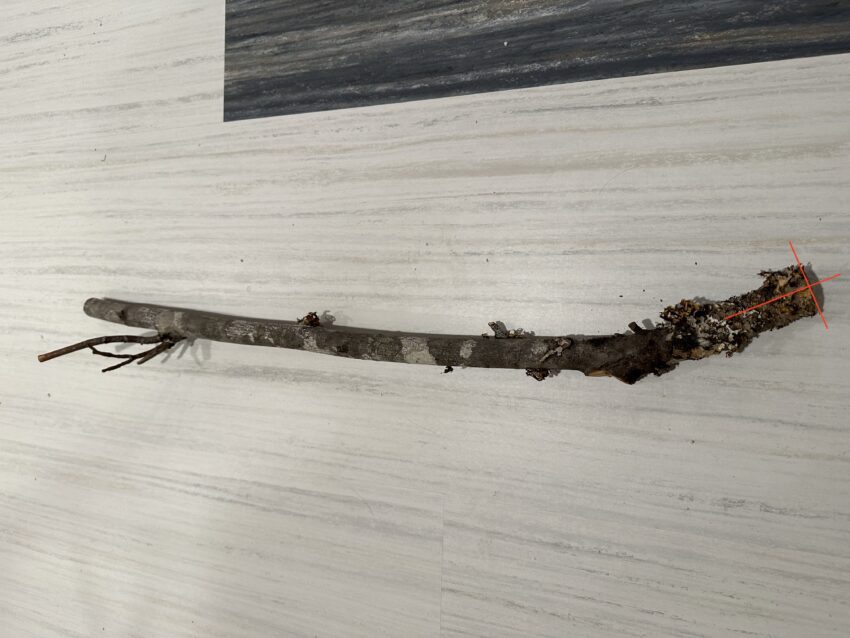
Where the trunk was going to sit in the tree stand, I cut it off at a clean right angle.
For the branches, I also cut a clean right angle on the fat end where it would be attached to the tree. I also made sure that the fat end had at least a few inches that were straight for the purpose of inserting screws later.
Installing the screws
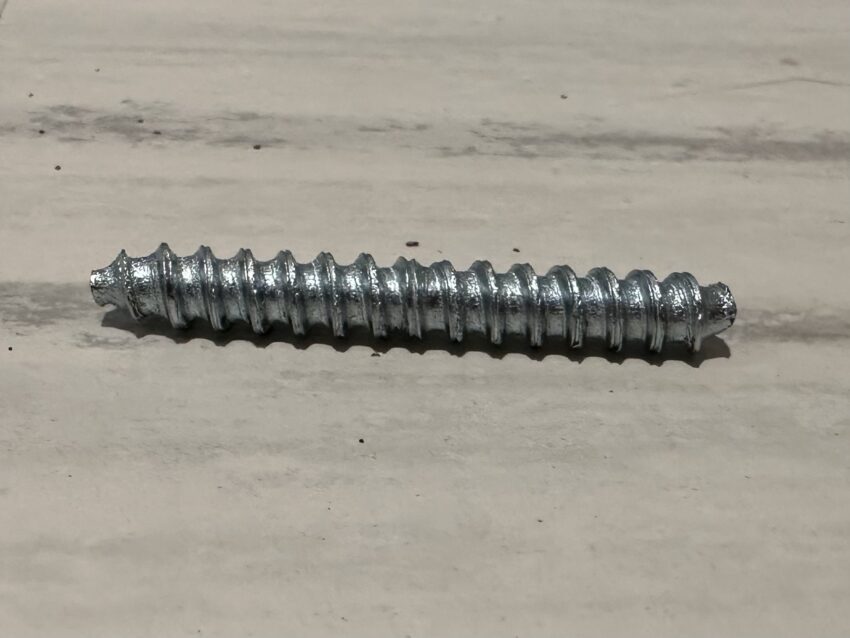
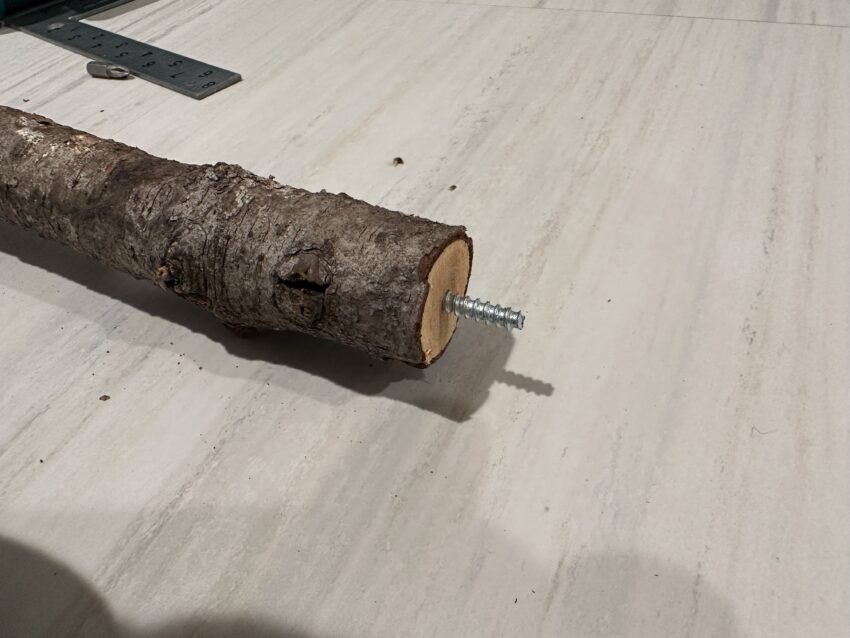
These funny-looking dowel screws come in various lengths, so I found a size that was compatible with the diameter of the trunks. Half the screw will go into the branch and the other half into the tree.
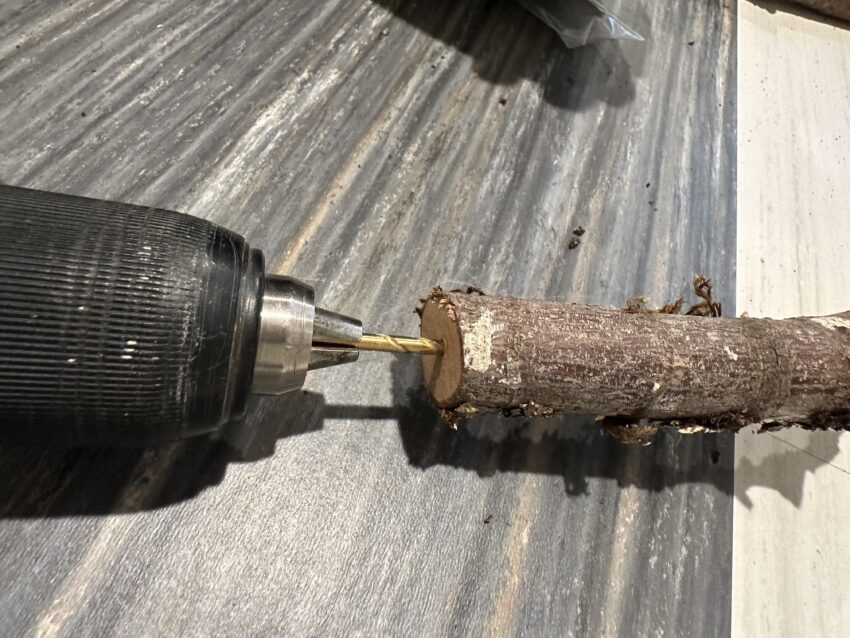
I drilled a pilot hole into the end of each branch where I made the cut. In my case, with a 3/16″ dowel screw, I used slightly smaller drill bits for the pilot holes, ranging from 9/64″ to 5/32″, depending on the hardness of the wood.
I wanted the screw to go in at a right angle to the cut portion of the branch. I used leather gloves and was very careful since I didn’t have a vice to hold the branches for me.
When I built these trees, I didn’t realise something called a Dowel Screw Driver Bit existed. What I ended up doing was using pliers and manually screwing them into the branches. I had to make my pilot holes bigger as a result, which made the connection weaker.
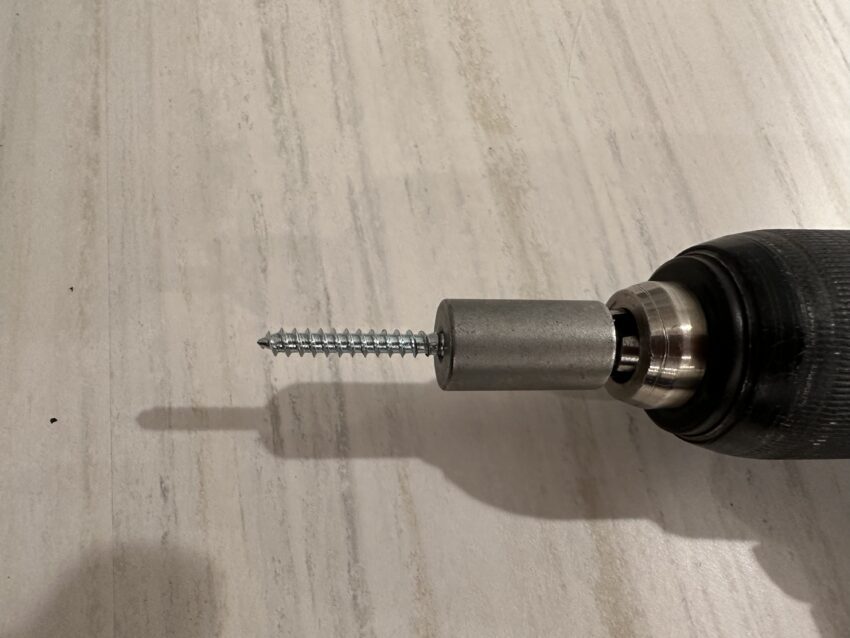
Before writing this article, I bought one of these driver bits and it was amazingly easy. I would have saved many hours and sore palms as a result. I put the screw into the driver bit, making sure to note where the halfway point in the screw was. Some dowel screws have a more visible mid-point than others.
Then it was just a matter of driving the screw in, and then reversing the drill to remove the bit from the screw. Easy as pie.
Building the tree
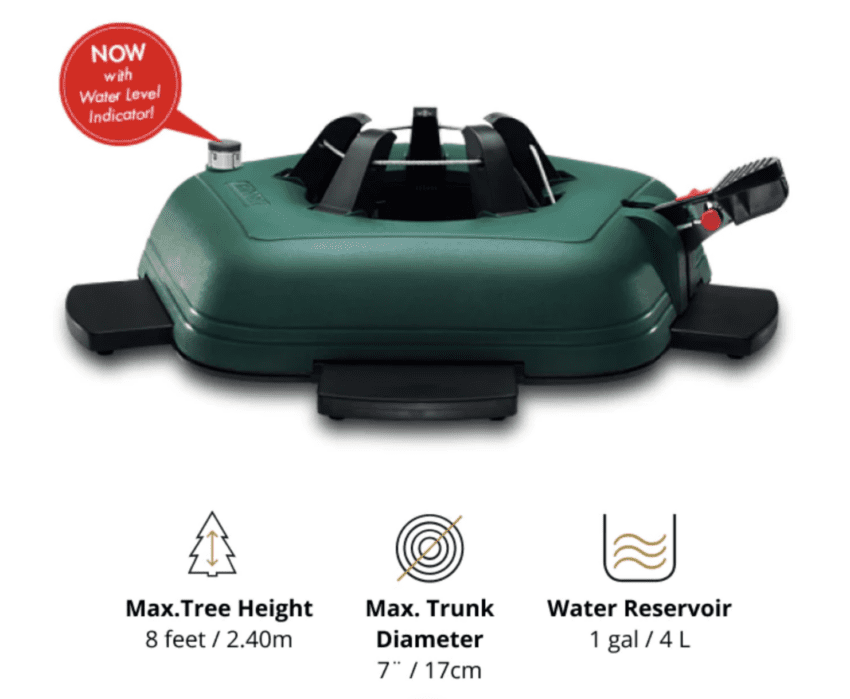
The next step was to set up the trunk into the tree stand. Just like with a Christmas tree, I needed help for sure! Although there are many options for tree stands in the $50-$100 range, I found that this stand I bought was very easy to use and handled the weight of my trees very well.
Once the trunk was upright, it was time to figure out where the branches would be installed.
Branch height
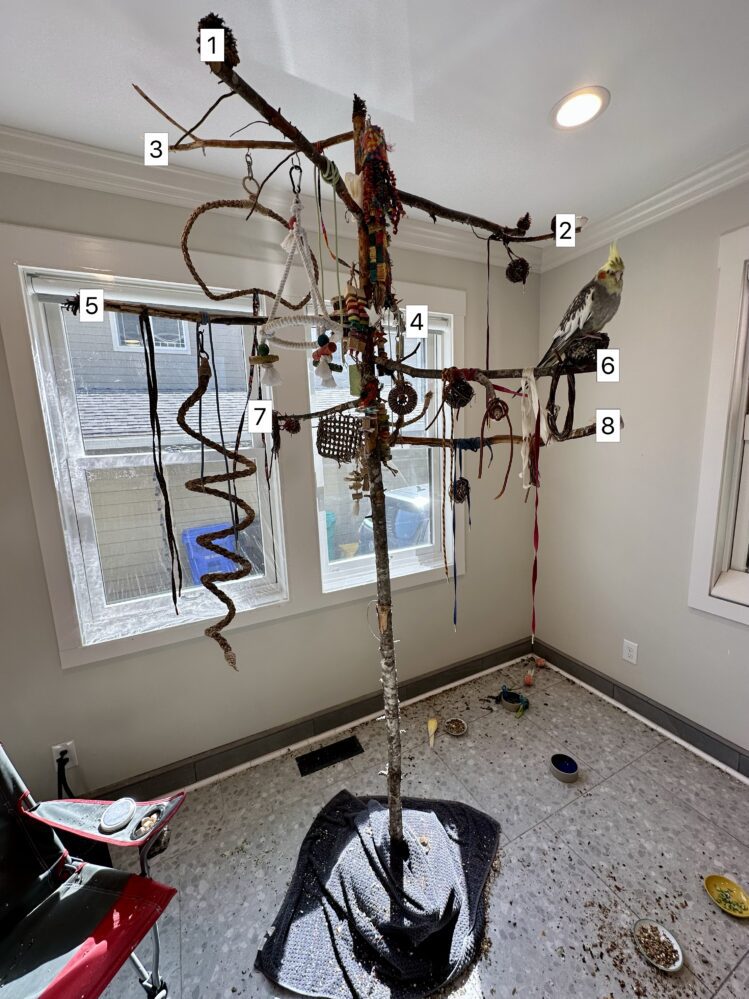
I wanted to provide a variety of branch heights to make the tree more interesting, attractive, and tree-like. The tallest branch I put at the very top, unless it was too close to the ceiling. For the lowest branch, I decided to leave enough space so I could crouch under the trees. When I’m cleaning under it, I didn’t want to get a sharp stick in the head. Then I distributed the branches within that range.
Here’s an example of a finished tree, showing the branches numbered from the highest to the lowest position on the trunk.
Branch angle
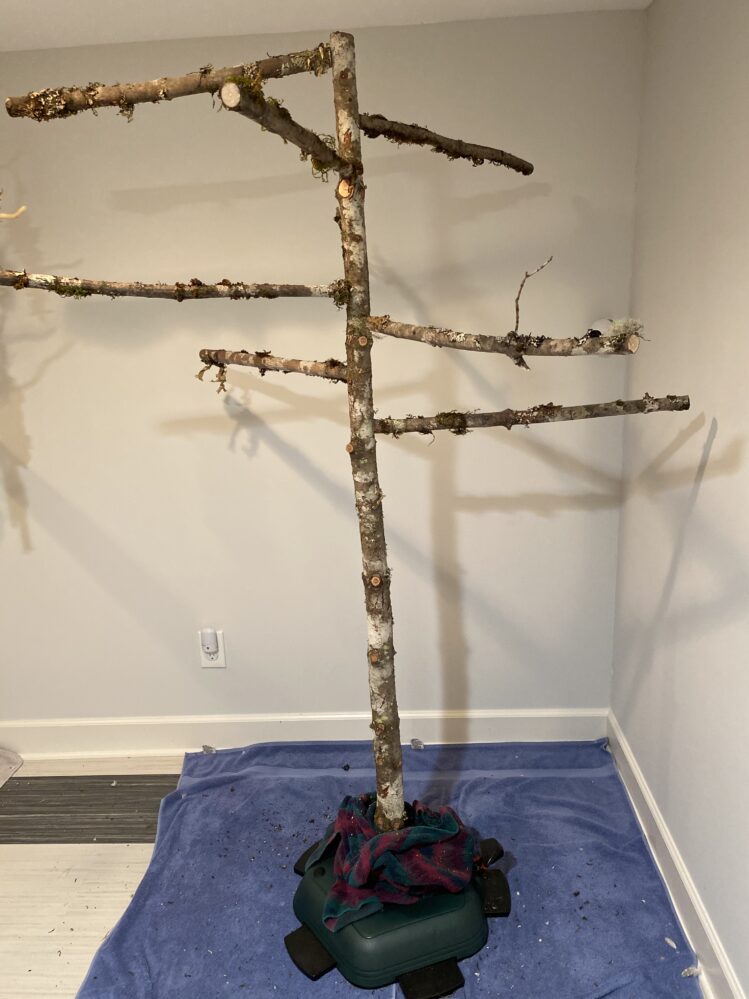
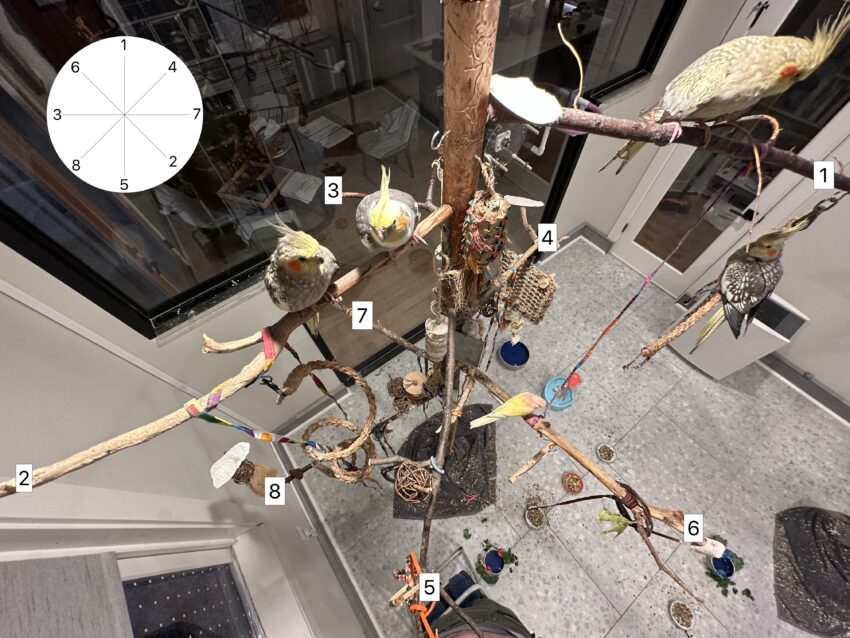
I wanted to create a balanced tree as well as try to minimise poop falling down from one branch to the one below. Essentially, I wanted it to look like spokes in a wheel. But instead of just having each branch offset from the one above it, I decided to try to mix it up to get a more tree-like appearance.
Here’s another example of a finished tree, where I’ve numbered them again based on height. You can see the branches angling off from the trunk more easily from this angle. Since it’s hard to photograph from above, I drew a circle in the upper left to show the branch distribution.
Installing the branches
I skipped ahead a bit. Once I decided on attachment points, it was a matter of using the same drill bit I used to drill pilot holes into the branches. I basically just drilled directly towards the centre of the tree, then hand-twisted the branches into the tree trunk until they were snug.
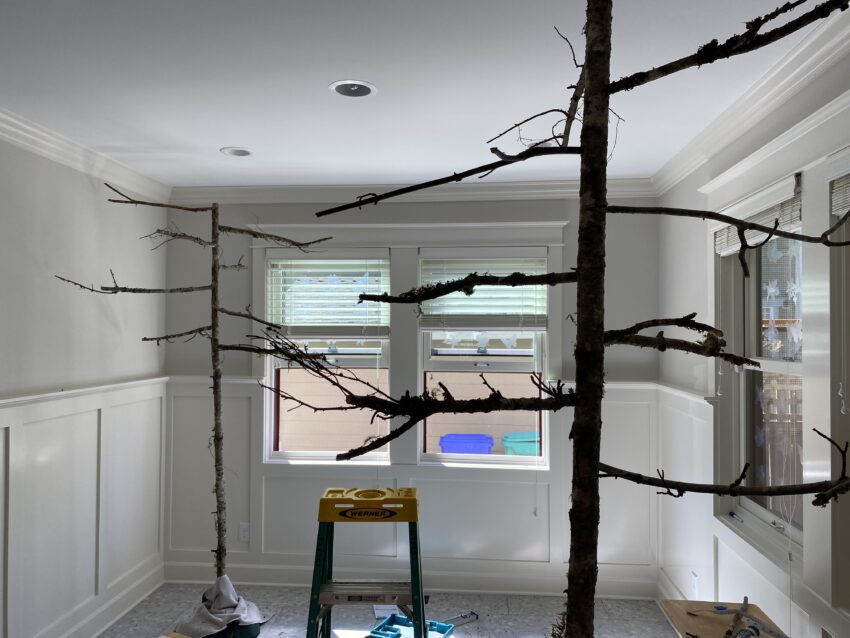
I started this whole project by building two trees and installing them in a temporary aviary for the birds to try out. After I built them, I realised they could have been far more “wild” looking. I could improve on them by picking more interesting, twisty branches. Not only would they look more tree-like, but they would also be far more interesting to the birds.
In the pictures below, you’ll see the first two I built and then the last two. What a difference!
Decorating the tree
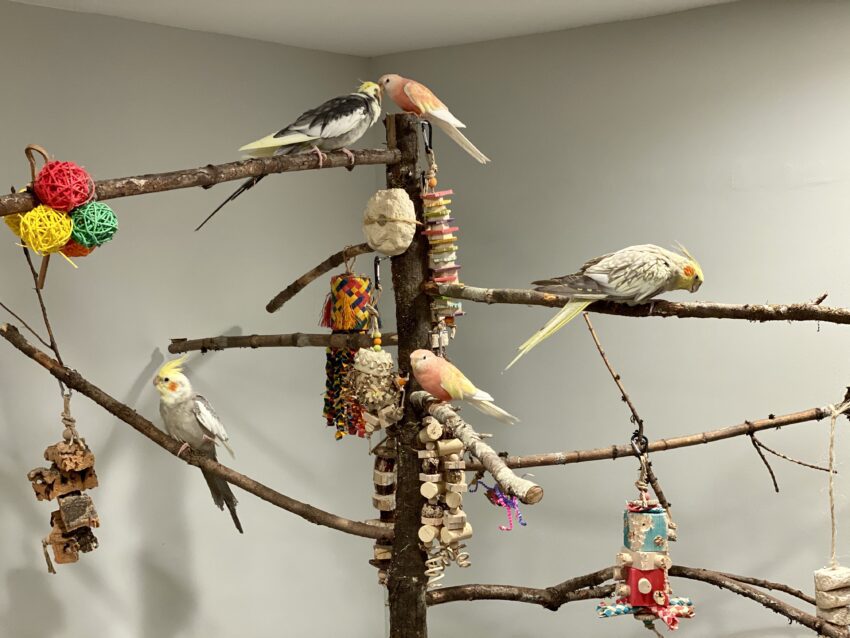
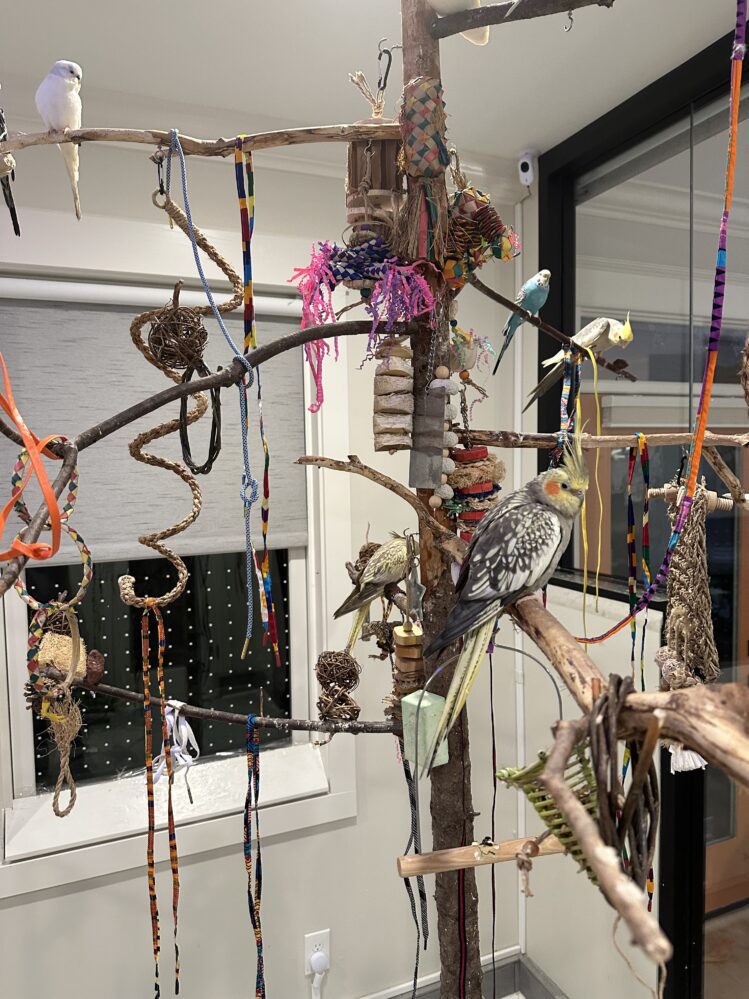
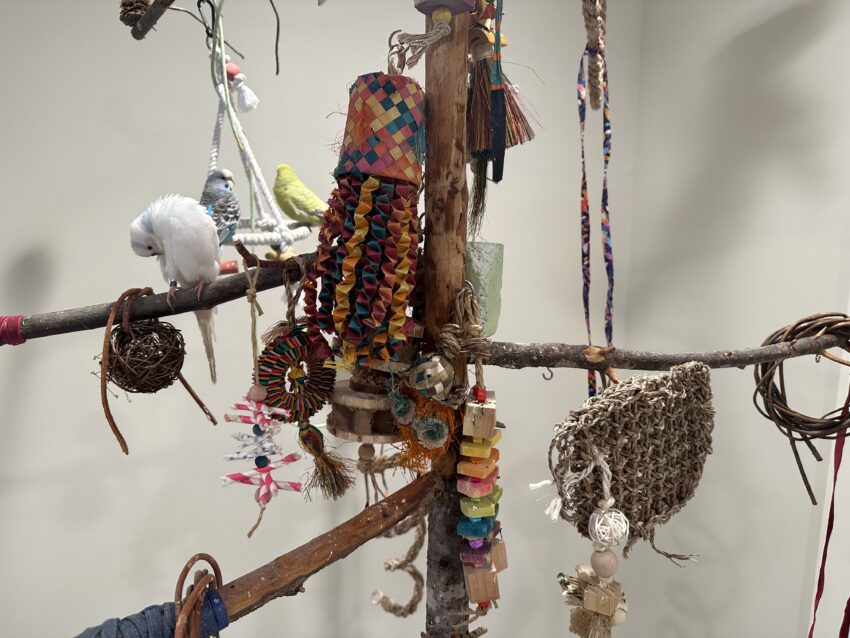
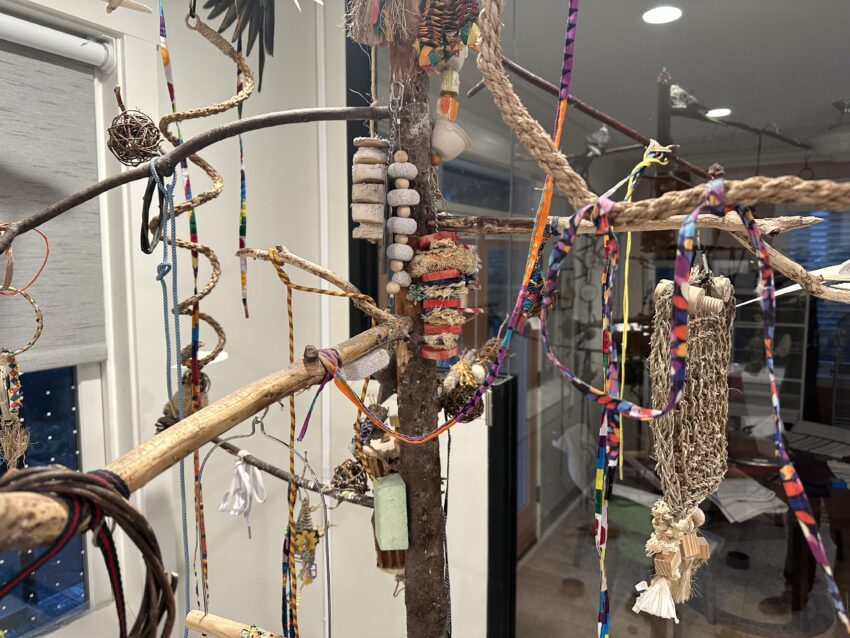
Now, the fun part! Well, the more fun part. I’m a firm believer in maximising enrichment, even if it comes across as cluttered. As far as I can tell, birds love clutter and people only sometimes hate clutter. I let the birds take precedence.
I discovered after having the trees for a while that attaching the “traditional” toys on the trunk worked really well. They are hung on stainless steel hooks screwed into the trunk. Not only are multiple toys available at the end of every perch, but this prevented birds from getting up next to the trunk, where it’s more likely they’d poop on other branches below.
I added swings and boings near the ends of branches, stuck vine balls and loofah on small branch tips, and hot glued mineral blocks, cuttlebones, and pine cones to various locations.
My birds go crazy for shoelaces. I wrapped shoelaces around branches, between branches, and around swings or other toys. They even perch on the shoelaces. Endless entertainment.
Here are a bunch of photos showing the decorated trees.
Conclusion
These trees were built two years ago and they’ve worked far better than I expected. I wondered whether I’d go to all this work and the birds would just pick one branch on each tree they liked and all that effort would have been wasted. But they use all of them, even though they each have their favourite spots.
Because of the different heights and positions, a lot of time they just hop from one branch to another. I arranged them a decent distance from the walls so they regularly fly through the outside edge of the room in a circle. Poop on branches has been minimal, although I have to be thoughtful with toy placement.
The main difficulty is that moving or replacing toys is a bit tricky as you have to work your way between branches on top of a ladder. I don’t really have a solution for that so I just have to be careful and tolerate getting skewered from time to time.
Hopefully, people will get some inspiration from this and create something great for their birds. In closing, a video of everyone perching and chattering away.
