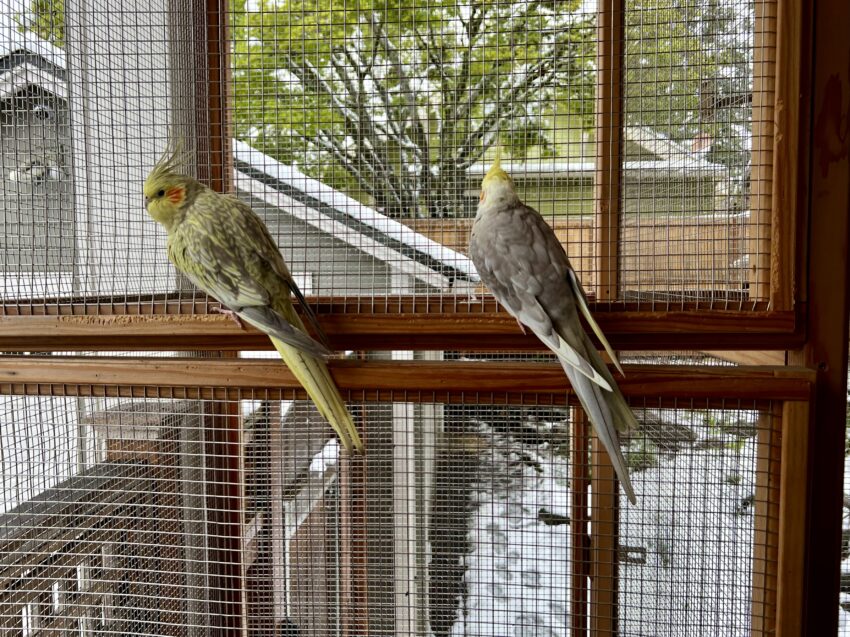
Aviary 3.0 (and catio!)
I previously documented the expansion and improvement of our outdoor aviary in this article.
Free Range Parrots: Aviary 2.0
But life intervened, and we moved to Oregon only a year later, leaving all our hard work behind! We always dreamed of having a combined indoor/outdoor aviary someday, so maybe this was an opportunity. While this was a rebuild from scratch, we could apply what we learned from the experiences of our previous iterations, so it seems fitting to give it the Aviary 3.0 name.
It’s been two-and-a-half years since we completed this project, so we can look back and see what we did right and wrong. At the end, I’ll discuss some changes we made based on the first few years it was used.
Note that this was an ambitious project taken on by semi-retired homeowners with the means to pull it off. I realise most people can’t build an aviary, but I think a lot can be learned from experience and applied to more traditional bird-keeping situations.
Why an indoor/outdoor aviary?
One of the obvious disadvantages of having an outdoor-only aviary is that it’s very climate-dependent. Birds can tolerate cold temperatures well, but not when it gets too far below freezing. Hot temperatures can be much worse, leading to heat stroke or death, even in tropical birds. For these temperature extremes, you need some shelter, or you need to be set up to shuttle birds back and forth from indoors to your aviary.
Free Range Parrots: How cold is too cold?
To make matters worse, summers are getting more brutal in many areas of the world. To use Portland, Oregon (where we now live) as an example, here are the number of 90F+ days we’ve annually over time:
| Time period | Number of 90F+ days per year |
|---|---|
| 1936-1990 | 7 |
| 1990s | 12 |
| Last 30 years | 14 |
| Last 20 years | 16 |
| Last 10 years | 17 |
| Last 5 years | 20 |
| Last 2 years | 24 |
| Last year | 27 |
When it’s over 90F, our flock of Australian birds start to suffer, even though they are acclimated, and there is plenty of shade. They start panting and spread out their wings to cool off. I would use irrigation misters hanging from the roof, but when it’s over 100F, they didn’t provide enough relief. So, I’d soak them with a hose a few times daily. It’s not comforting to think your birds will roast to death if you don’t check on them often enough!
On top of that, wildfires are more common and happening in areas where it didn’t happen historically. Even if where you live is safe from fires, wildfires can cause air to be hazardous hundreds or thousands of miles away. We had a smoke event at a time when we had 21 birds in our outdoor aviary. Bringing all these birds inside every time the air quality is terrible is not practical. Since moving to Portland in 2020, we’ve already had two weeks with some of the most unbreathable air anywhere in the world. Excessive heat and smoke are the new normal in more and more places.
Aside from the environmental factors, we also wanted our flock of birds to be more accessible. When it’s dark, cold, or rainy outside, sitting outside in the aviary is less convenient to spend time with the birds. The birds appreciate more company, too!
And finally, I wanted something that other people would want to visit. I like to introduce people to our birds. It’s a good education for people that rarely see a bird up close. With birds disappearing worldwide, it helps to get people more interested in the plight of birds.
Finding the right house? Kind of impossible
When looking for a new house, we wanted to find something that would accommodate an outdoor aviary connected to the house, where birds could move freely in and out. We would also want a way to control access to the outdoor aviary during heat or smoke events. We considered an outdoor aviary with a shelter, but a shelter wouldn’t protect them from smoke. And we wanted the birds closer to us.
Finding a house that would work was far harder than expected. Ideally, this is what we were looking for:
- A house with a first-story room facing the backyard could be dedicated to an indoor aviary or a space that could be divided from a larger room.
- The room would need a window facing the backyard, or one would have to be installed.
- This room must be conveniently located so an outdoor aviary wouldn’t obstruct anything else in the yard.
Looking back on the house search, it seems obvious now, but this configuration is extremely uncommon. Sometimes a one-story house will have a bedroom in the back, but a one-story house may not be big enough to dedicate a bedroom to the birds, especially if you need a couple of bedrooms for humans or guests. For a multi-storey house, bedrooms are often on the second floor, leaving essential spaces like the kitchen, dining room, and living room on the first floor, which are hard to dedicate or subdivide for birds.
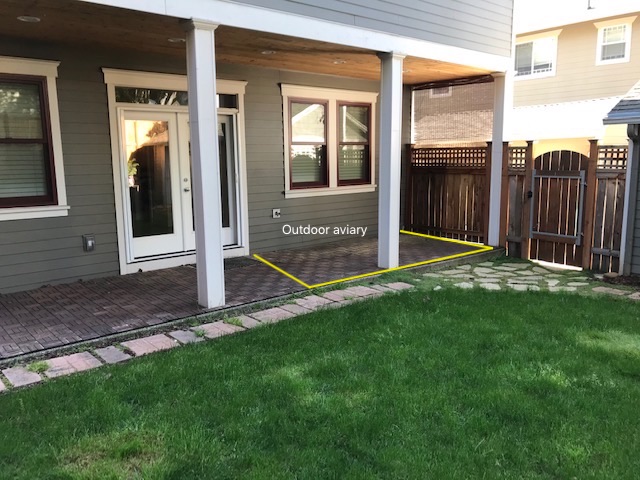
But we lucked out, finding a multi-storey house with a “family room” in the back. An area next to the kitchen was labelled a “nook” but was plenty big enough to use as a dining room. The family room had two double-hung windows facing the backyard. Even better, there was a 9-foot deep patio under an overhang at the back of the house, so an outdoor aviary could be squeezed in without requiring a roof and only losing about half of a back patio.
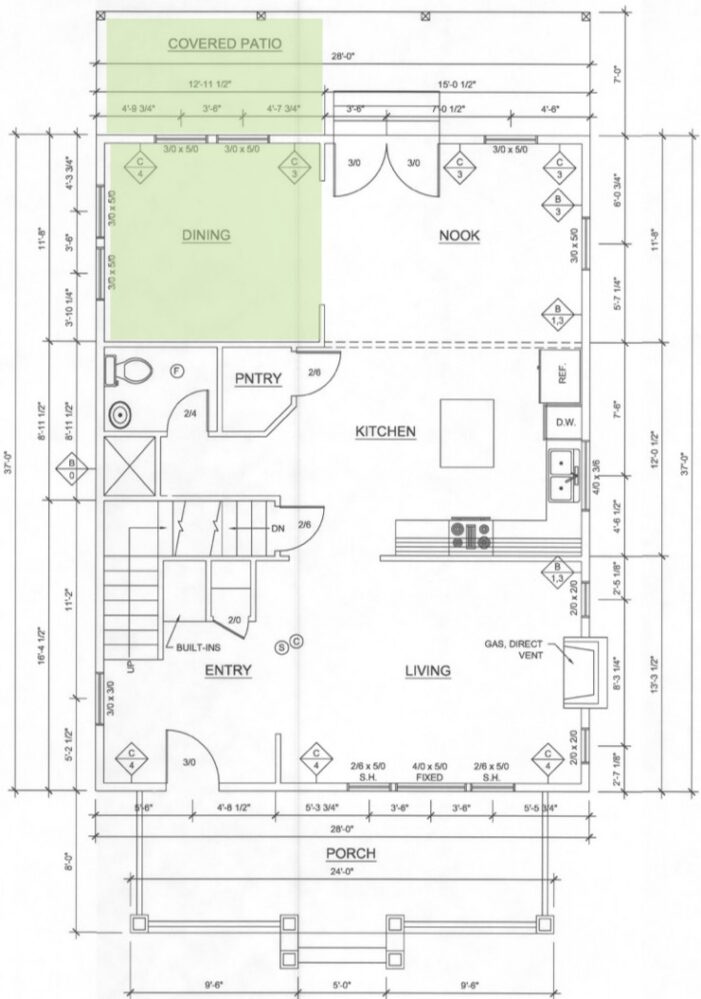
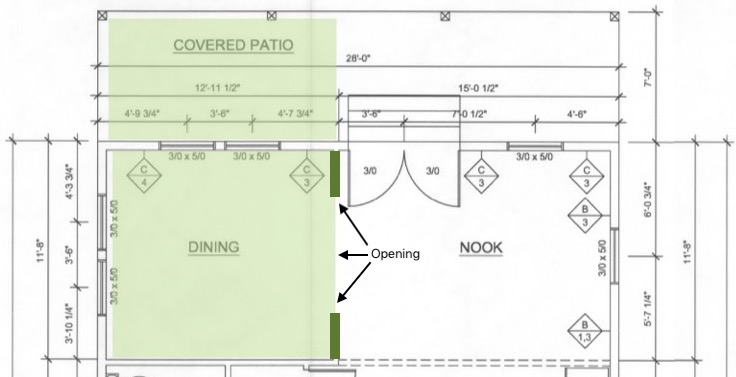
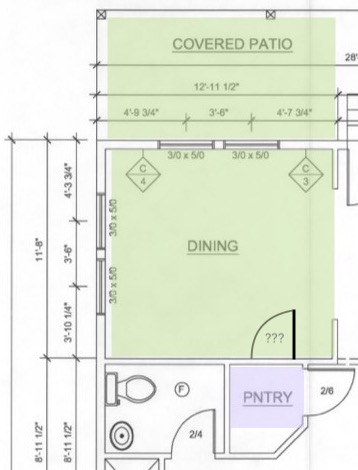
Here’s the floor plan, where I shaded the planned indoor and outdoor aviaries in green.
Phase 1: Outdoor aviary (and catio)
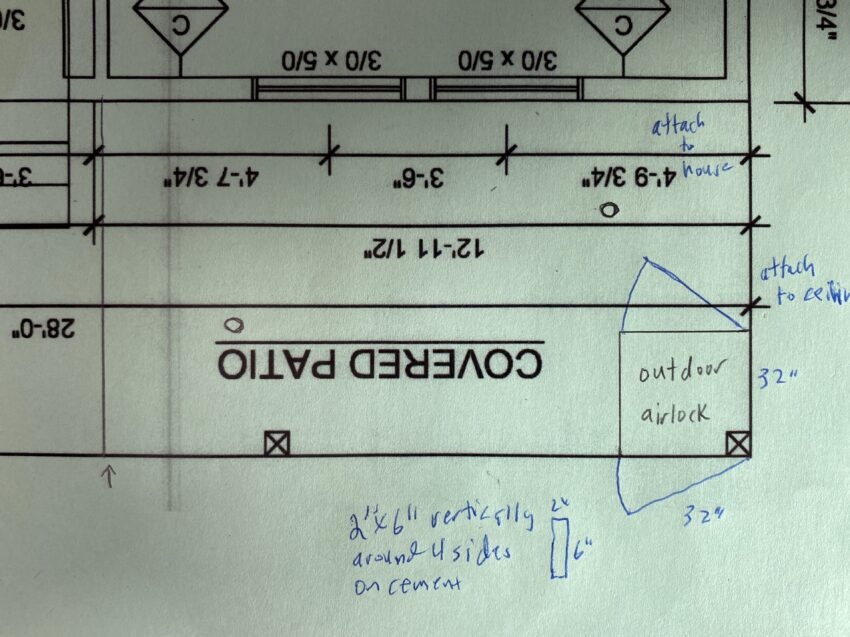
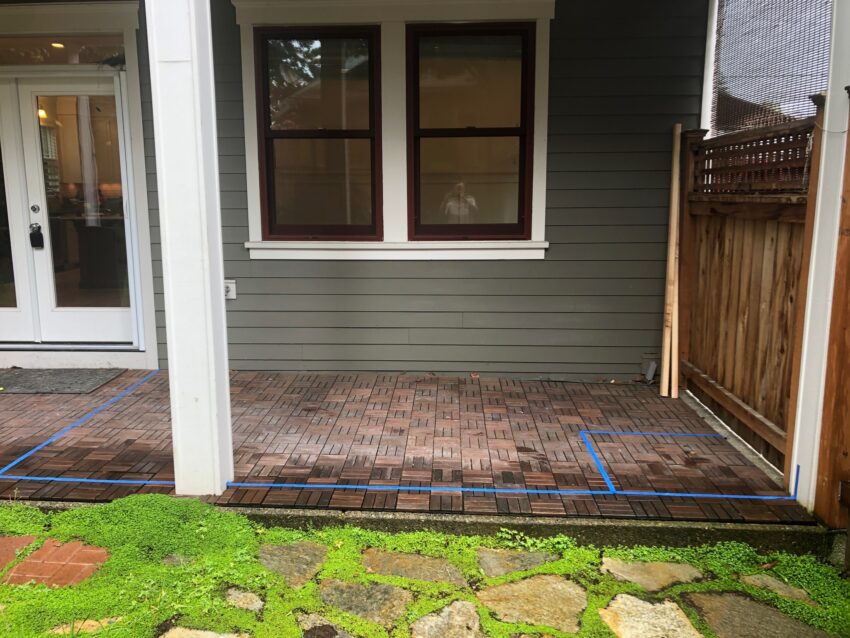
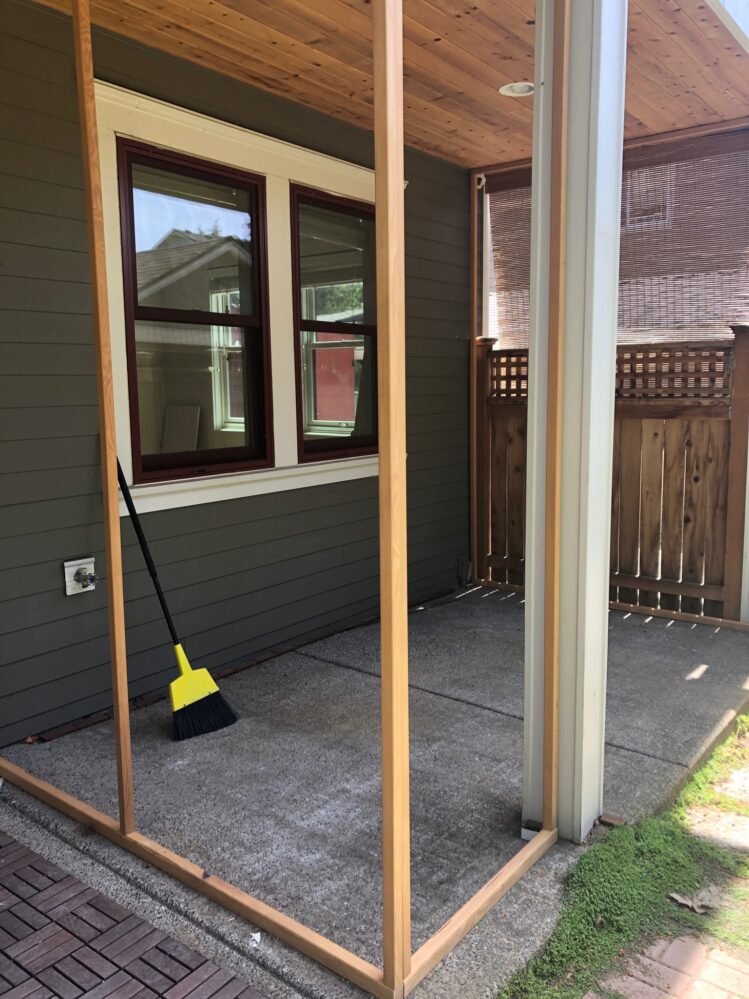
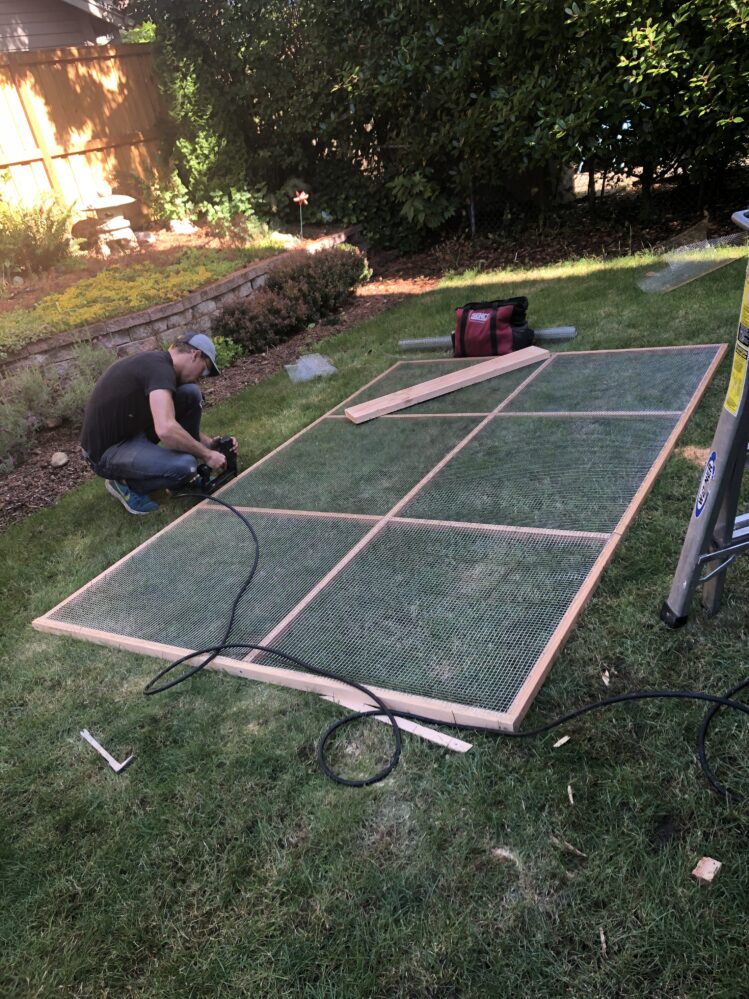
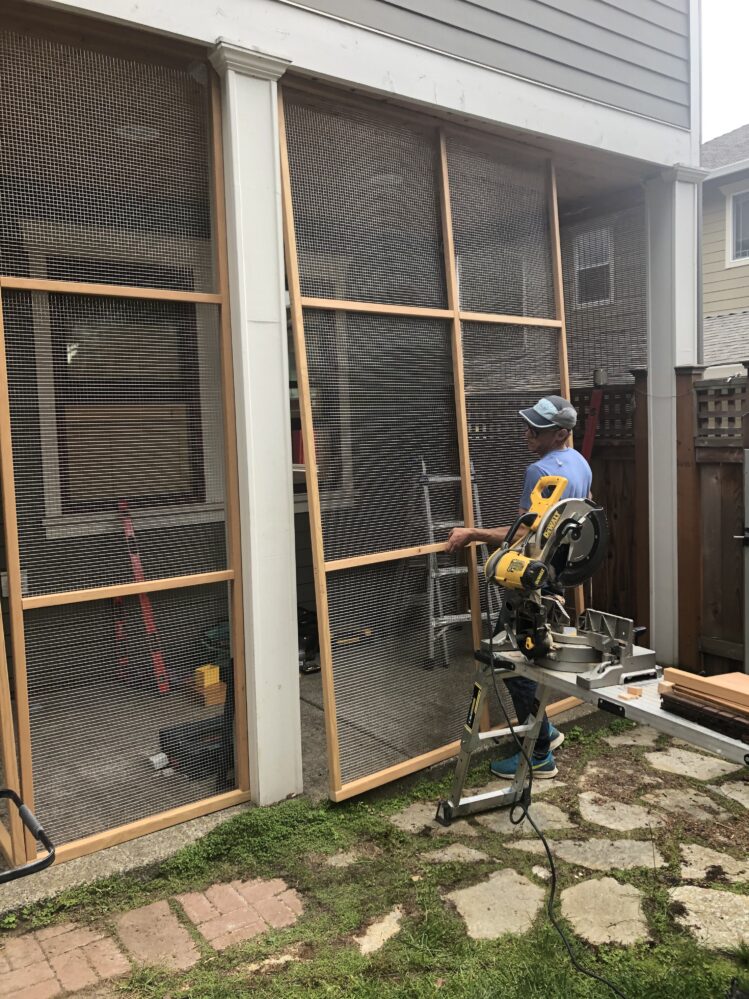
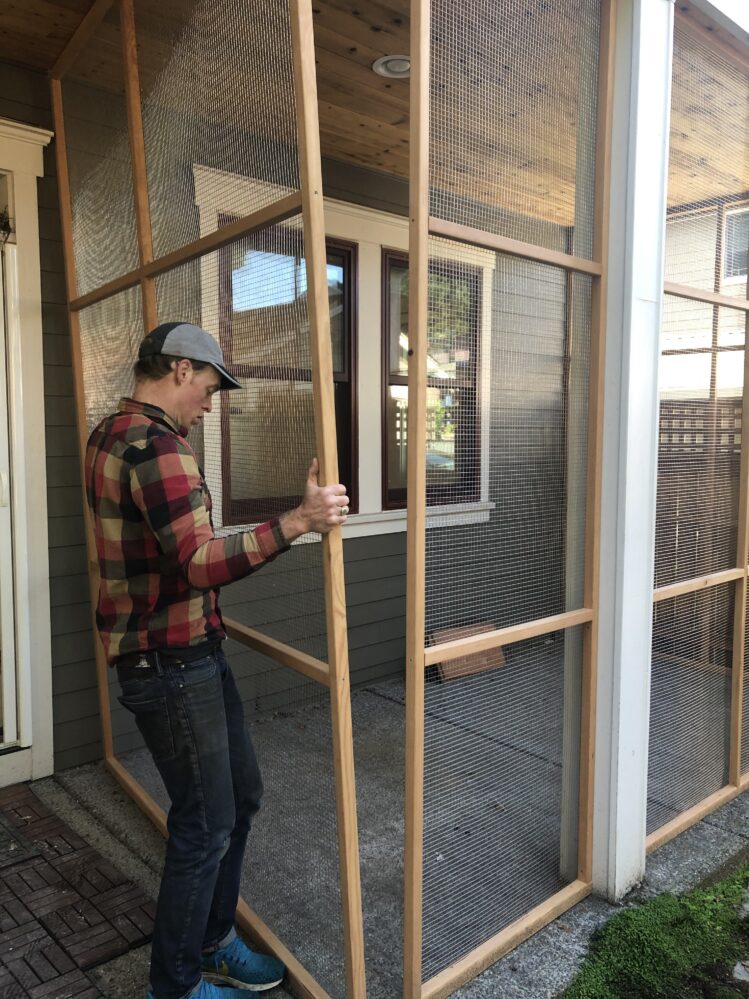
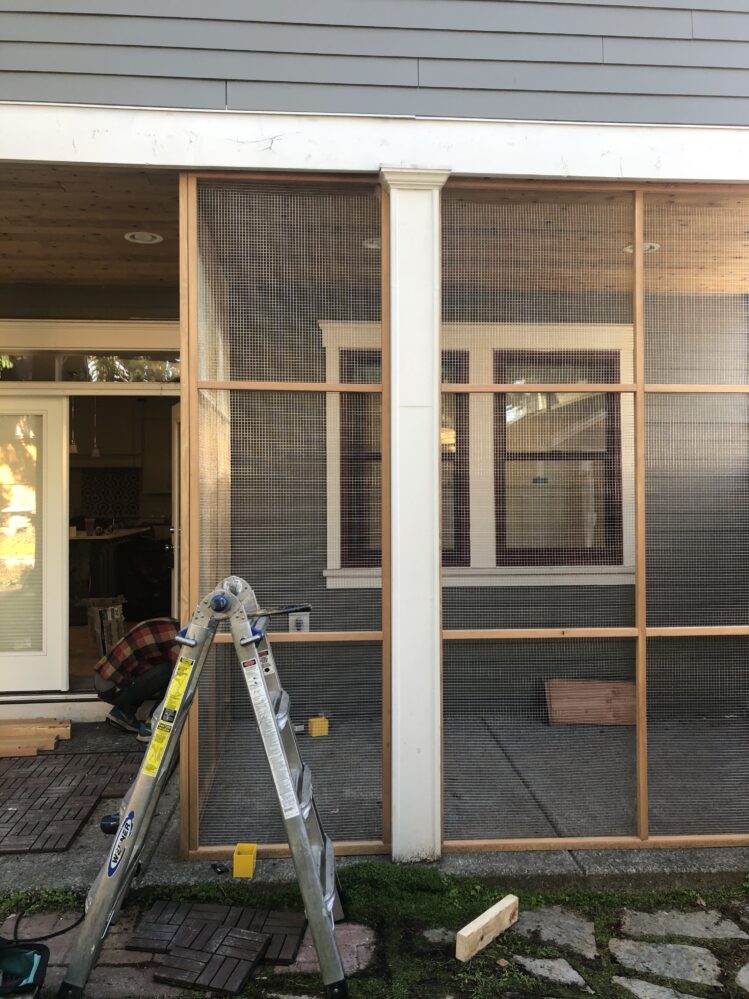
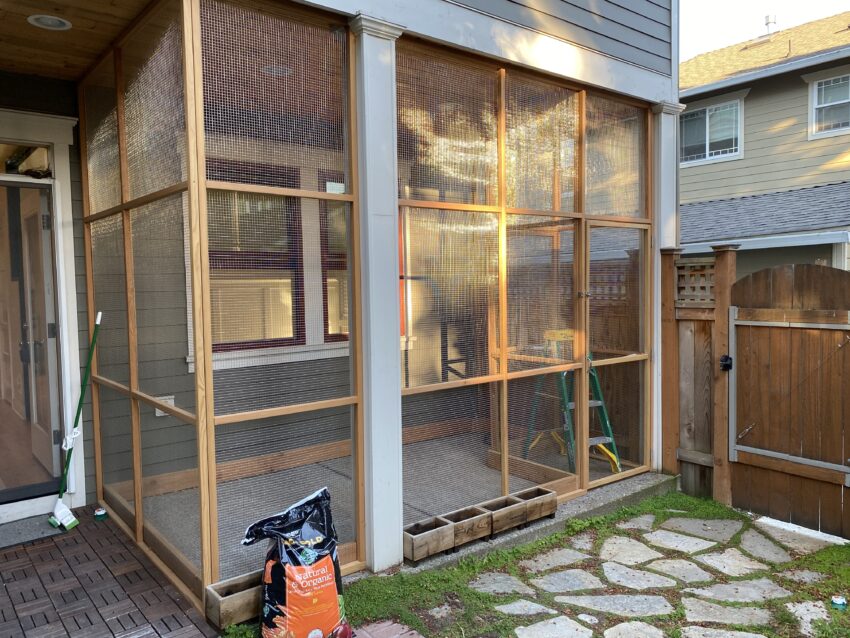
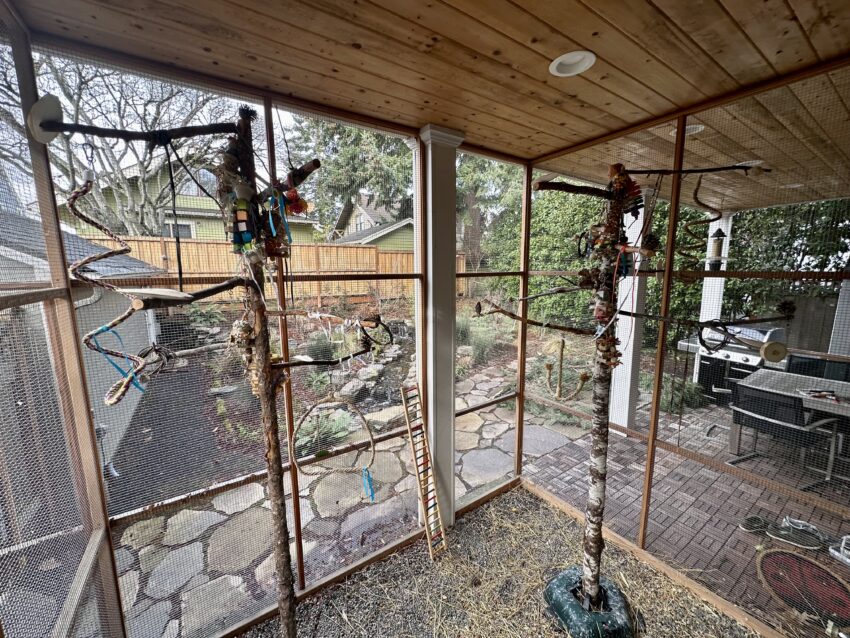
The back patio had an overhang and support pillars, so it was a matter of enclosing the space on three sides with wood-and-wire panels. The back of the house formed the fourth wall. Then, we added an exterior door with an airlock. The construction resembled the Aviary 2.0 project, so you can read that article for more details. The only change was we used Douglas fir instead of redwood, which is more widely available.
The existing porch floor was poured cement, so we didn’t have to do any work there. I wanted a dirt floor, but removing an existing patio didn’t seem like a great idea. In our old aviary, we put gravel on top of the dirt to make it less mucky, so I knew birds were OK with gravel. This time, I used a pebble mixture for flooring, which is fairly easy to hose down. I make up for the lack of a dirt floor by bringing in grasses, branches, and plant matter for them to forage around the ground.
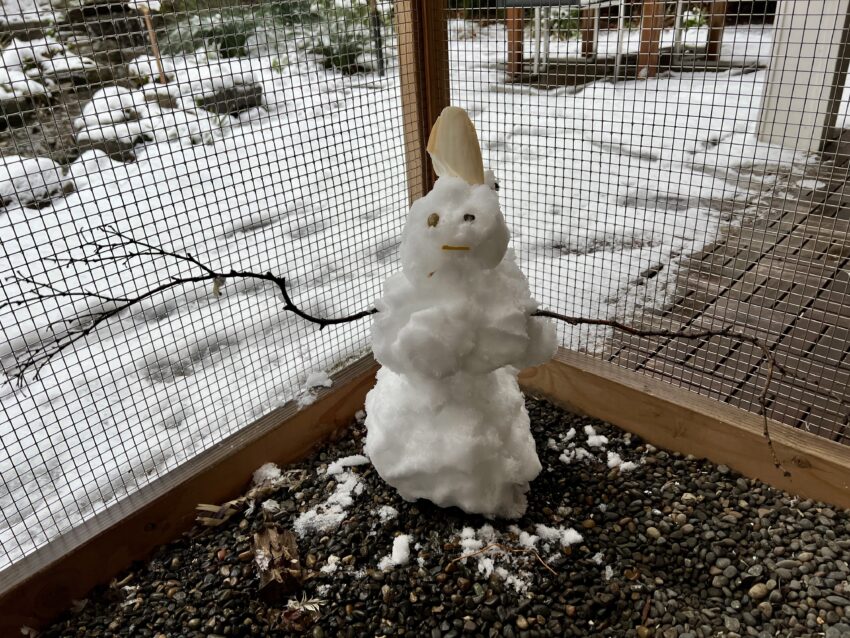
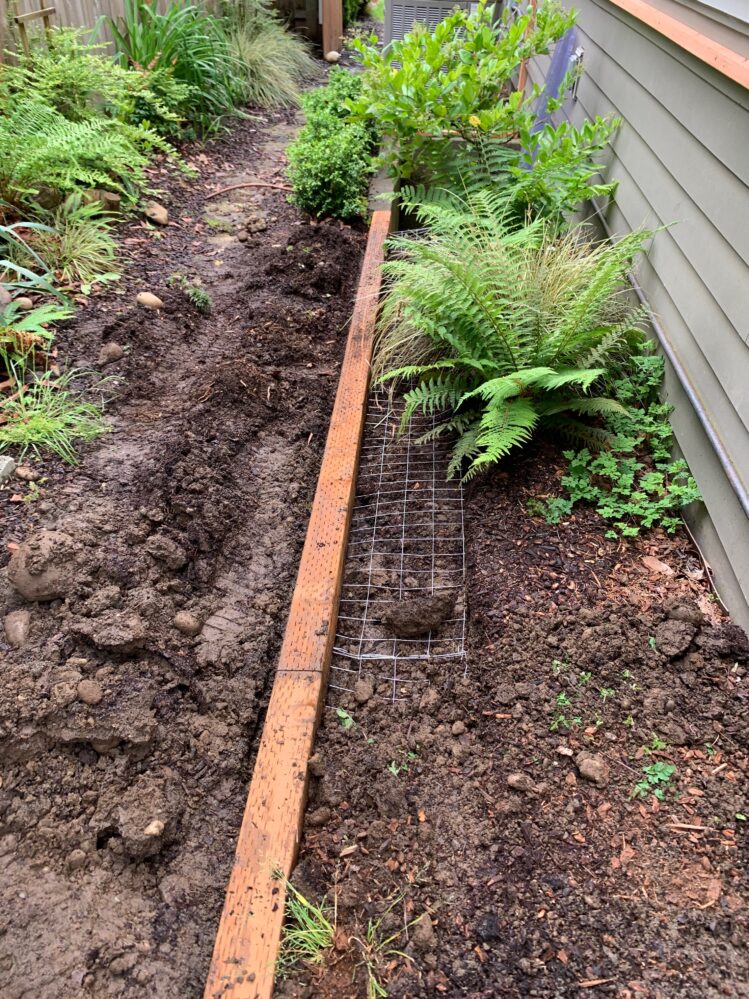
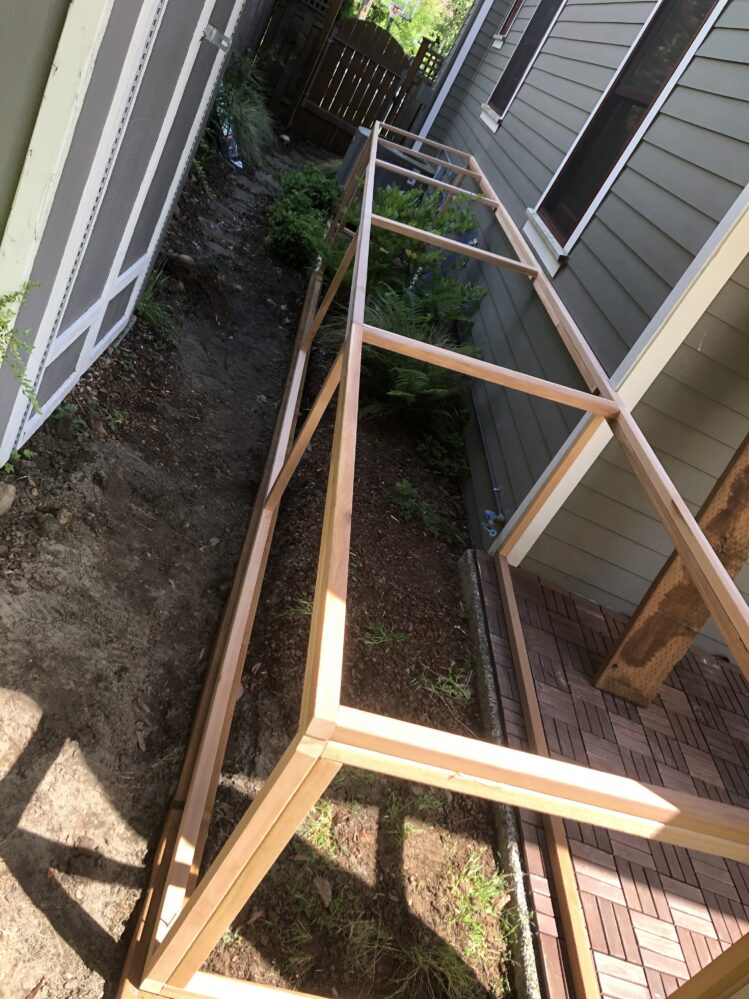
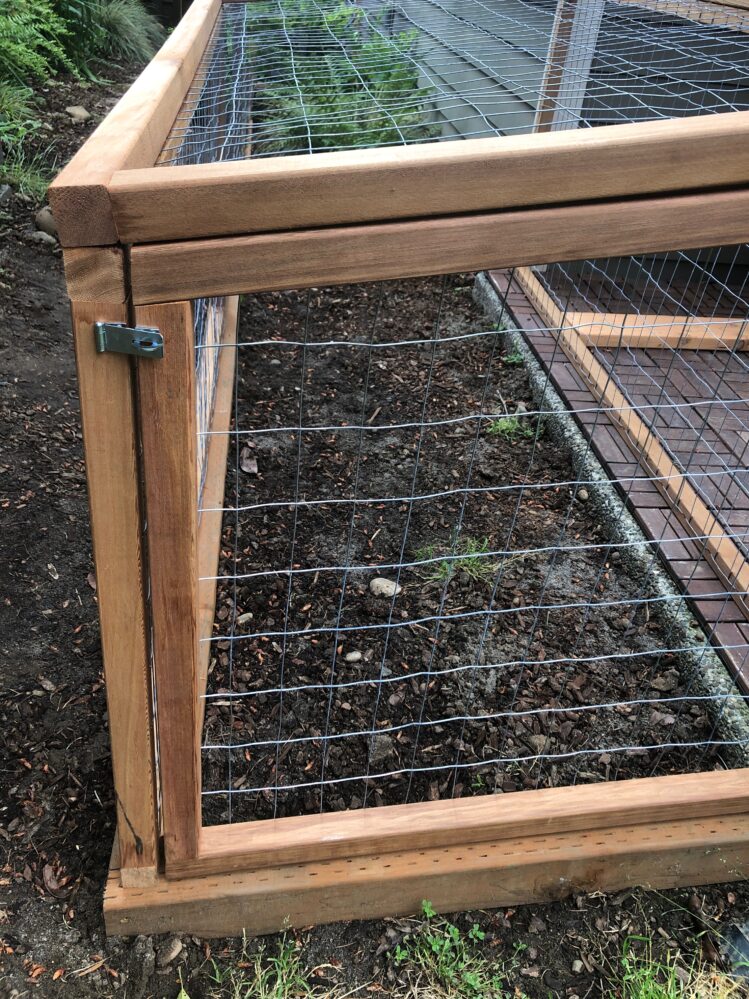
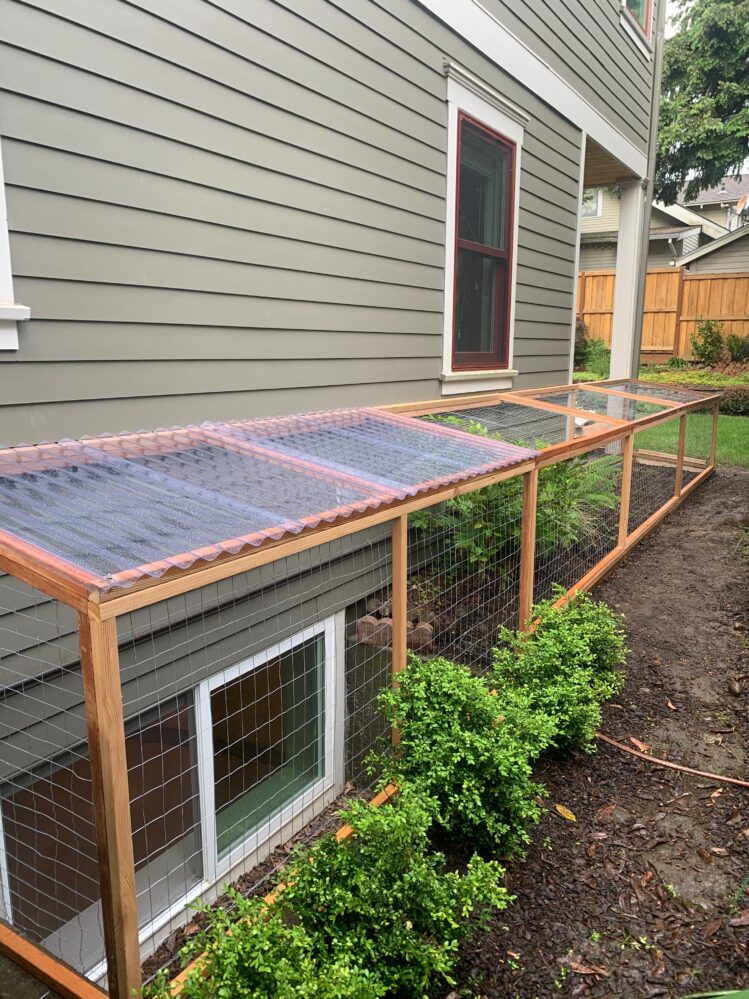
Bonus: Catio! Our basement also had a window with access to the side yard, so we built a small outdoor catio using the same design.
Phase 2: Basement aviary (and catio)
We were fortunate to have a basement we didn’t need for storage. We wanted a place to keep the birds while building the main aviaries since we had no idea how long it would take. We also realised it might be useful to have a separate space where we could separate or quarantine aviary birds or keep different flocks incompatible.
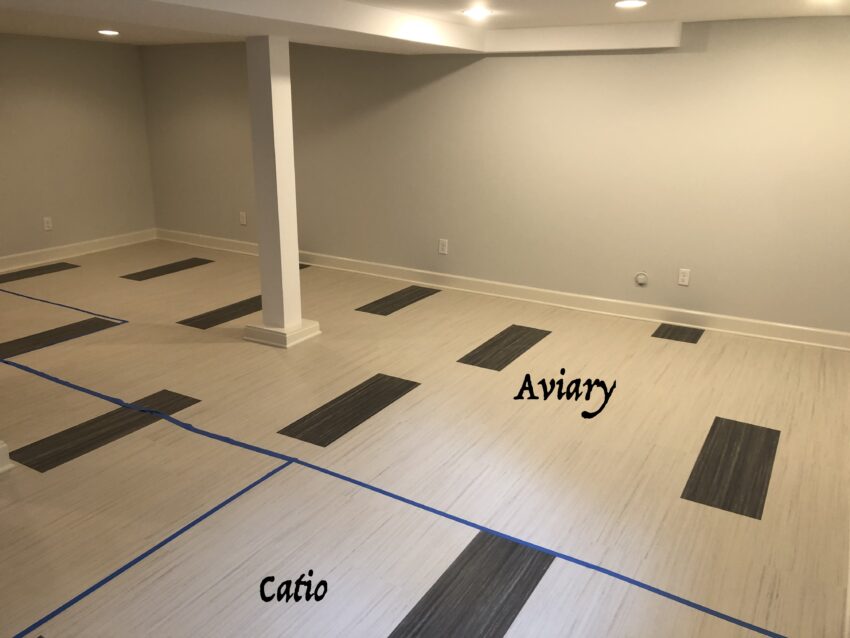
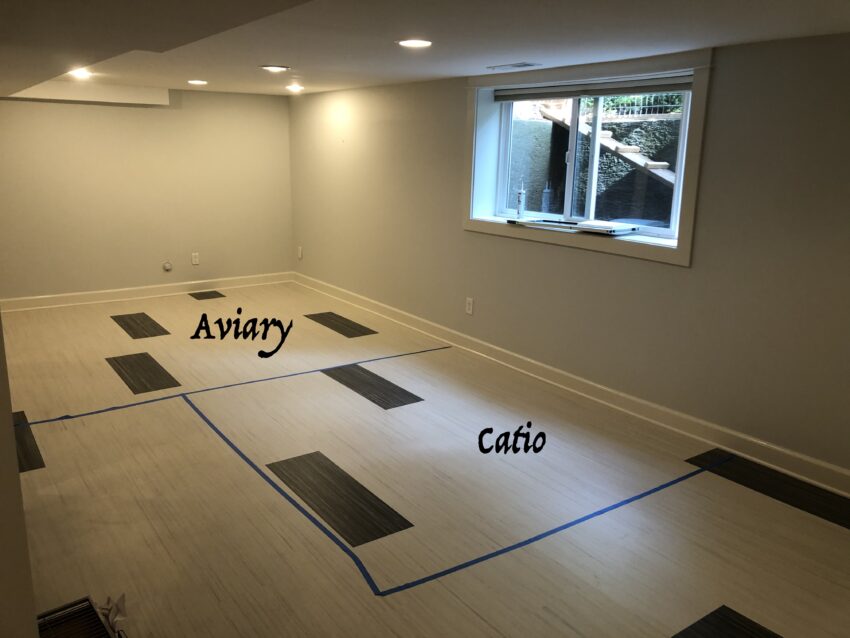
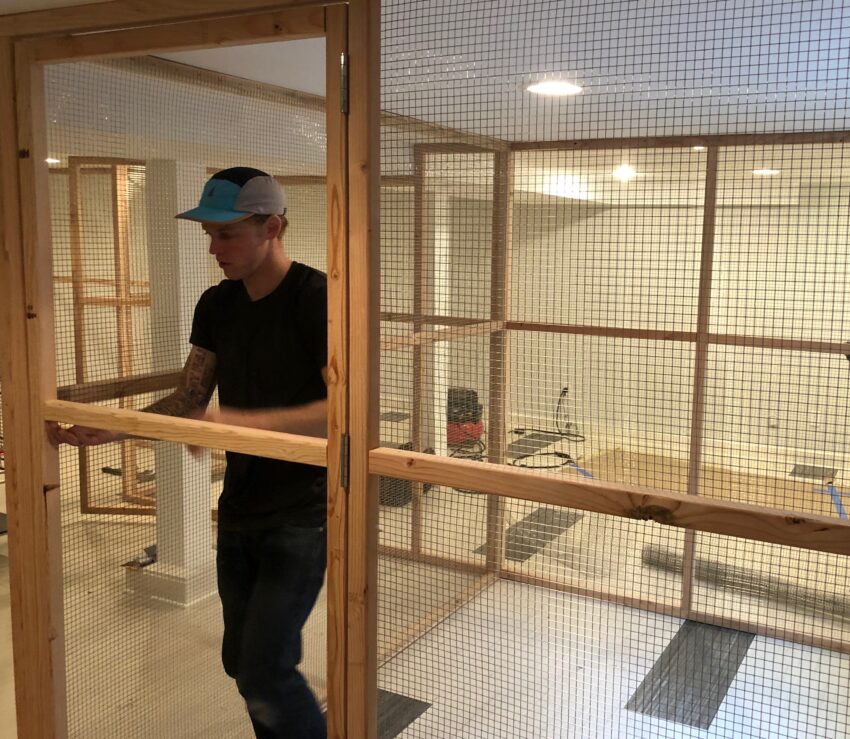
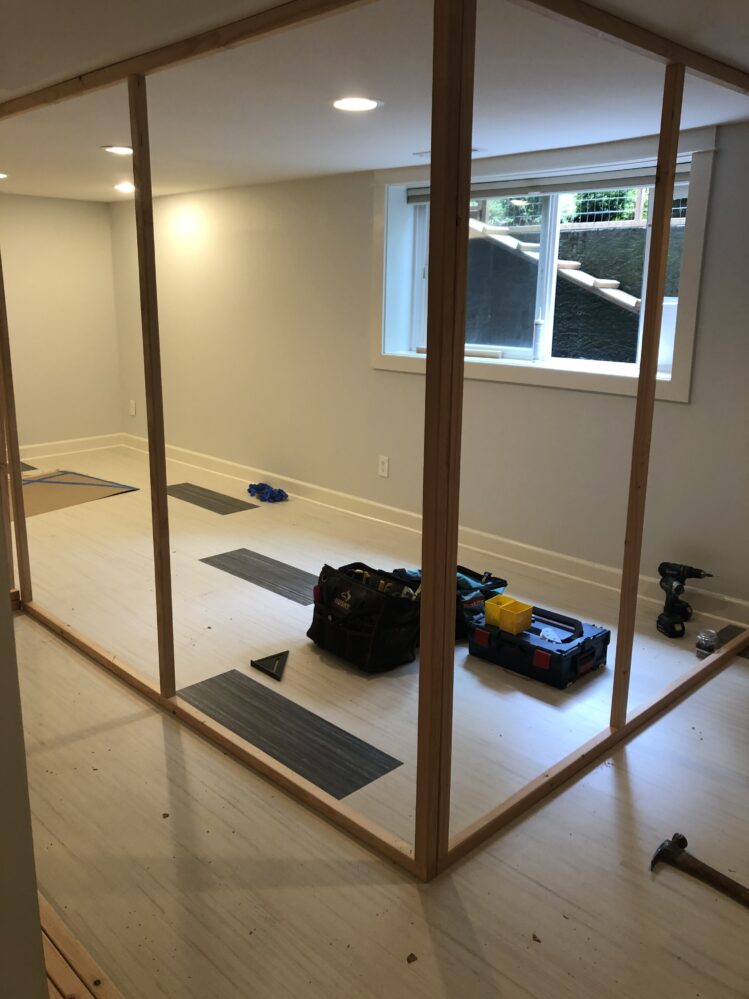
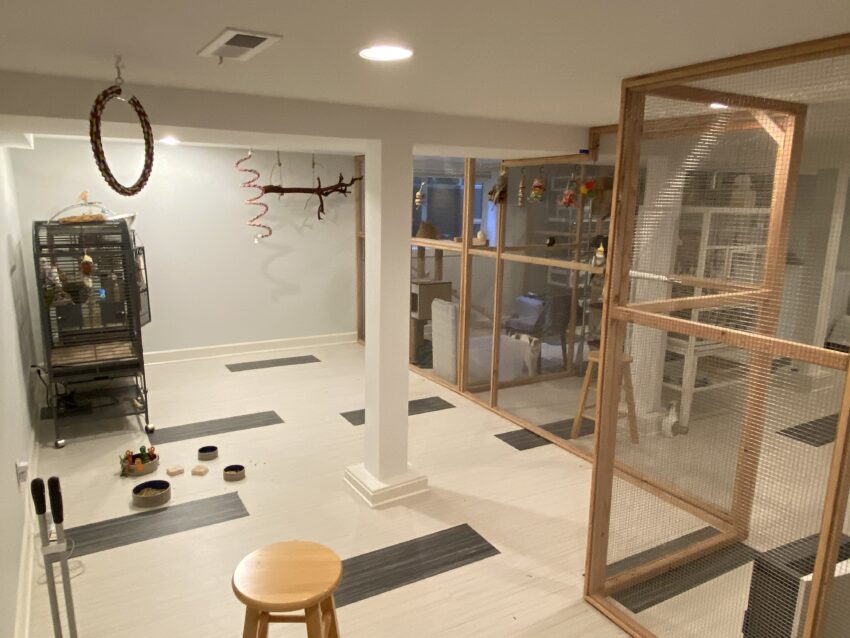
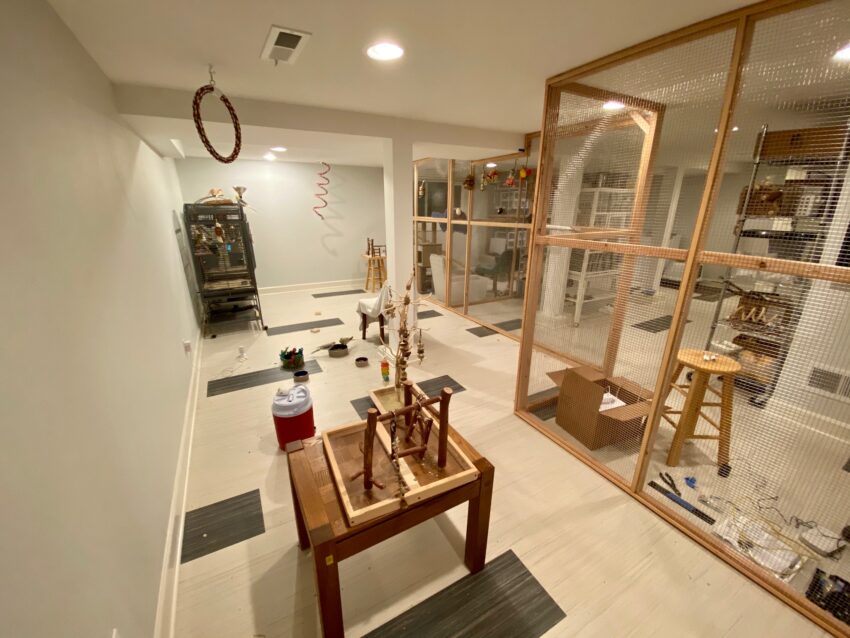
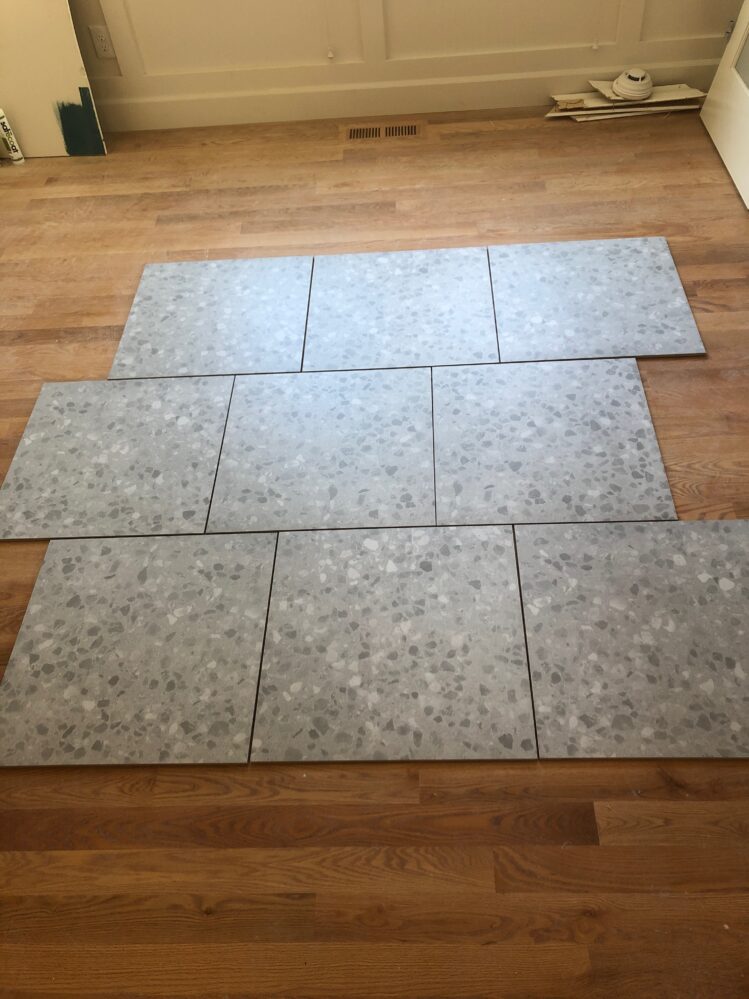
Like the outdoor aviary, the construction was simple and didn’t require anything other than wire, wood, and labour. It was attached to the ceiling, walls, and pillars. We used the same construction for the catio, which we positioned next to the basement window to connect to the outdoor aviary. We put down a Marmoleum floor in the basement to replace the carpet. In retrospect, tile would’ve been a better option as we’ve found it easier to clean and scrub. Tile can also handle standing water better.
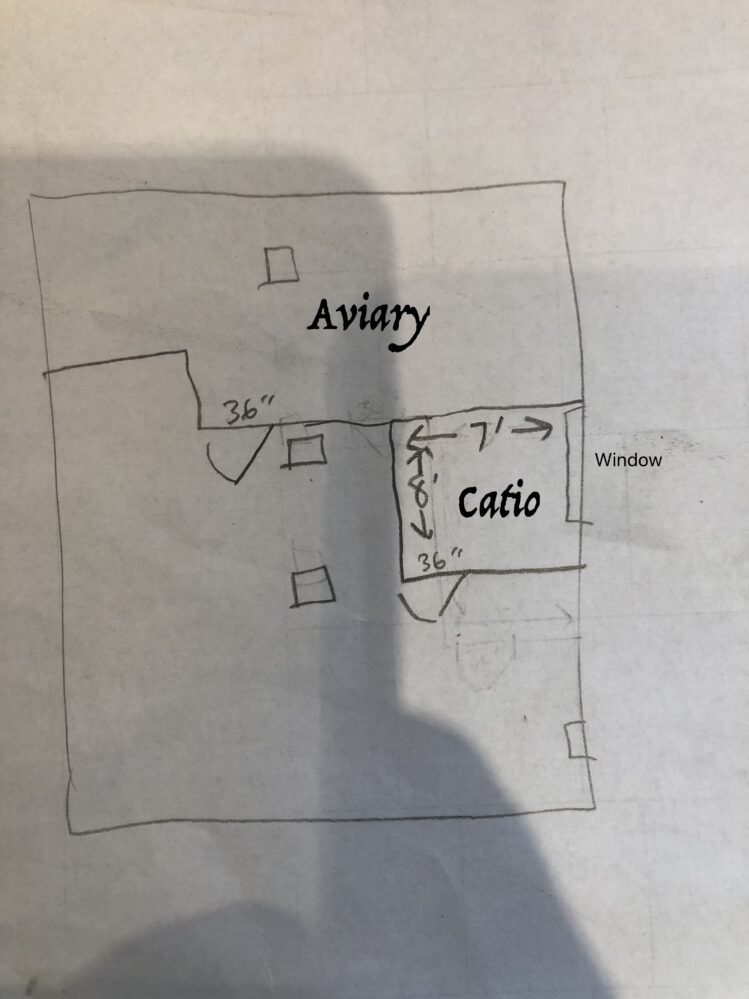
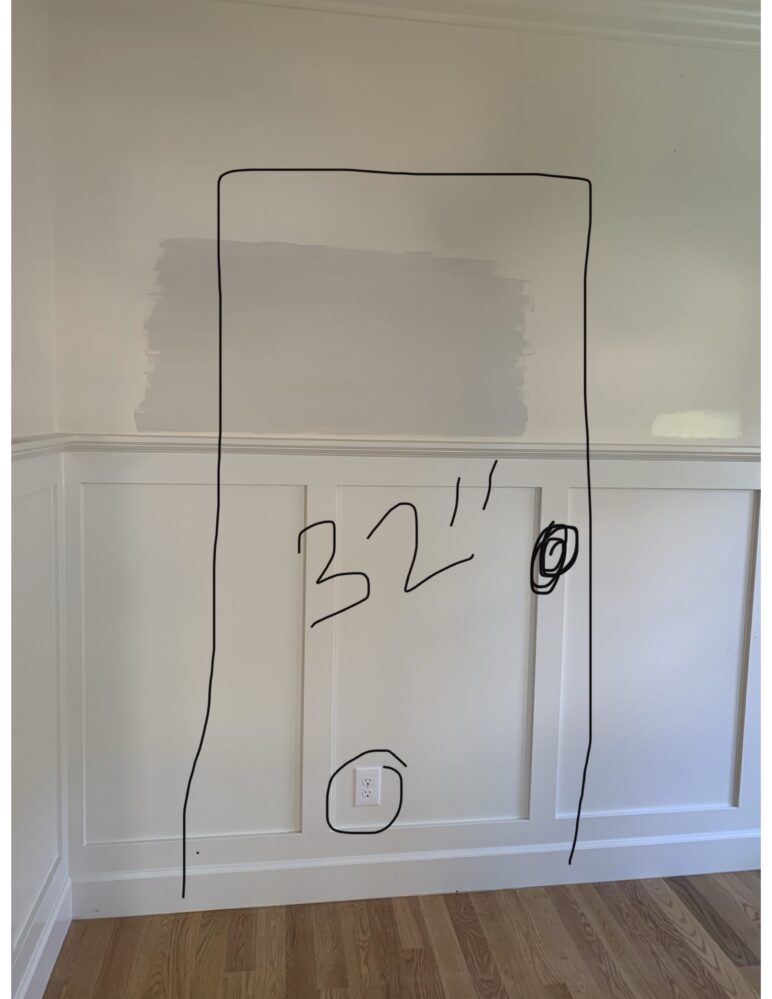
Here are some crude pencil drawings and pictures of the new basement floor with blue tape marks where we planned to build the aviary and catio.
Here are some photos of the construction of the aviary and catio. The birds were moved in very quickly after this was built.
Here’s a video walkthrough of the catio and aviary! You can see more details from the finished catio.
Phase 3: Indoor aviary
Design
The basement and outdoor aviaries were a piece of cake compared to the indoor aviary. We struggled with what to do with this space for a long time. Even though we built the outdoor aviary first, we had to devise a reasonable plan, or we’d just be wasting time and money on a failed project.
Layout
As you can see in this drawing, the planned aviary was open to the dining/kitchen area, flanked by three-foot wide “pony walls” (in dark green) on each side.
We had a lot of ideas but didn’t like any of the initial ones. One idea was to close the opening with a wall, making the aviary a separate room with a door where the birds could fly freely. But we’d be walling off four big windows from the rest of the house. Plus, we wanted to see the birds from outside the aviary.
The second idea was to build a wood-and-wire aviary inside the space. From the dining/kitchen area, you would see one wall of the “cage” built inside the room. Not super attractive, and cleaning seemed like it would be a nightmare. How would you clean between the “cage” and the walls? It was at this point that we were stuck.
Glass wall
This was when we stumbled upon the crazy idea of a glass wall instead of a wood-and-wire construction. This epiphany derailed us for several months as we had to do a lot of research into the feasibility of glass. The primary concern is how to keep our birds from killing themselves by slamming into it. I wrote an article about avoiding window collisions for your indoor birds, which came out of research for this project.
Free Range Parrots: Avoid window collisions inside your home
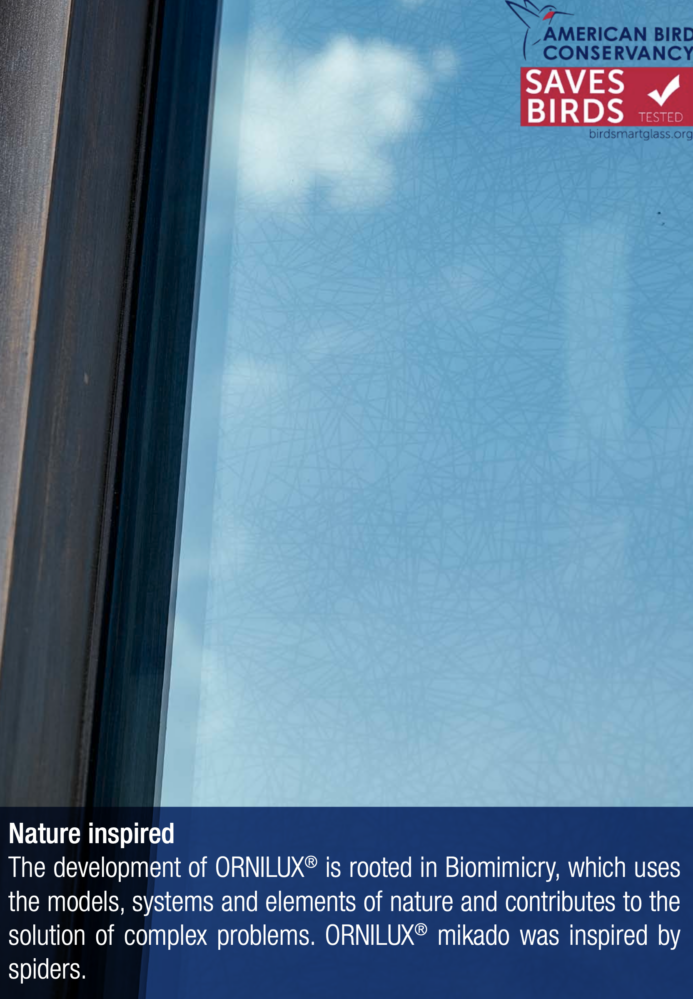
We could install regular glass and use existing options like film or window stickers, but we wanted to see our birds and for them to see us rather than a wall of stickers. The article I referenced discusses the glass options we considered before finally deciding to do a wall of Ornilux bird glass. It was starting to feel like it would be a fantastic space for us and our birds.
Airlock
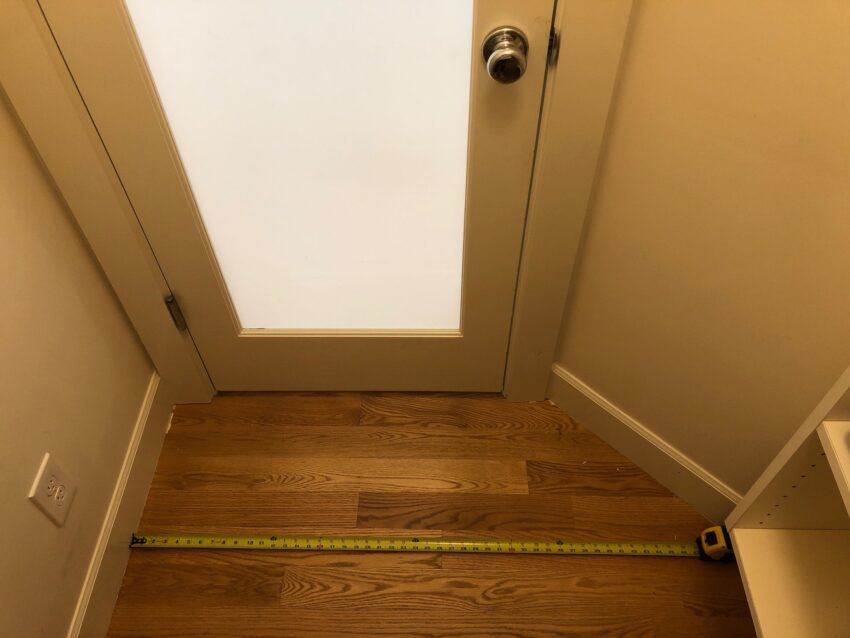
We needed a safe way to get in and out of the aviary. You can’t just have a door that opens to a room with a dozen birds flying around. An airlock needed a 3-4 foot square area with an interior door opening into the aviary. But this would significantly cut into the aviary space, and we wanted to maximize flying space. And since we had decided to go the route of using a glass wall, that made things even more difficult. Wouldn’t the doors have to be glass, too?
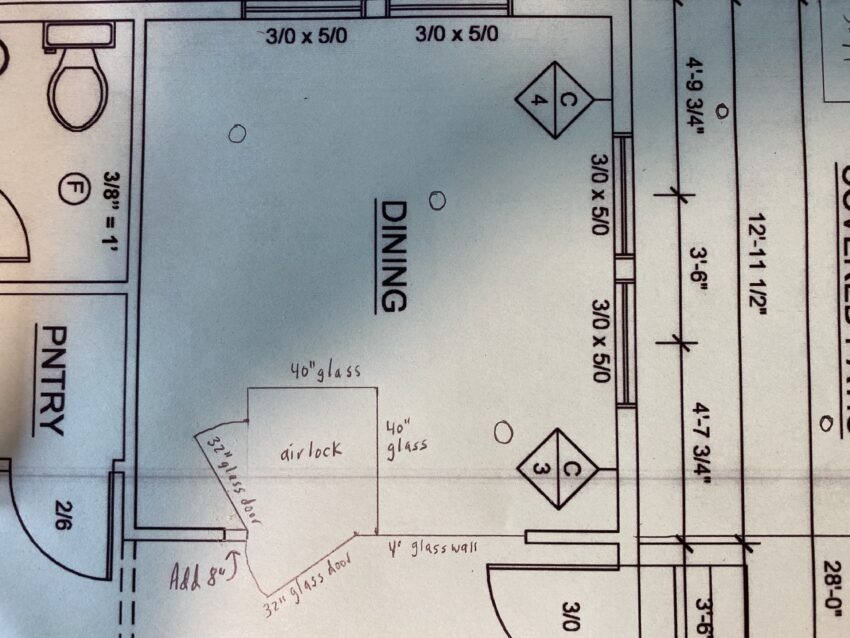
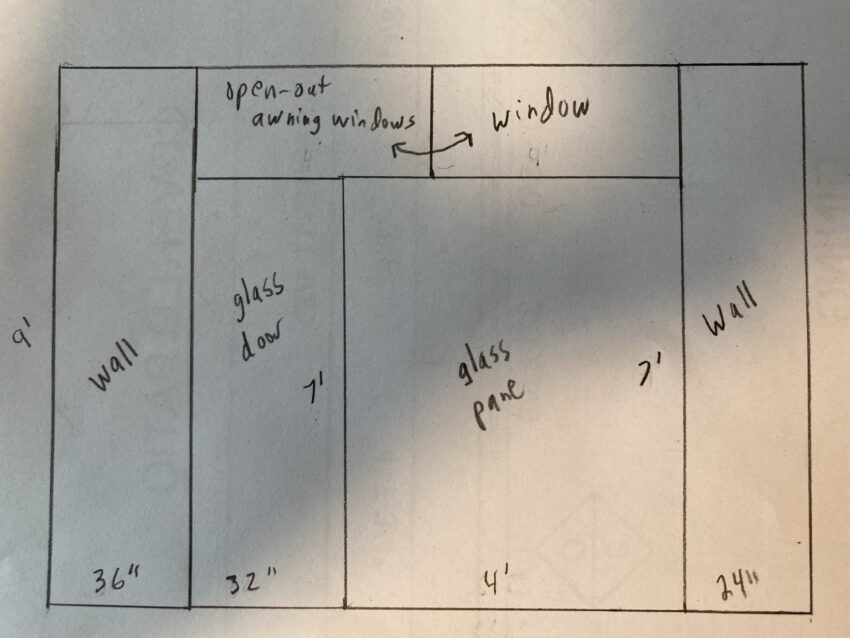
We sketched out an idea for an airlock, but it sucked.
That’s when a moment of inspiration hit. Take note of the pantry adjacent to the aviary, highlighted in purple. We realised we could add a door from the pantry to the aviary and turn the pantry into an airlock! The idea seemed crazy for about 10 seconds, and then it suddenly seemed brilliant. We all wanted to take credit for thinking of it.
The biggest concern was that we didn’t want to do anything that would ruin the pantry. There was briefly a crazy plan to make the half bath into an airlock!
Looking back a few years now, it’s worked amazingly well. The pantry is just as functional as before, and the space is the perfect size and configuration for an airlock. Now we had a plan to give us a solid glass wall with access hidden in the pantry. It seemed like it would all work out.
Pony walls
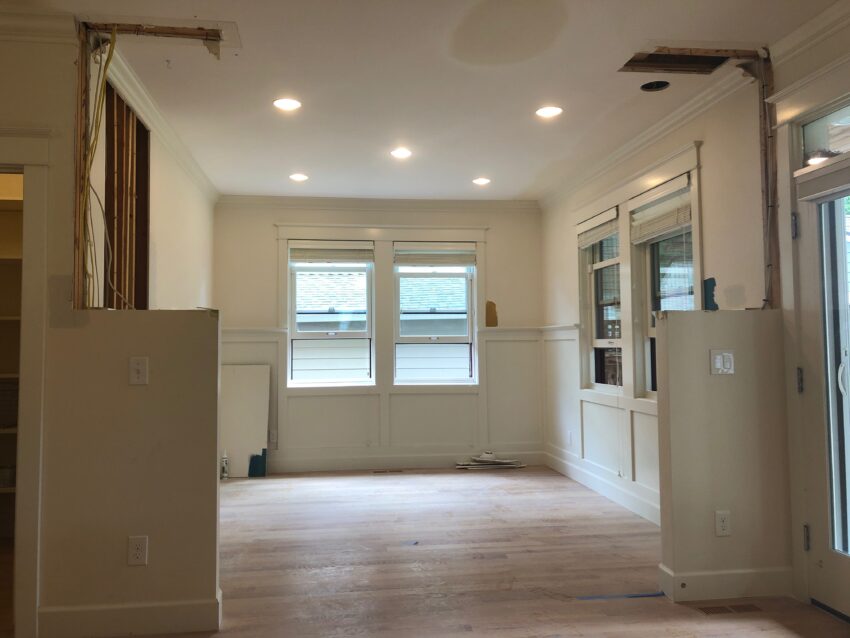
Since we were already knocking a door-sized hole in the wall to the aviary, we decided to do a bit more destruction and remove the top half of the two pony walls. Since we were bothering with this nice glass wall, we wanted to maximize visibility. These two pony walls occupied six feet of wall space! We couldn’t remove them completely because of existing electrical, and some doors needed a place to stop. But we could remove the top portion of both of them.
Heating and cooling
We spent a lot of time thinking about climate control in the indoor aviary. The room did have a heating/cooling vent on the floor, but the window would be open most days. If we closed the vent all the time, the temperature would vary more than the house. The birds might be fine with that, but human visitors might be uncomfortable. We also didn’t know what would happen if we had multiple hot days in a row. Would this room with a closed vent get too hot for the birds?
Another possibility would be opening and closing the vent manually as needed. But we hoped to have something that required less human intervention in case we weren’t around or went out of town.
We even considered getting a mini-split for the aviary and then closing off the vent entirely. Then we could set it up to maintain a good temperature when the window to the outdoor aviary was closed. But it was too expensive and challenging.
In the end, we just decided to keep the vent open. Our house has one climate zone, and the aviary is isolated, so if it’s hot in there, it doesn’t trigger A/C in the rest of the house. Based on our power bills for the first few years, it doesn’t seem to have changed since we built the aviary, so it’s possible it doesn’t have that much of an impact. We also recently installed solar, which may help with the guilt of potentially wasting power.
Construction
The construction began after we had a workable design and finished the minimal destruction.
Floor
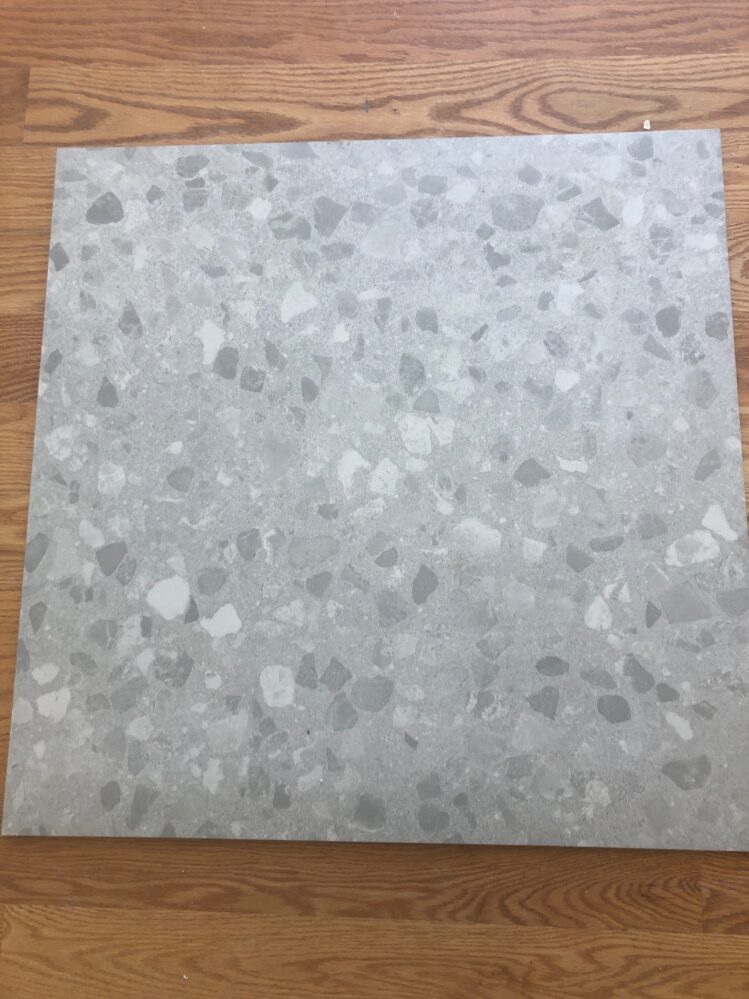
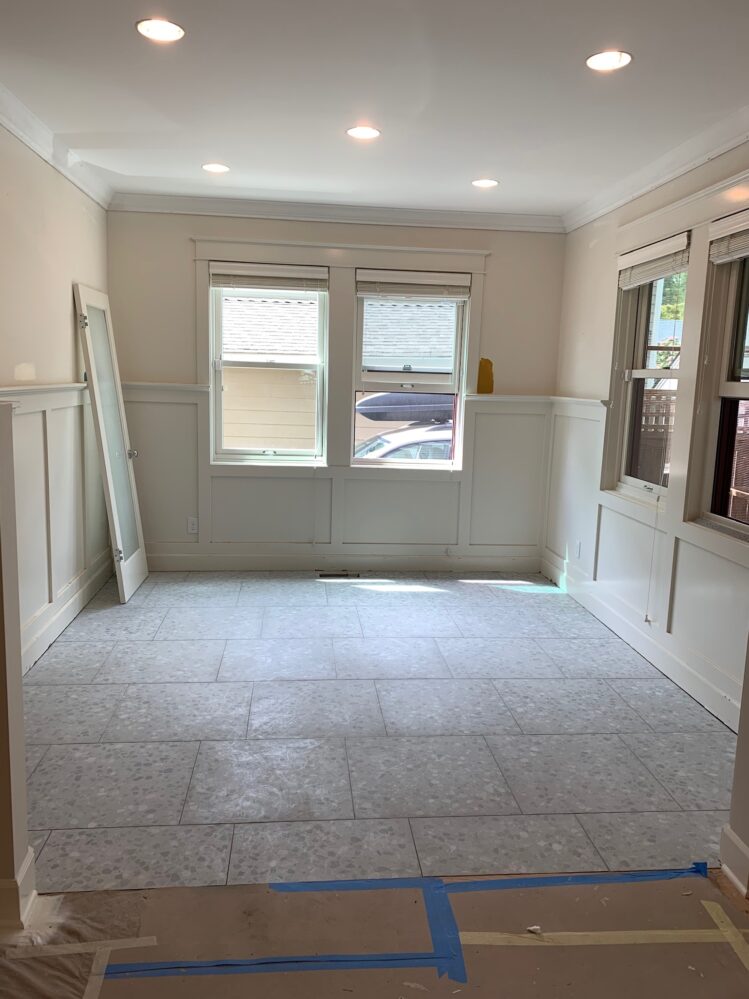
The existing floor was hardwood, which we learned from our previous home was fairly difficult to clean, even with only a few birds flying around. We went with tile, which was a great choice in retrospect. The only downside is that it does reflect sound, so the aviary can be quite noisy inside!
Walls
The walls, ceiling, and trim were painted with bird-safe paint. I’ve previously written about painting around birds, and much of that article is from the experience of creating this indoor aviary.
Free Range Parrots: Painting safely in a house with birds
In this photo, the floor and walls are done, and you can see out the windows to the outdoor aviary!
Windows
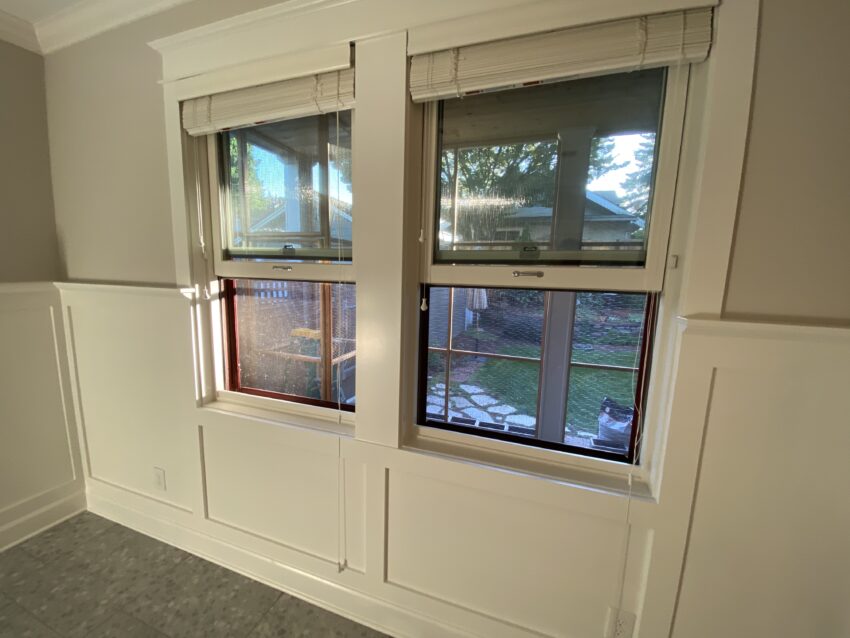
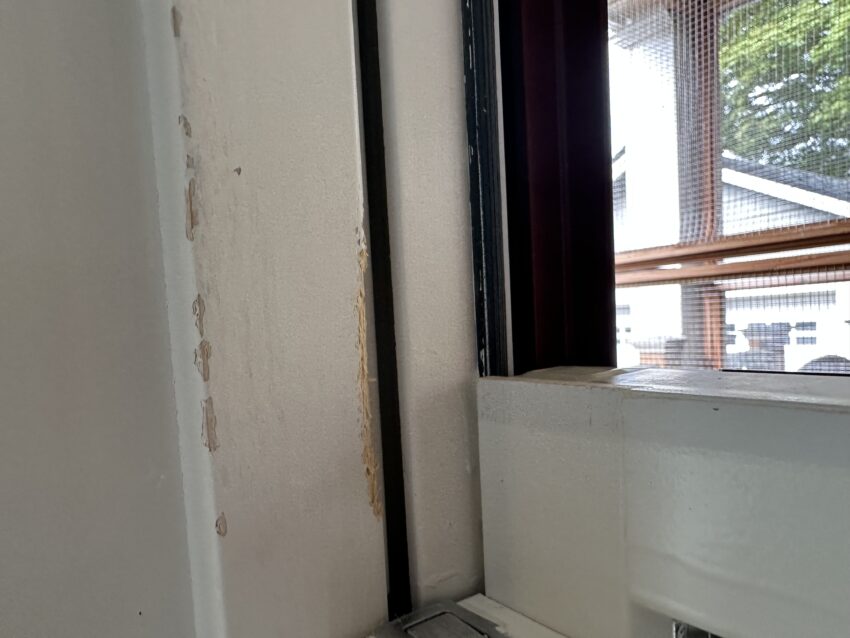
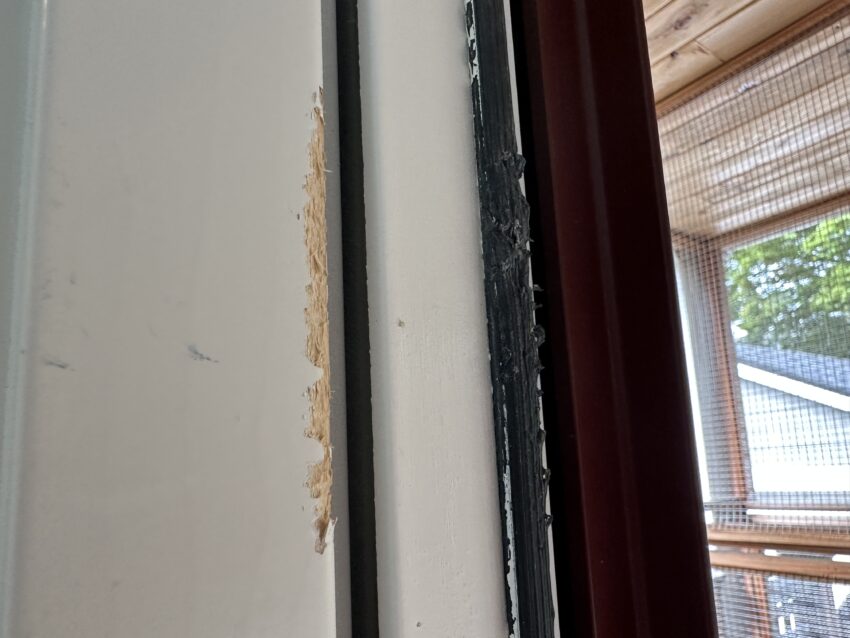
The idea was to open one or both windows during daytime hours to let the birds freely move between the indoor and outdoor aviaries. But as anyone with birds knows, every surface is an opportunity for destruction. The windows were tricky as the framing and trim were all wood. We also didn’t want places where they would hang out that would collect poop. Painted wood isn’t the easiest to clean!
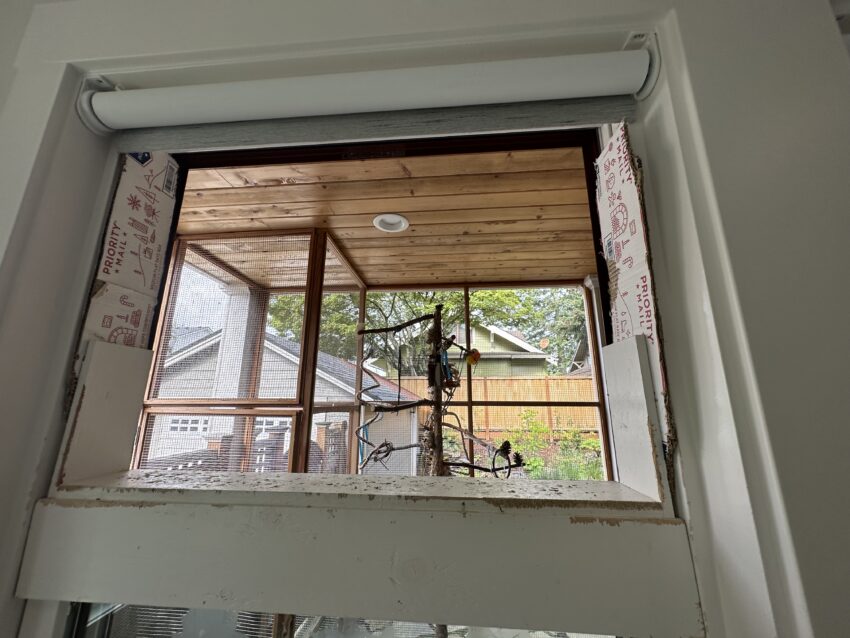
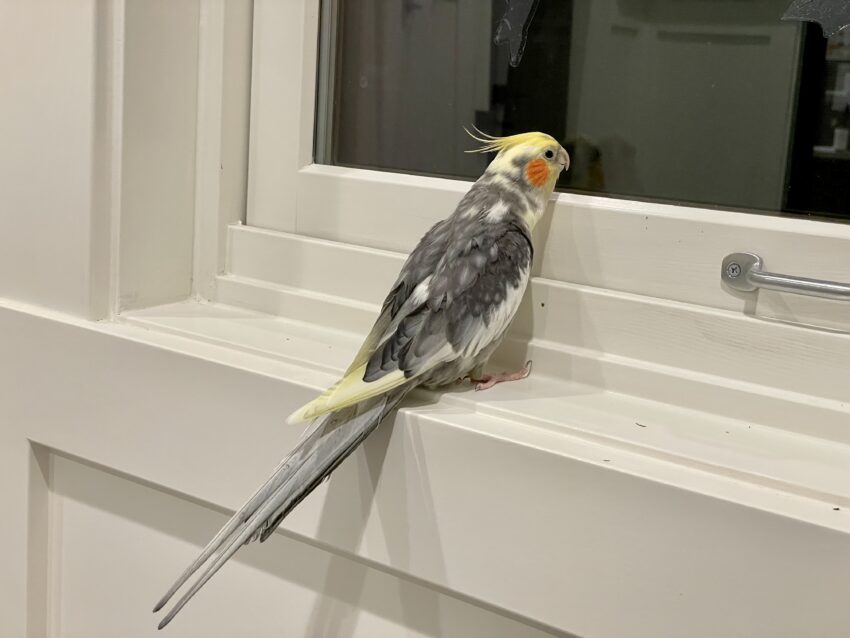
Since they are double-hung windows, we decided to slide the top window down to be at a normal flying height. But this was an opportunity to sit on the top edge of the windows and poop between them! We had a very clever carpenter build these wood blocks that fit over the window frame. Then they started eating the window frames and destroying the rubber seals.
While our glass wall was special bird glass, our windows were just ordinary windows. Given the possibility of striking these windows from both sides, we ended up using some of the sticker options mentioned in my article about making your windows bird safe.
Shades
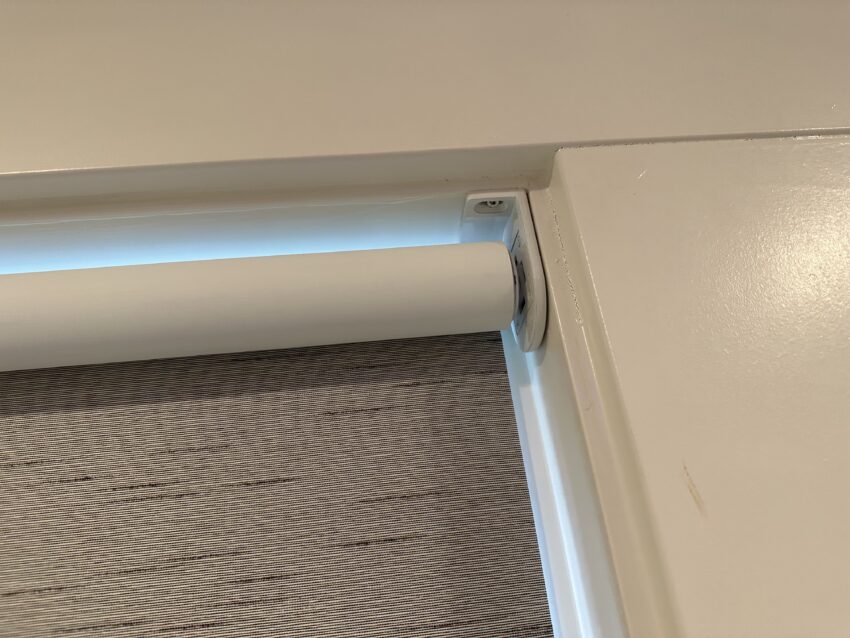
We wanted to put shades on all the windows. Cockatiels and budgies in particular are extremely hormonal and restricting light can sometimes help. We got these roller shades from The Shade Store that are operated with a remote. There are no cords to destroy, and the shades themselves are a surface they’ve so far not been able to land on to destroy. We rarely come up with something we think they won’t destroy. And then they don’t!
Lighting
The existing room had only one light in the middle. Since we were addressing poor lighting everywhere in the house, we put in four very bright dimmable LEDs with low flicker rates. This is a complex topic that I’ve written in more detail about, but the short version is to buy LED lights that are “Title 24” compliant. This indicates they pass some reasonable flicker tests.
Free Range Parrots: Birds and flickering lights
Perch trees
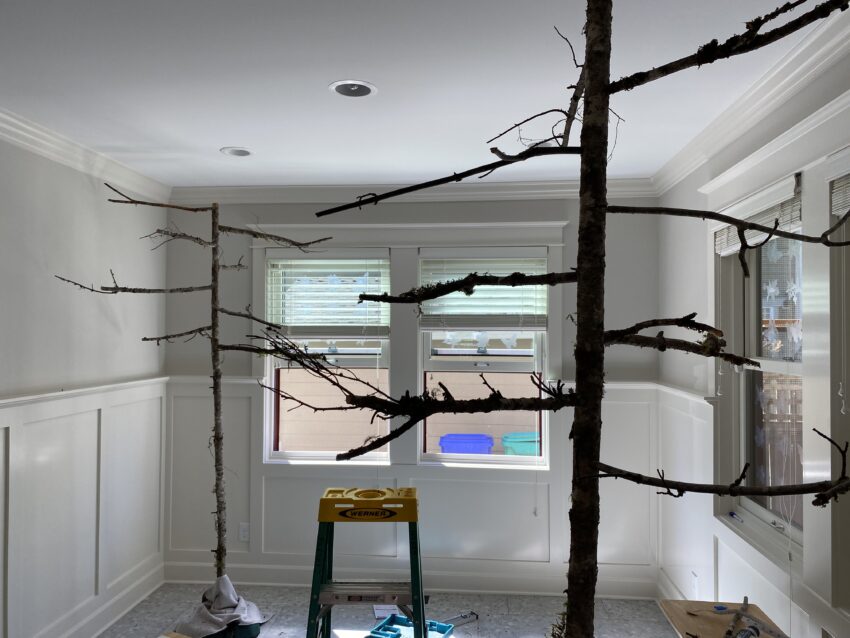
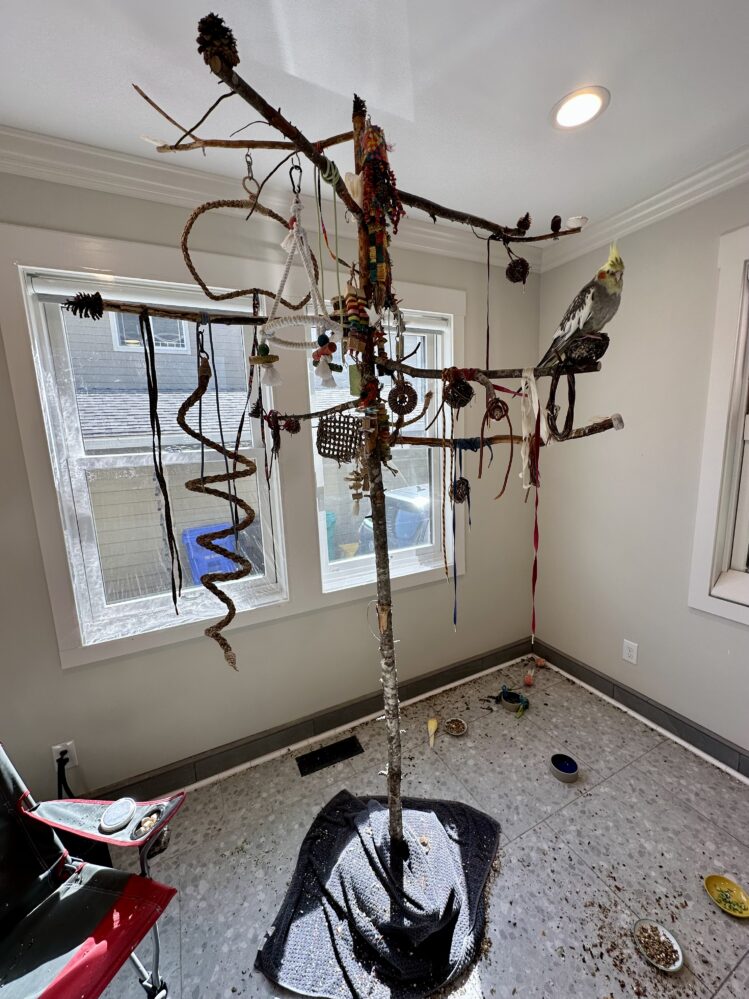
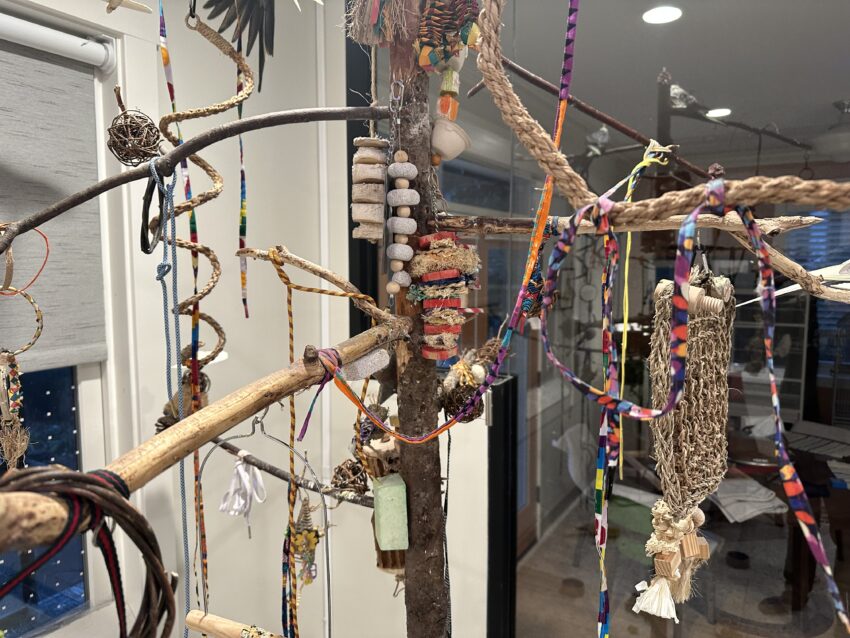
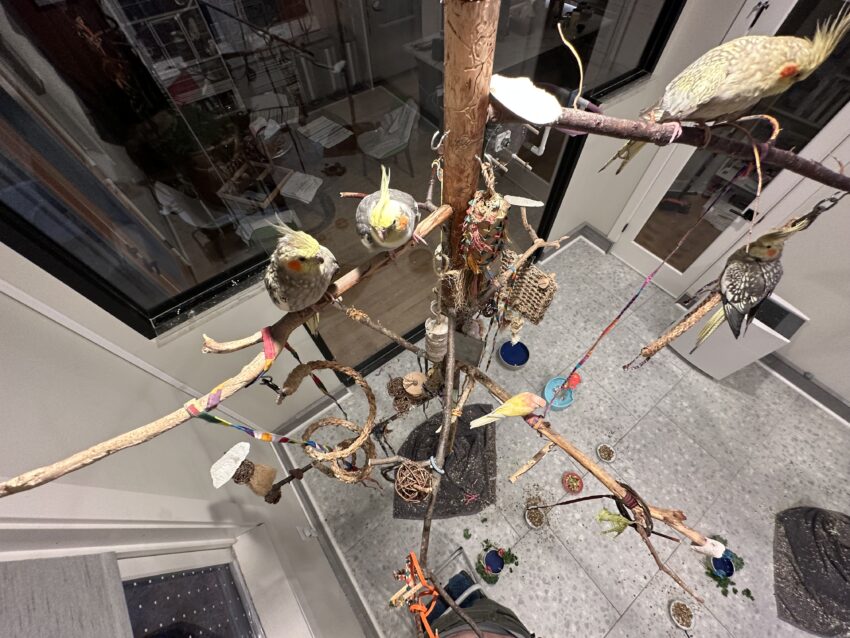
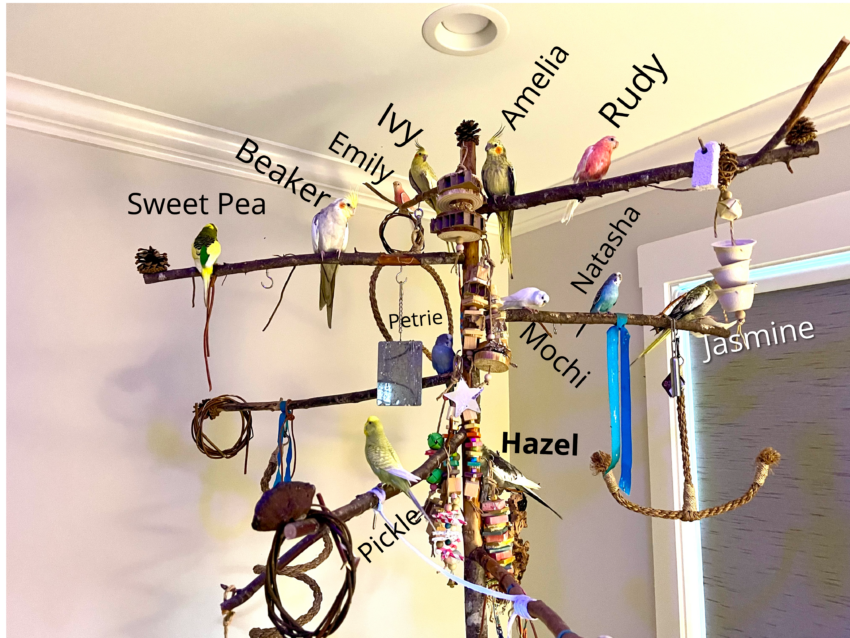
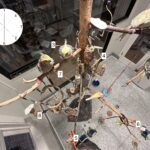
I built “perch trees” for the indoor, outdoor, and basement aviaries. I’ve described this in greater detail in another article:
Free Range Parrots: How I made “perch trees” for our aviaries
That article has a lot more photos, but here’s a sampling.
Glass wall
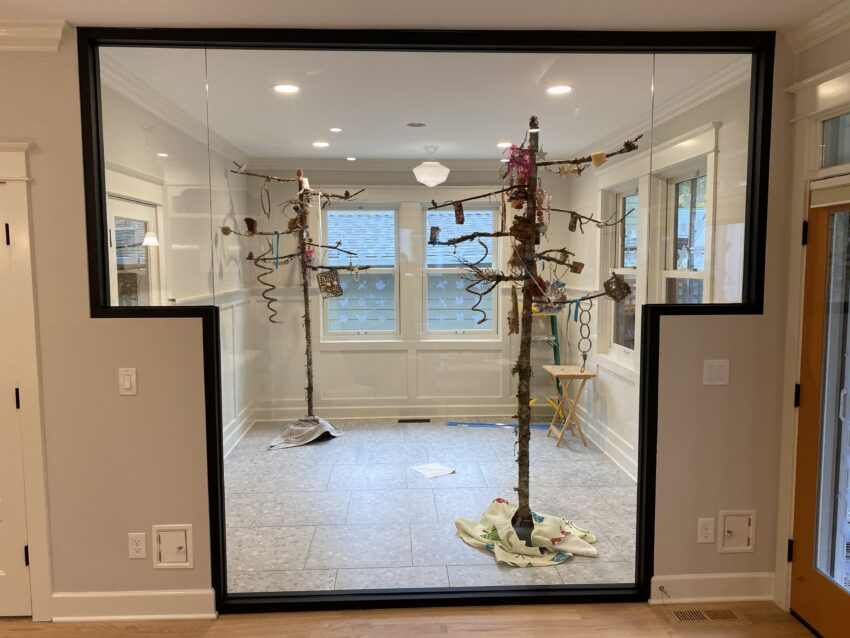
The very last piece of the puzzle was installing the glass wall. We had to wait a few months for it to arrive, and when it did… one of the glass panes was broken! Luckily it was one of the small side pieces so we could get a replacement within a couple of weeks.
The installation took half a day, so here’s a nice time-lapse video.
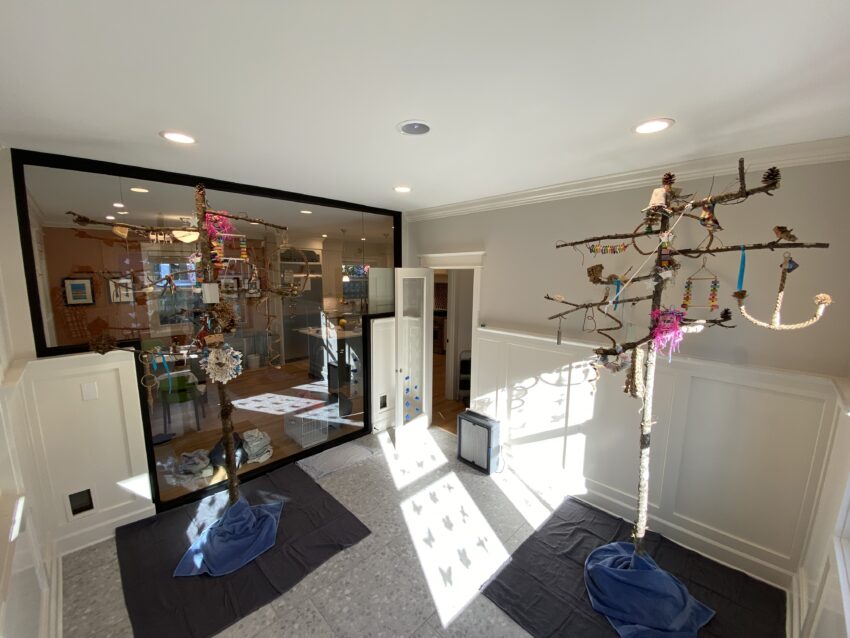
And here’s the finished product, just before the birds were unleashed into their new home.
Updates
In the two years since this was built, we’ve had to make several changes based on what we learned. One of the changes involved moving the birds out of the aviary for several weeks. We were extra fortunate to have a basement aviary to stash them in while construction took place.
Bird strikes
Although we’ve had no injuries from birds striking the main glass, we discovered that when we added new birds to the aviary, they would sometimes graze the glass or coast into it, especially during a panic. I wrote about this in my article about preventing bird strikes.
The summary is that we now put up UV stickers for a few weeks after putting new birds into the aviary. That seems to help them understand the presence of the glass, even during a panic.
Wood trim
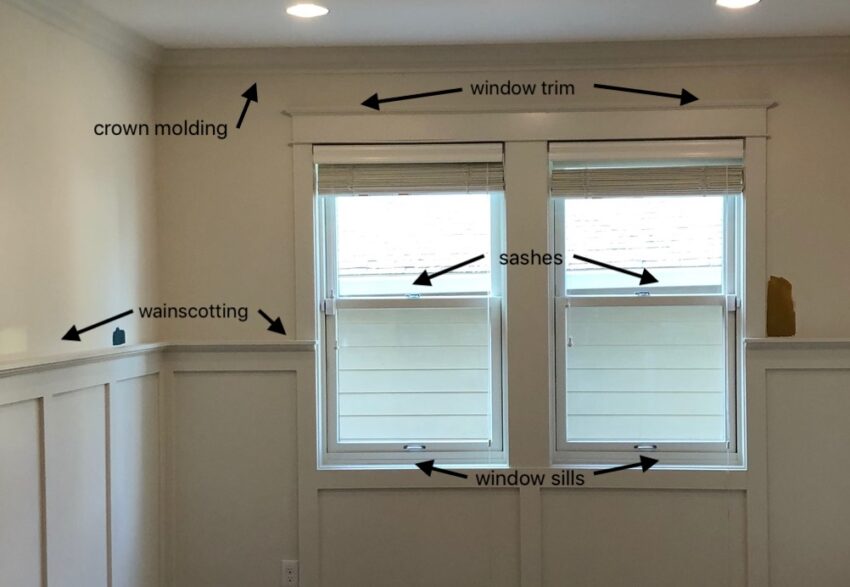
The wood trim around the windows and elsewhere was a constant problem. As you can see in this photo, there are too many places where birds can land and eat the woodwork.
Having fought prior battles with birds over eating things, we thought they could be resolved cleverly. We also had spent a lot setting up the aviary and needed to draw the line somewhere. We tried using edge protectors and polycarbonate sheets to protect them, but it just ended up being more surfaces to clean.
So, we decided to move the birds out of the aviary for a few weeks to make some changes. We removed the wainscotting, replaced the wood baseboard with tile, and redid the trim above the windows to be very thin, so they could no longer land there. In the long run, it was well worth the one-time expense.
Plastic film
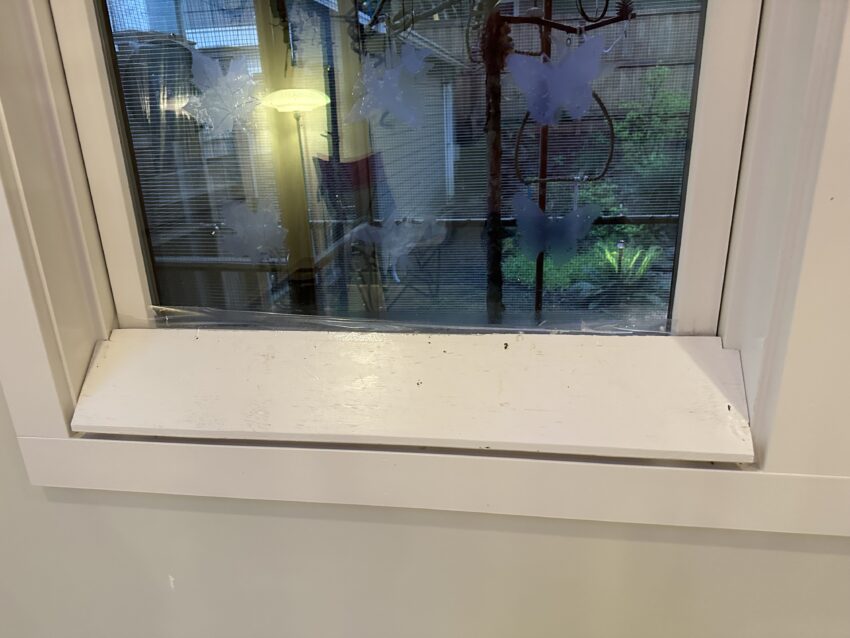
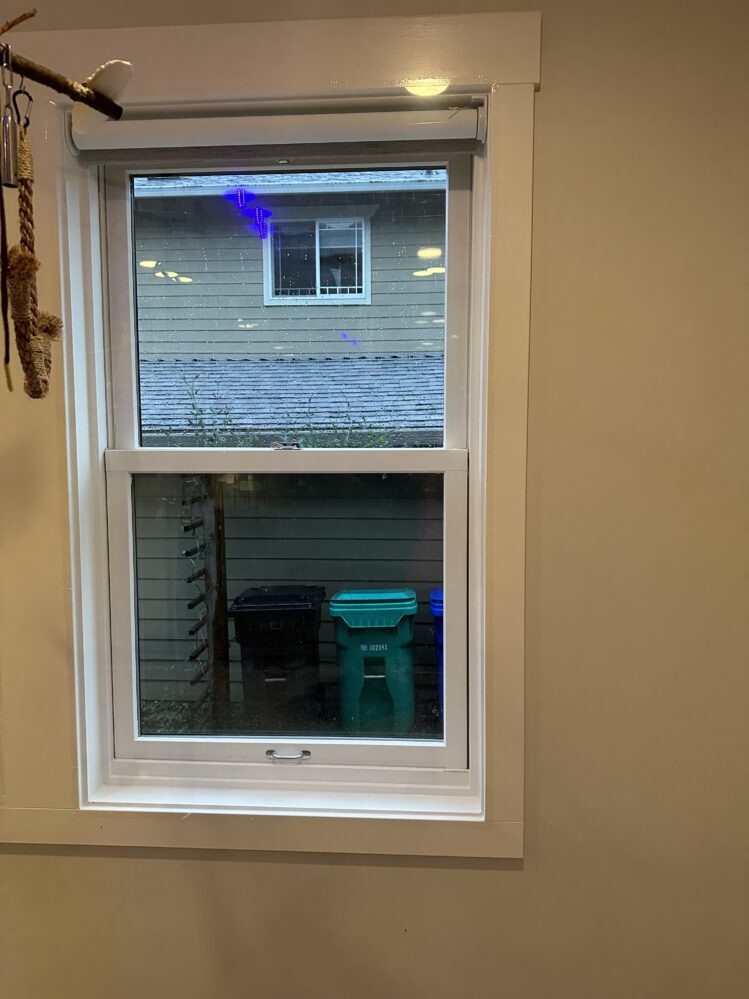
We recently stumbled upon a cheap solution (less than $20) for protecting the windows from birds landing on the sill and sash. We installed some plastic film from 3M over the entire window frame. This puts everything, including the shade, behind a thin plastic film. Surprisingly, the birds have not been able to bypass this. And it’s invisible.
Conclusion
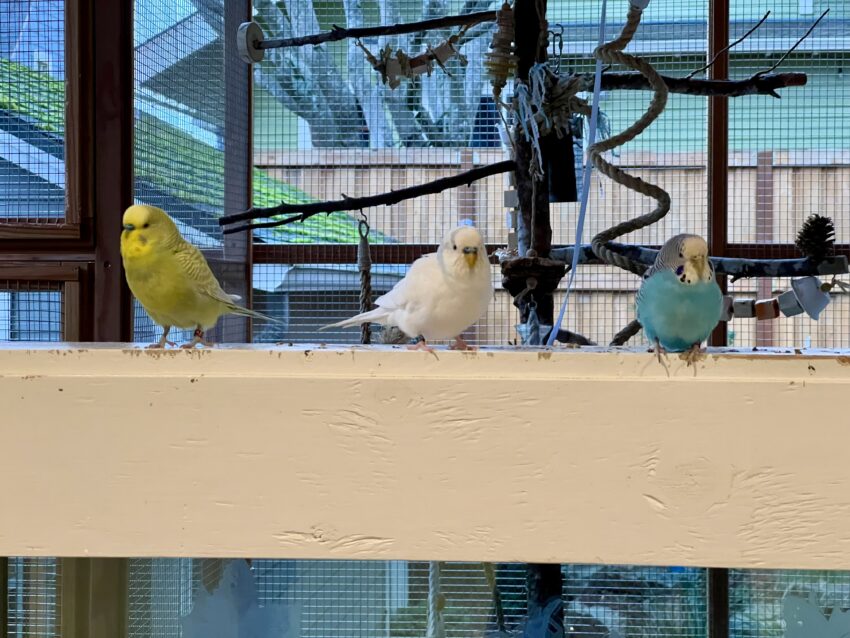
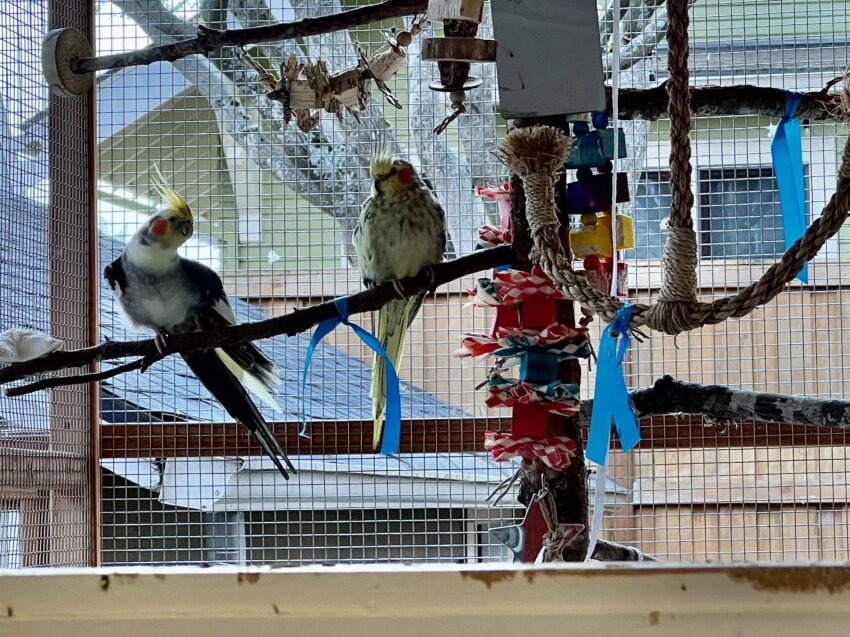
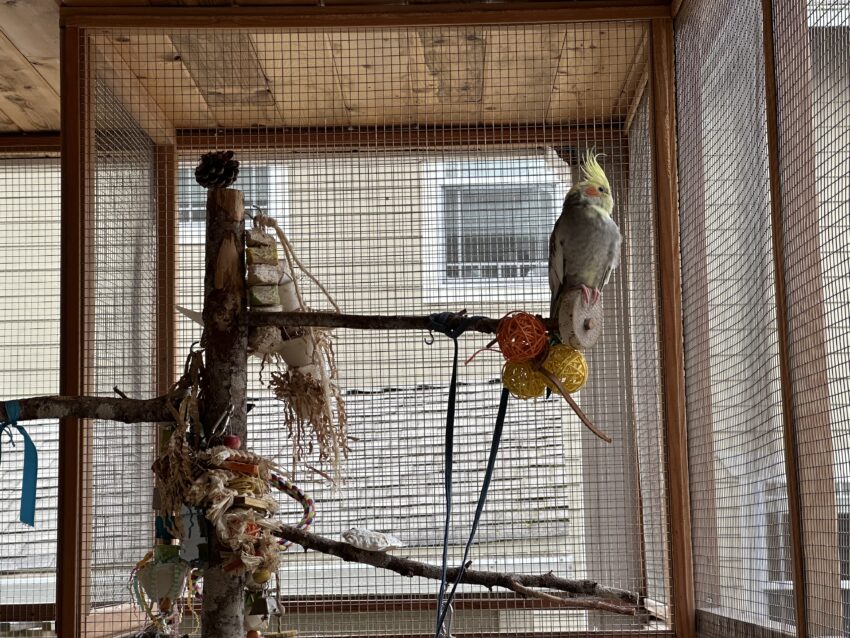
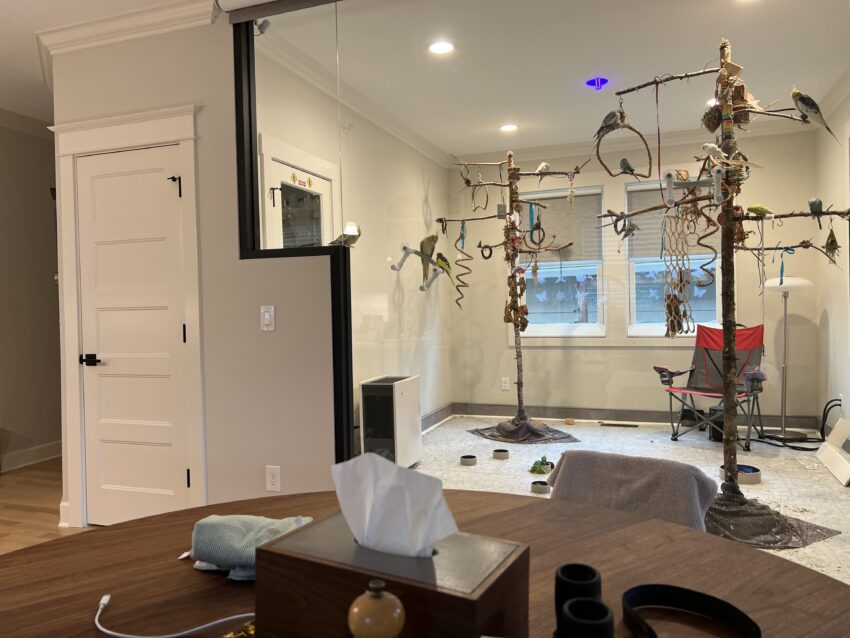
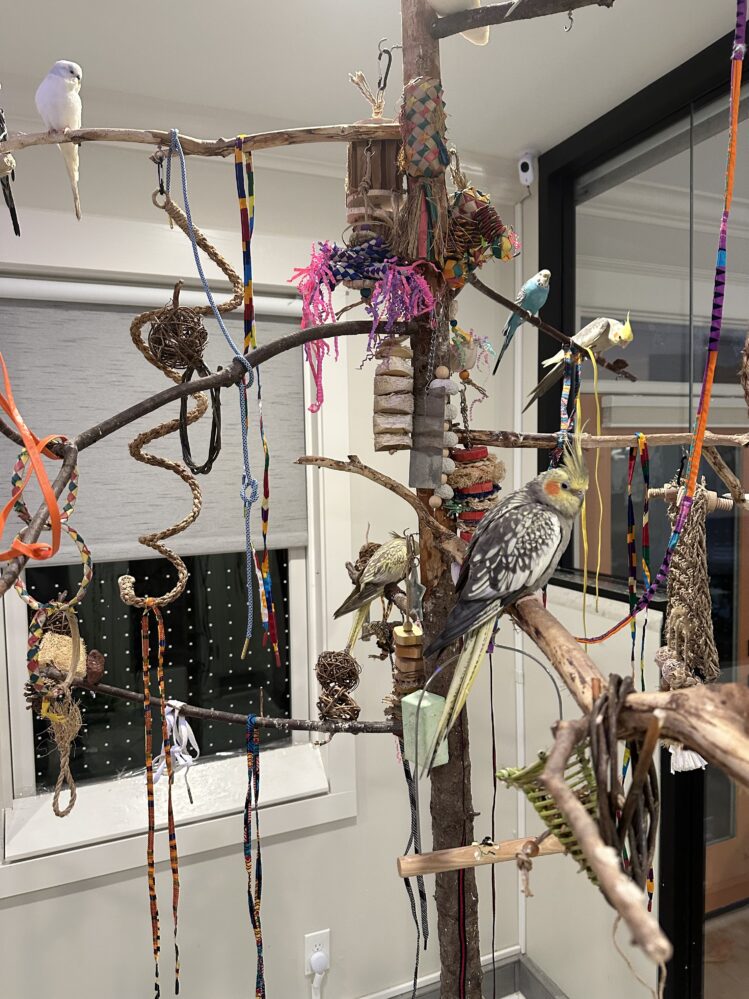
Despite all the effort and expense, it’s been a very successful project! The birds seem to love their new home. Here are some photos and videos of the finished aviary.
