Aviary 2.0
NOTE: This does not endorse any particular style of building an aviary. I present this as a design I found compelling enough to use and what I learned over time.
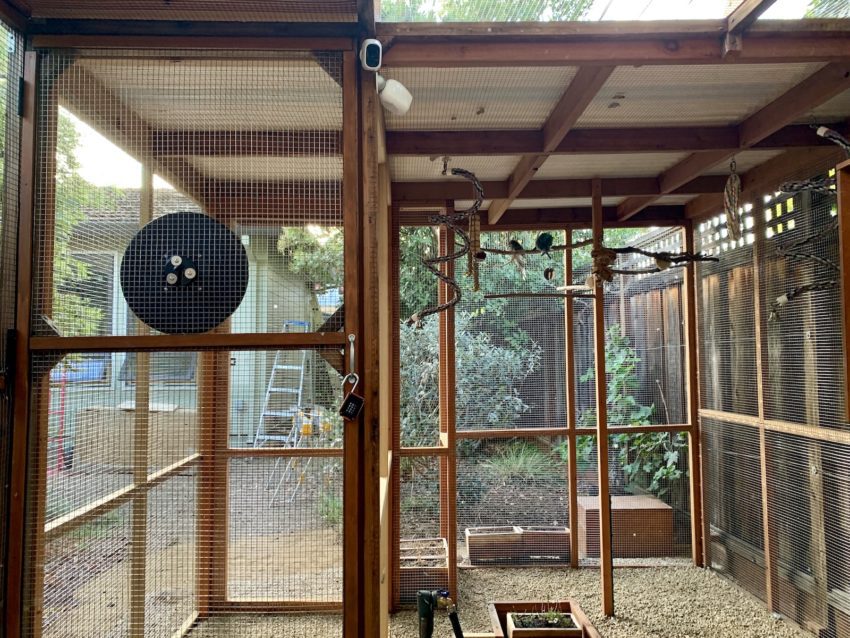
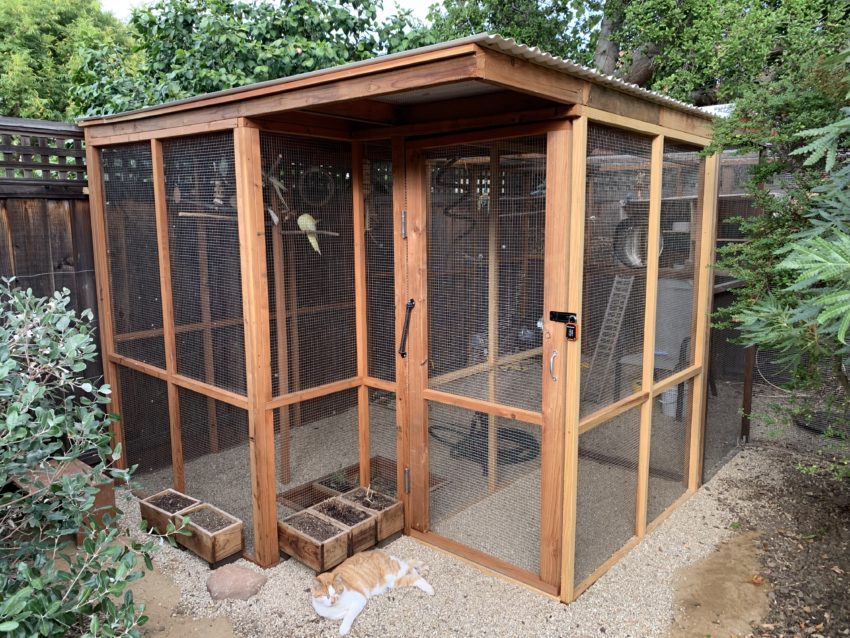
Two years ago, I built an aviary in the backyard. Just last month, with the help of a carpenter this time, I finished a significant renovation and expansion. I incorporated a large number of changes based on my first design. For those not interested in my detailed description of the new aviary, here is a photo gallery.
The original aviary was approximately 128 square feet, while the new one totals around 192 square feet. But because of the layout, there is a much longer flight path the birds can take, so it seems much more enjoyable to them.
Purpose
The main purpose of this aviary is that birds come into rescues and shelters aren’t suited for living indoors. For example, they may have lived their entire lives outdoors in a large aviary. Also, some species of birds tend to have high mortality rates when kept in cages inside homes and do much better in an aviary.
I wanted to provide a nice space for these birds that otherwise have trouble finding a good home.
Species
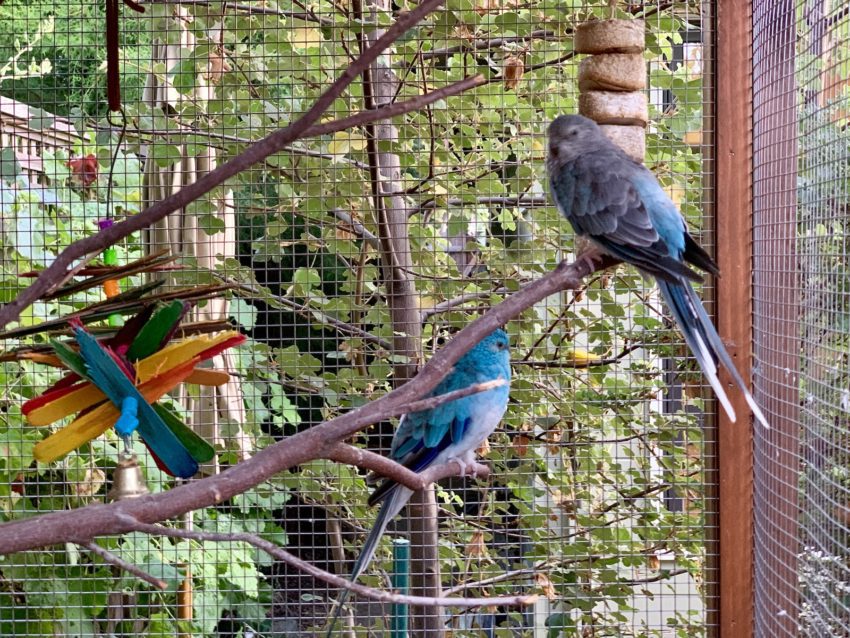
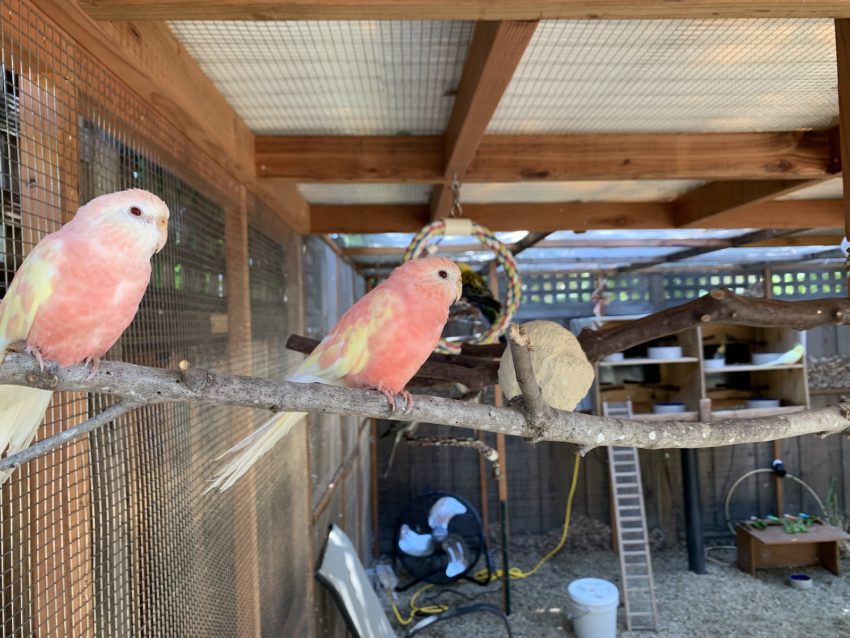
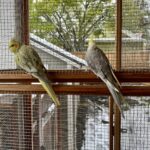
The original aviary was intended to be a cockatiel aviary but grew to accommodate a wide variety of small to medium-sized species. This was the max population:
- 5 cockatiels
- 7 grass parrots (3 species of neophemas)
- 3 bourke’s parrots
- 2 red-rumped parrots
- 1 rosella
In the future, the following are being considered:
- 1 canary-winged parakeet (already received as I was writing this)
- 2 cockatiels
- 7 budgies
- 1 lory
Original aviary
I did a lot of research for my original aviary, choosing to model it after an Australian dirt floor aviary, using thin wood and wire for maximum visibility and sunlight. However, there’s surprisingly little advice out there on some of the finer points of building an aviary, outside of the structure itself.
Having very little experience building anything, I’m still quite proud of the first version of the aviary.
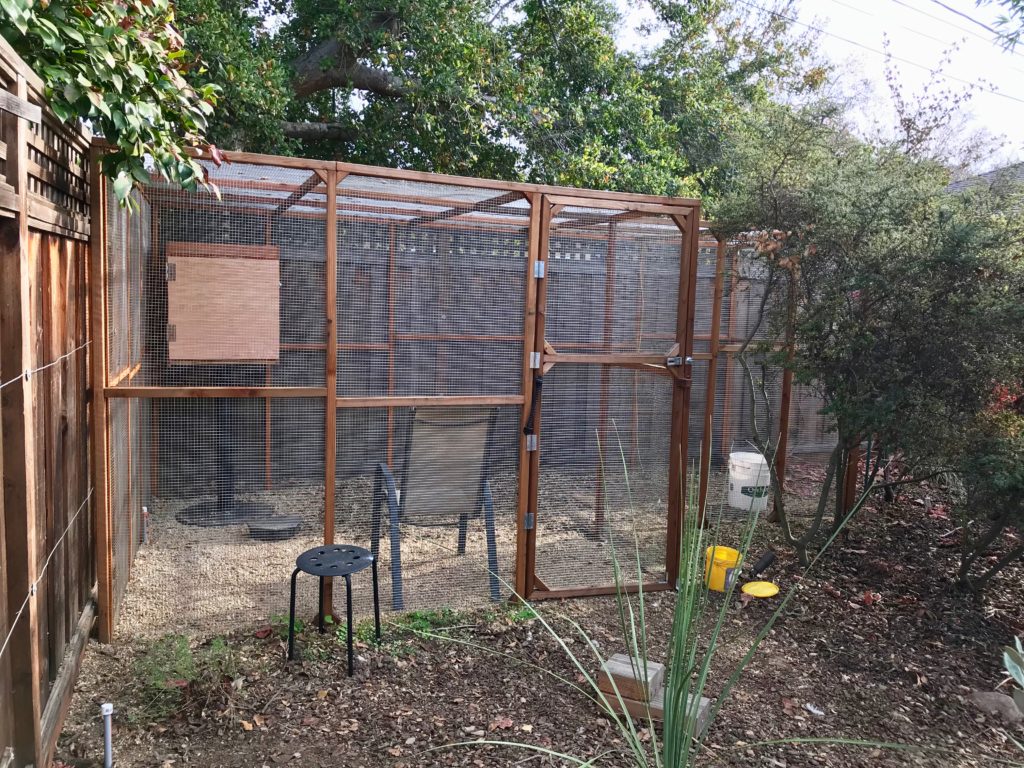
Some info on it:
- The structure is 2×2 redwood lumber (note that some pressure-treated or stained wood may not be safe for birds to eat)
- The wire is 18 gauge stainless steel, 1/2″ x 1/2″ (hardware cloth may not be safe for birds that can eat the zinc chunks)
- The foundation is a perimeter of gravel with a row of bricks stacked on top. Gravel was designed to be deep enough to prevent intrusion by rats. So far, so good.
What I learned
In the first two years, the aviary proved to be overall better than I expected, but I uncovered many small and serious flaws in the original design and construction.
Airlock
I’ll start with the biggest mistake by far, which was the “airlock” design. An airlock is often a double-door system so that you can enter the airlock, check for birds, and then enter the aviary without risking escape. Because of the very limited size of the original aviary, I decided to use this aluminum chain curtain just inside the door that I thought would work fine.
To give myself some credit, I showed this to a handful of bird people, and they thought that it was a good design.
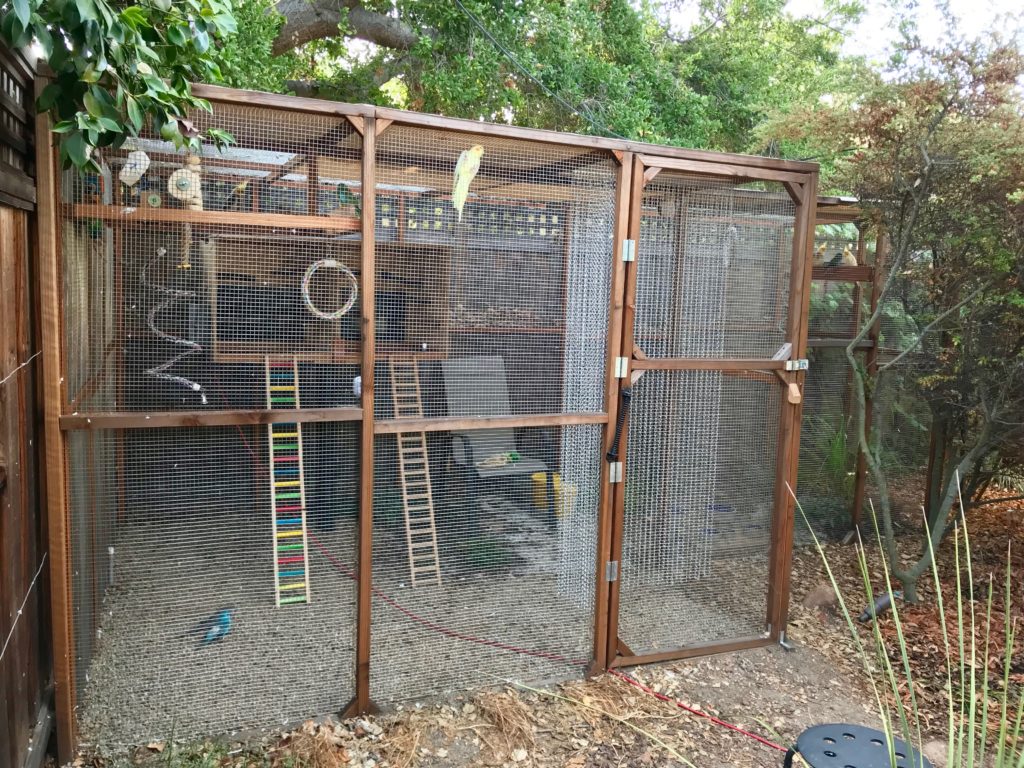
With this design, I’d open the door and stand inside the curtain, then shut the door. Once I verified the airlock was clear, I’d part the curtain. When birds were flying around, they always avoided the airlock so it seemed like it was going to work.
Then one day, I opened the door and noticed too late that there was a bird on the ground of the airlock area, very close to the door. Out the door he went, never to be seen again. Not sure I will ever get over it.
I eventually figured out the birds weren’t flying through the curtain. They were walking between the chains on the ground. Once they were through it, they would climb around and get trapped in the airlock area.
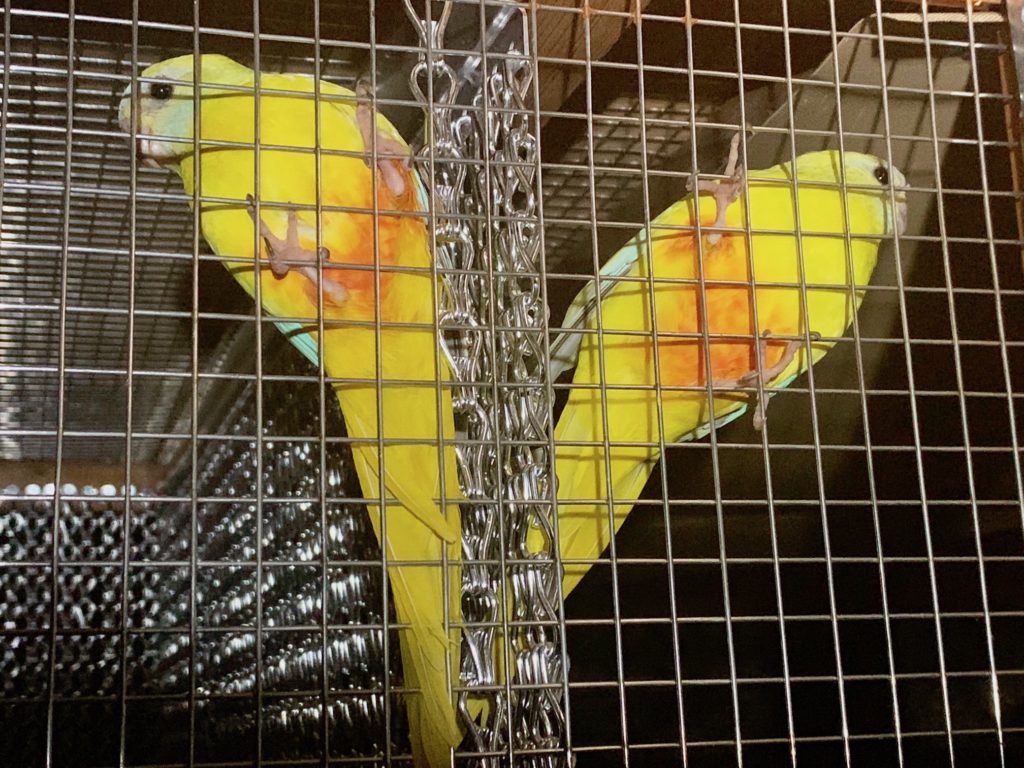
On top of the loss of a bird, this was a constant headache as birds would sometimes be trapped in this area when I needed to get into the aviary. I would keep a long thin pole that I would use to part the curtain and try to coax birds back into the aviary.
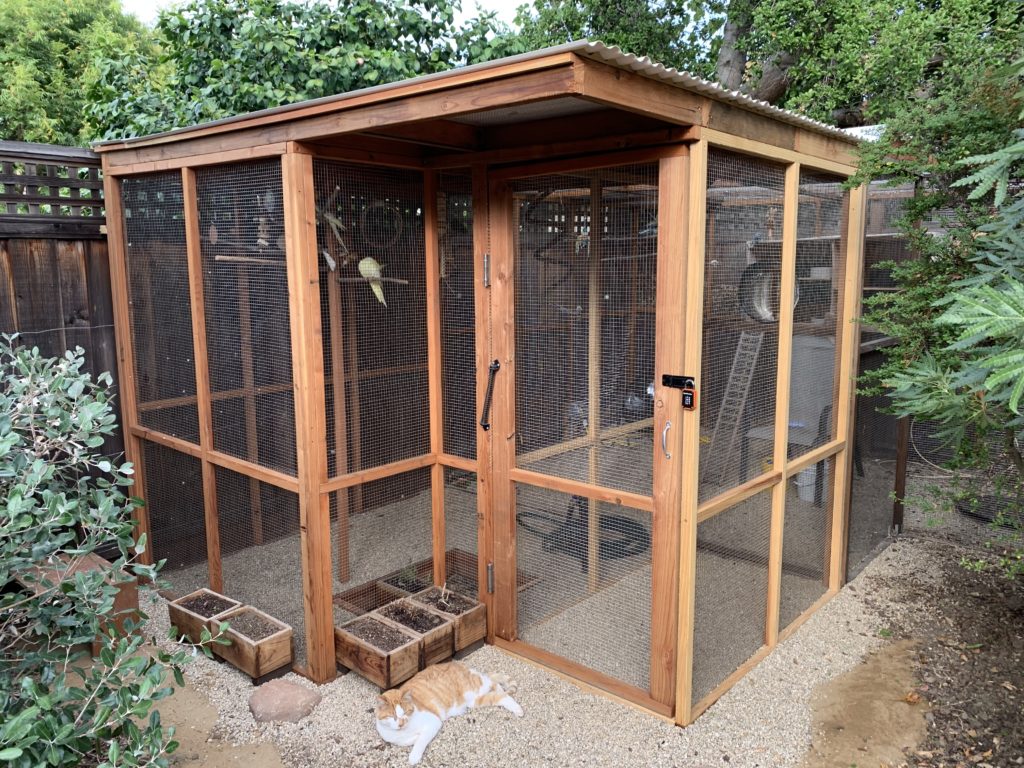
The redesign’s #1 purpose was to add a proper double-door system. Side benefits included increasing the size of the overall aviary and addressing deficiencies in the original design.
Roof sagging
In one section of the original structure, I had 8-foot-long 2x2s that were supporting the roof. I knew that I was pushing it with 2x2s, but I was willing to accept some sag. I wanted as much light to be able to get into the aviary as possible, so I thought it was a good compromise.
Two years later, in the middle of the aviary, the roof was sagging 2-3 inches in one spot, getting to the point where it was impacting my headroom. I also lacked confidence that the aviary was structurally sound, even though a carpenter I hired felt that it was been fine.
This was fixed by adding 2x4s for roof support and in constructing the new section. I continued to use 2x2s for all the walls as they resulted in a more lightweight structure.
Cover from rain
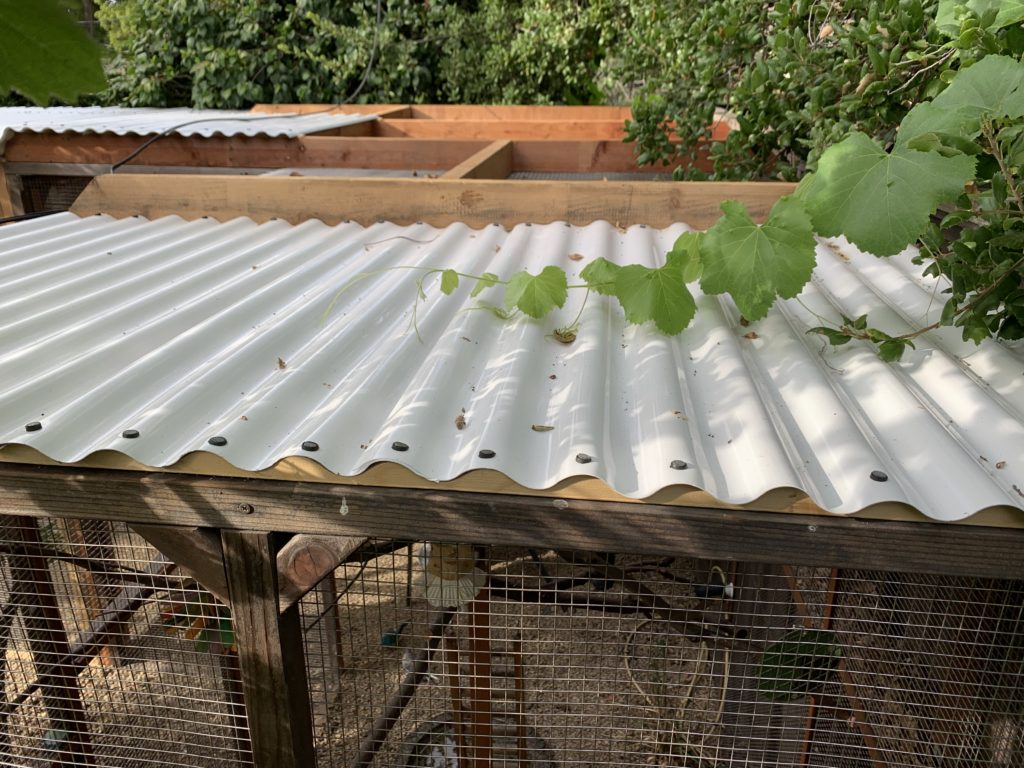
I had thought the birds would use the shelter I built during bad weather. However, on rainy nights, I would go out and see soaked birds that didn’t know where to go. So I started using this umbrella fabric to cover areas selectively. I originally did not want to have a roof because the aviary is in a shady spot and I wanted as much sun to filter through as possible.
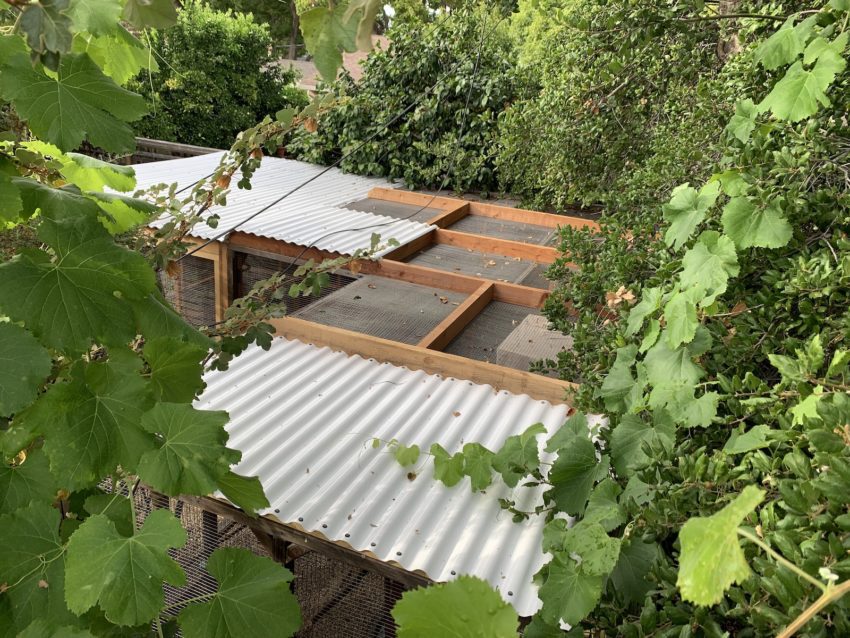
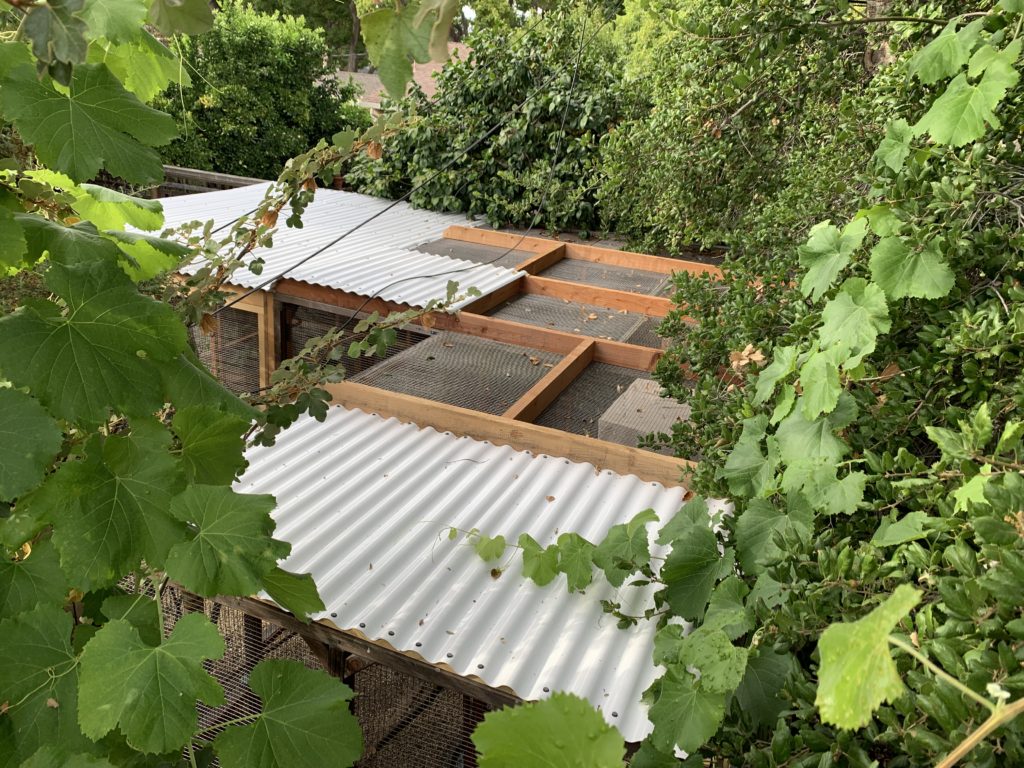
The umbrella fabric was a reasonable compromise, but water would collect on top due to the roof being completely flat. I covered certain areas with white PVC roofing material in the redesign and angled the roof in the new sections. The roof lets some light in without causing the aviary to overheat. I don’t love it, but it appears to be working well.
The end result is an aviary that is at least half covered, and 2 of the 3 perching areas are covered. Birds can choose whether to be in the rain and/or the sun.
Shelter
About 18 months after the aviary was built, I did a large rescue that had multiple species and I also adopted a Rosella. The aviary that started as just cockatiels now had 7 species. The shelter was too small and had only one large room. I noticed that some species monopolised shelter space and did not let others in.
Although no breeding occurred in the shelter, I also learned that my shelter design was too much like a nest box and may encourage egg laying.
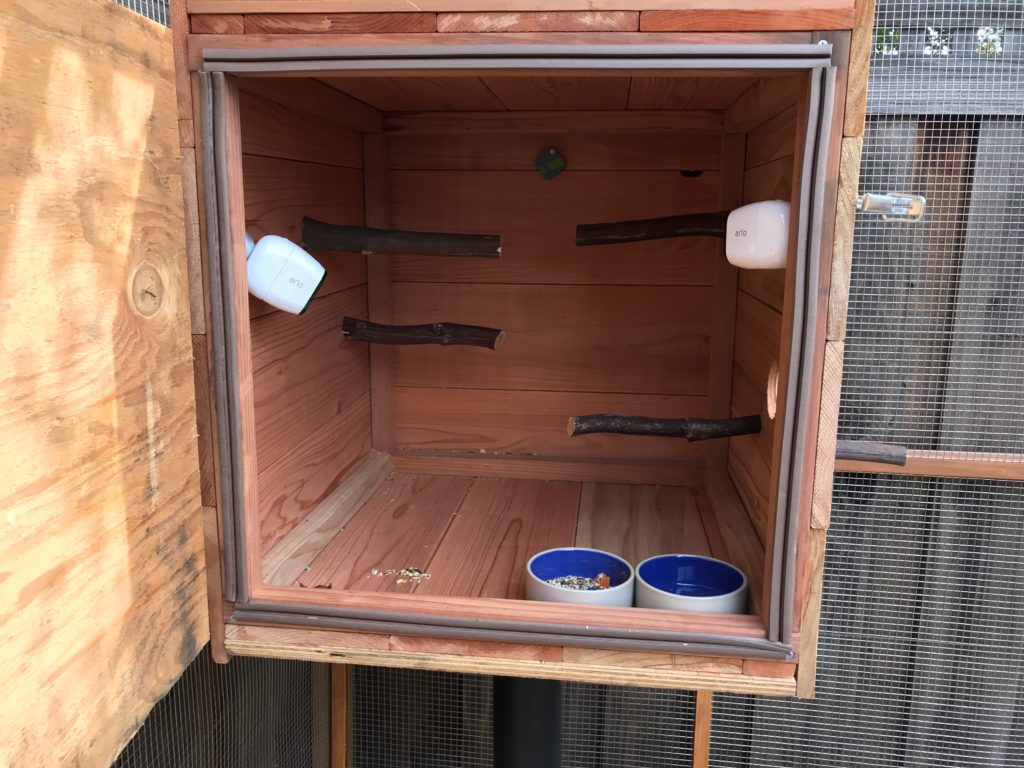
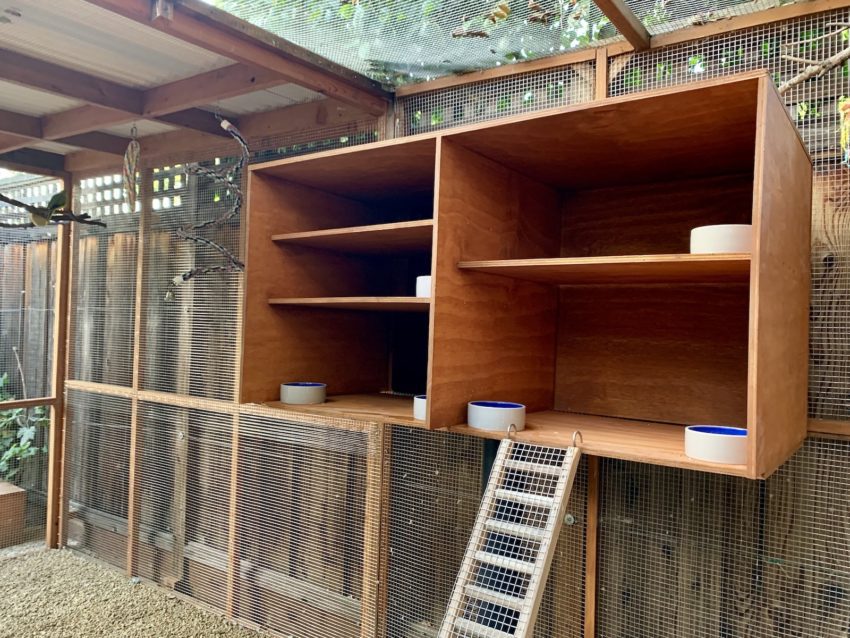
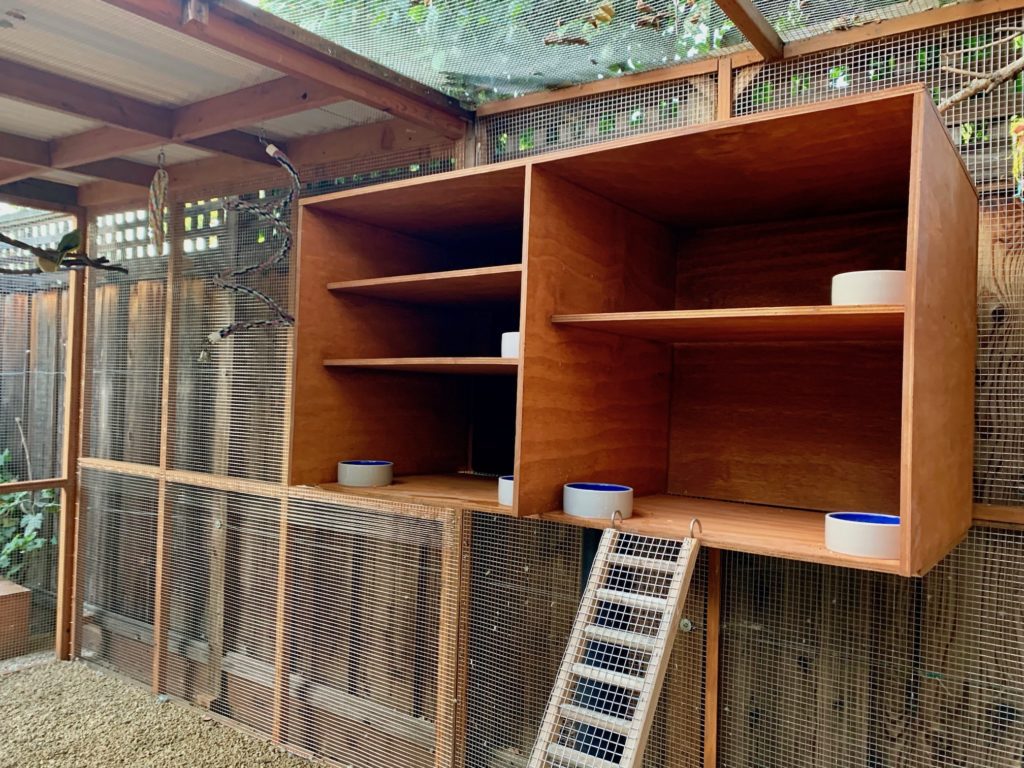
I redesigned it to be open from the front and partially on the bottom to discourage cavity nesting. I also added some flat-panel radiant heaters to make up for the fact that the front of the structure was now open. I made the shelter twice the size and set up five compartments so compatible species could hang out together and not get harassed as much.
This has been very successful so far, with different species hanging out and eating in different-sized compartments without getting chased off.

Wire gauges
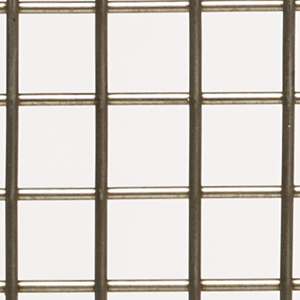
I’ll take a slight detour here and talk about the choice of wire gauges. I used 18 gauge stainless steel wire, 1/2″ x 1/2″ mesh. This is perfectly fine for keeping out predators, is easier to work with than 16 gauge, is lighter, and is about 40% cheaper. It’s also thinner, allowing better visibility into the aviary from the outside. The downside is that it doesn’t have enough structure to support attaching things to the wire, like perches.
For reasons I’ll describe later, I don’t regret going with the thinner gauge, but for a long time, it limited my perching choices to things that could attach to the wood frame of the aviary. If you’re designing an aviary, I’d still recommend the thinner gauge but keep in mind the tradeoffs.
Perching space
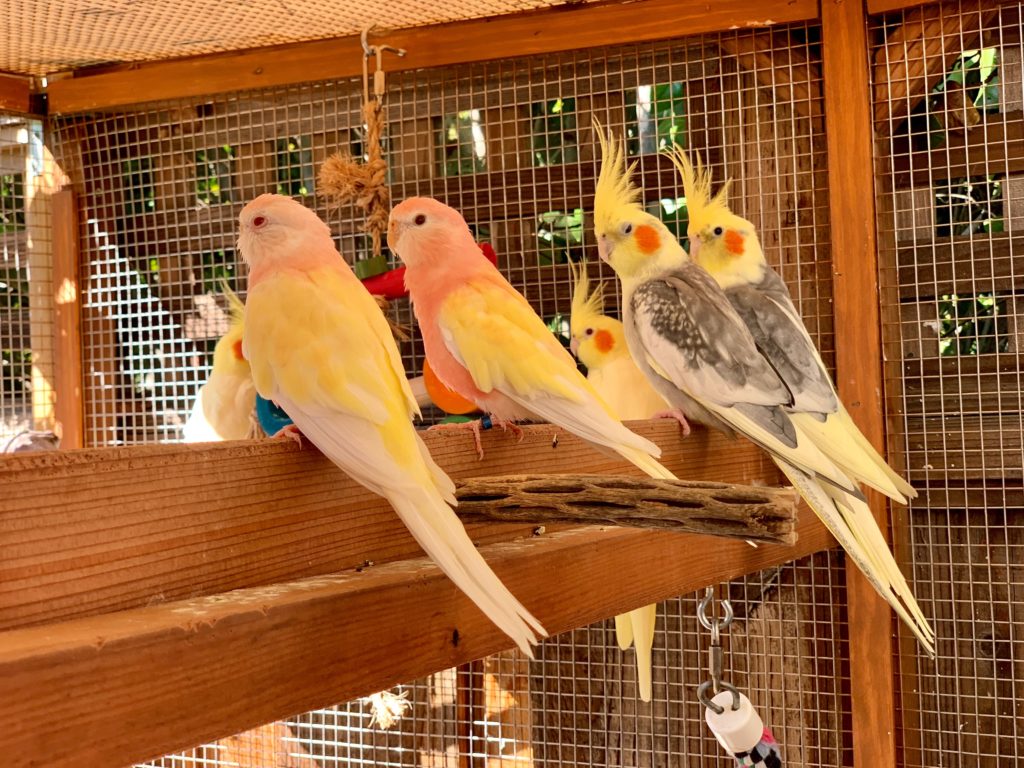
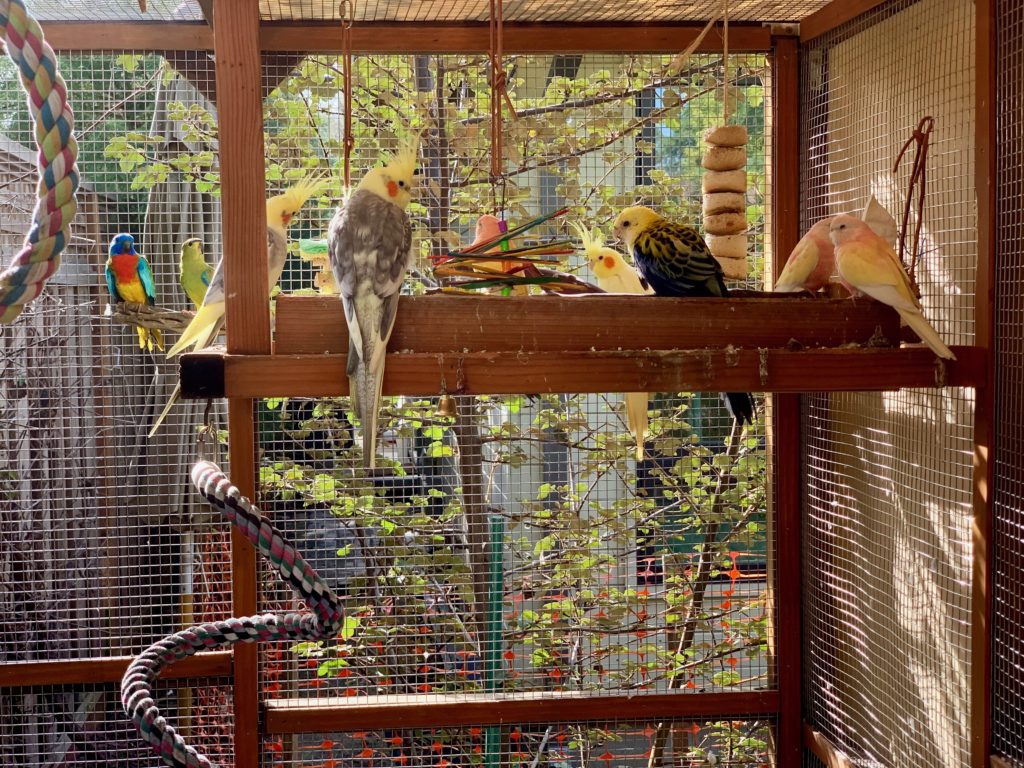
The presence of so many species and birds means you need enough space so they can co-exist without needing to fight to get access to food, water, and sleeping space. Because of the thin gauge wire mentioned above, I had to construct perching areas off the wood frame rather than the wire in the original aviary.
This led to less-than-ideal perching options, with insufficient space overall. Perches were too close and at right angles to each other. There was no easy way to walk away from a conflict. Also, the design was such that cleaning was a bear.
Due to the roof issues and rain, more birds would try to huddle into covered areas during rain, leading to more lack of harmony.
Someone to help
The first iteration of the aviary, I did myself entirely. For the most part, this worked fine, but you need a second person at critical moments in construction. For the renovation, I worked with a carpenter, and that worked out just great! But not everyone can afford to pay someone to help. Just getting a neighbour kid to hold some boards at certain points can be a lifesaver, though.
This is a side note about levels I learned when I built the first iteration.
You should judiciously use levels when building any structure. Line levels, regular levels, and possibly even plumb lines. I learned that you want to be VERY precise with a level and not be happy with “almost” perfectly straight. Eventually, this ends up biting you.
It’s hard to juggle all these levelling devices and structural lumber, so be sure to have someone to help at these moments, as I mentioned in the previous section.
Consider buying a door
Unless you’re a really good carpenter, I highly suggest framing a door and then buying an off-the-shelf screen door. If the door to your aviary is the first door you’ve ever built, you can either consider it a potentially maddening learning experience, or you can just save yourself the trouble. Doors are hard. An honest carpenter will tell you that.
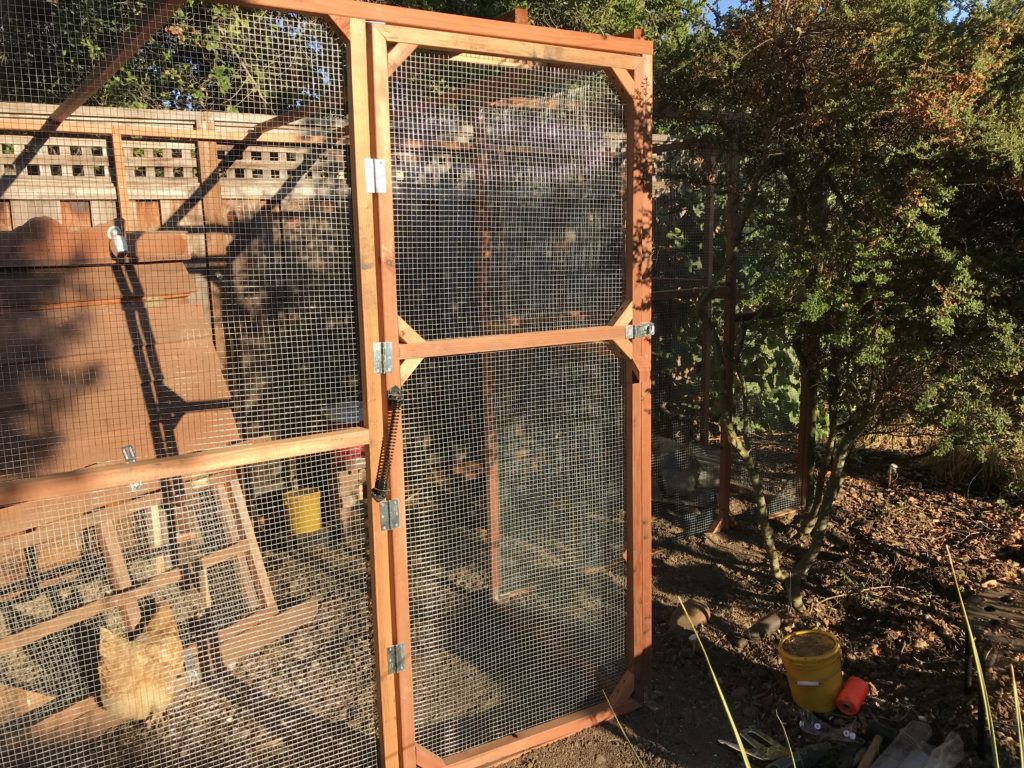
One really important point is that you don’t want to be messing with the door of an aviary if you’ve made one and it doesn’t work right. You don’t want to have to net a bunch of birds so that you can take down and fix a door or keep it propped open while you adjust it.
Herbs and plants
One of my amazingly successful ideas in the original aviary was to plant herbs and other small plants on the floor. In my case, I have a lot of ground-feeding Australian birds, but I think it could work with other birds as well.
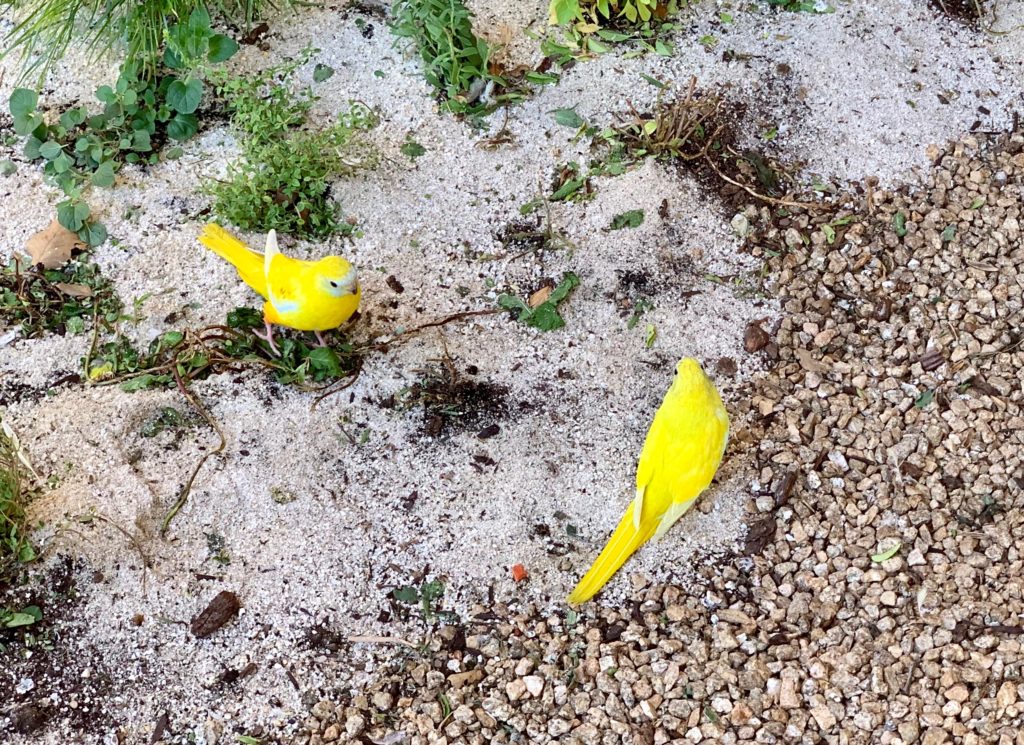
When I had just five cockatiels, I could buy a few new plants each month and keep up with the destruction. But then I got these red-rumped parrots and grass parrots, and it’s amazing what they can demolish in a day. It becomes impossible and just too expensive to keep up with the destruction. Also, it’s kind of depressing to look at dead stumps.
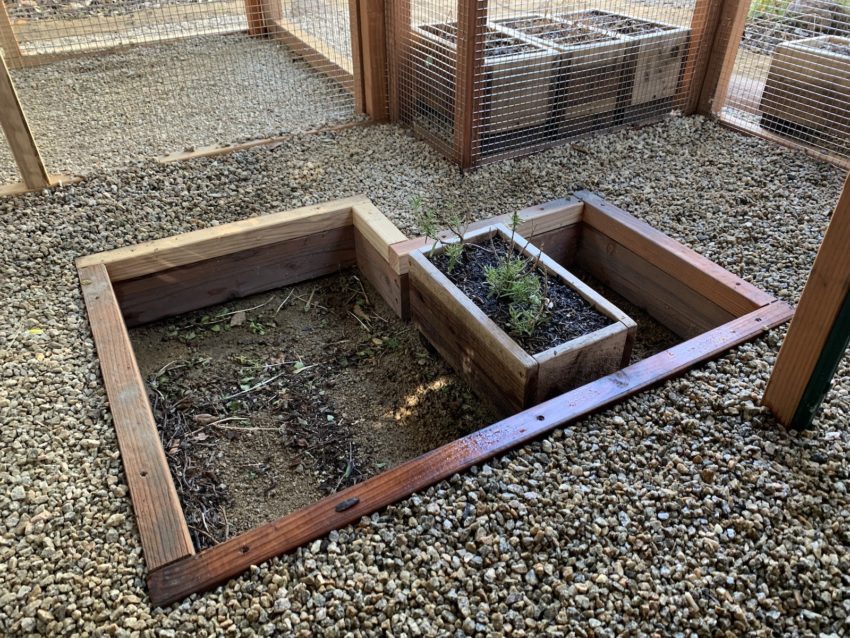
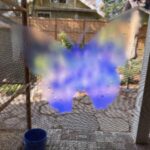
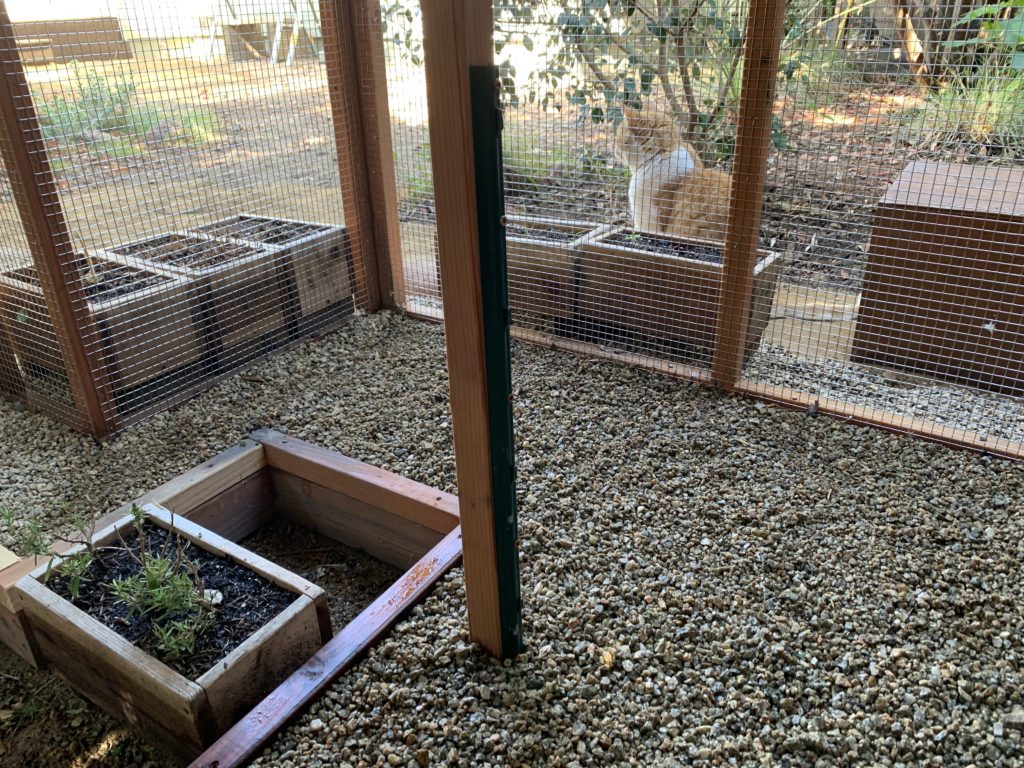
I hatched a new idea for the new aviary, and even though it’s early, it seems to be working. I have some individual planters and then a space in the aviary where I can set them down, and they are at ground level. Here’s a picture of just one planter at ground level.
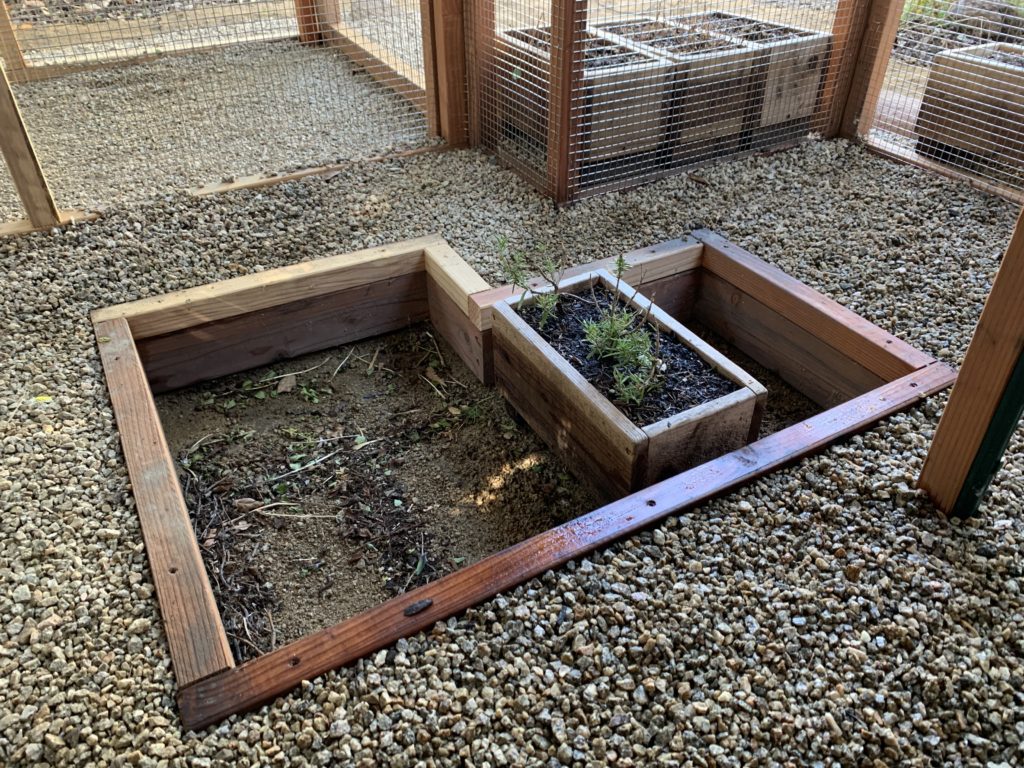
Outside the aviary, you can see other planters in various stages of growth. I put in fresh planters and then rescue them before they get destroyed completely. Then I bring them out and let them regenerate. If I don’t catch it in time, I plant some new seeds in the planters.
It doesn’t have to be this elaborate, but something is to be said for destroying a real plant versus being given some on a plate or in a clothespin. They seem to enjoy the real experience!
Perching stations
I mentioned in the sections on wire gauges and perching space that I struggled for a long time with perching solutions. All I knew was that I wanted the following things but didn’t know how to get them.
- Stable perches that don’t need to be attached to the wire
- Ability to attach multiple perches at different heights and angles
- Ability to accommodate natural wood perches of varying dimensions and branching patterns
- Ideally, perches that can be swapped out with new ones where bark/lichen can be munched on
I came up with something I’m quite proud of that works well.
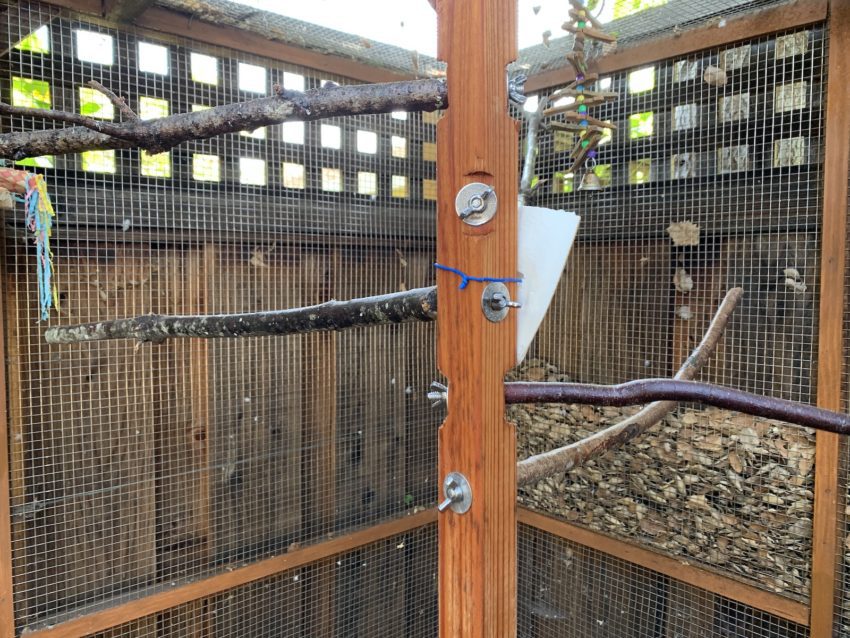
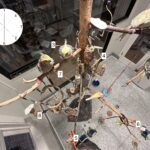
I started with 2×2 lumber attached to the roof structure. At the bottom, I pounded in 4-foot metal stakes that have screw holes to be attached to the 2×2 posts. Then I have a solid pole to attach perches.
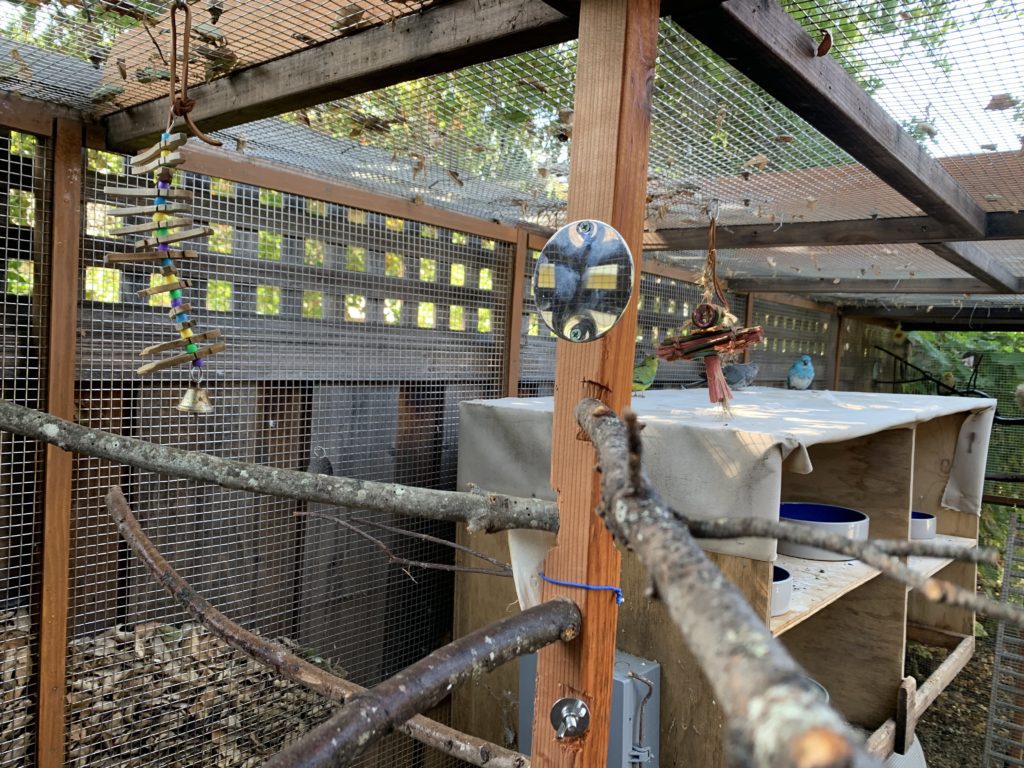
Now I’ve got a solid vertical pole, spaced away from all the walls, where I can attach perches, toys, mineral blocks, and mirrors. Without going into excruciating detail, here’s what I needed as far as hardware:
- Electric drill
- Drill bits of various sizes
- Spade bit (only if you want angled perches)
- Washers and wingnuts
- Hanger bolts (here’s a particular kind I used that worked well – I’m not an Amazon affiliate).
The hanger bolts allow you to screw into wood branches and then make a perch that will take standard machine nuts.

Since I used 2x2s for poles, I wanted to attach perches at angles, so the spade bit allows me to drill a flat spot at an angle for the perch to attach to.
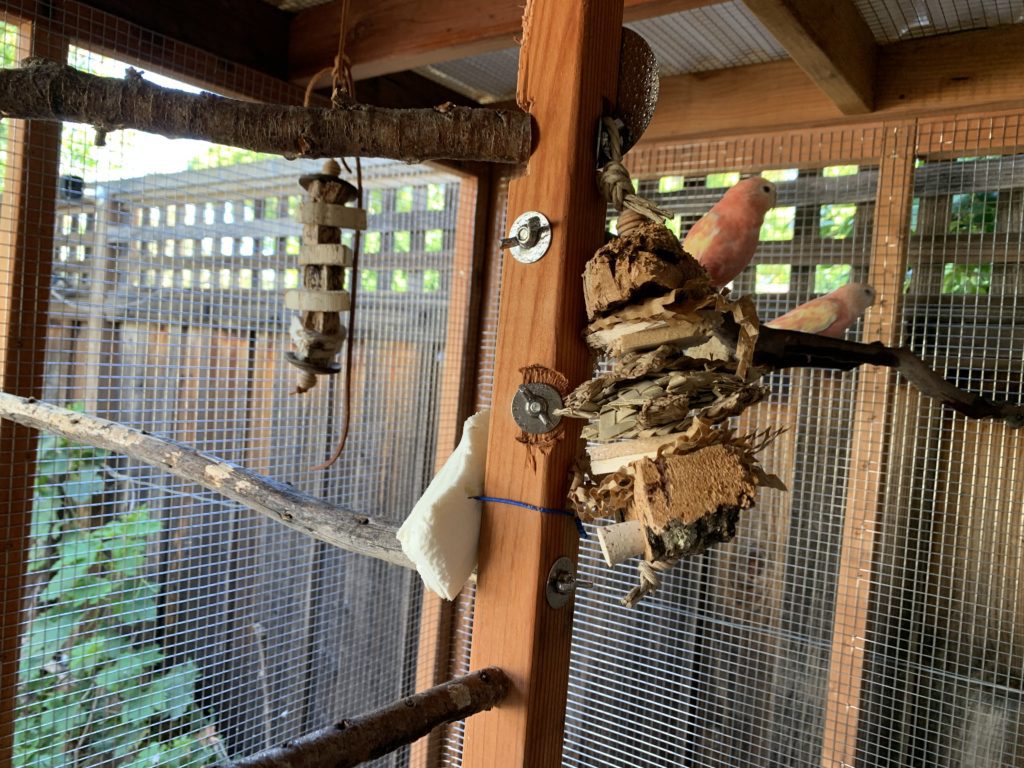
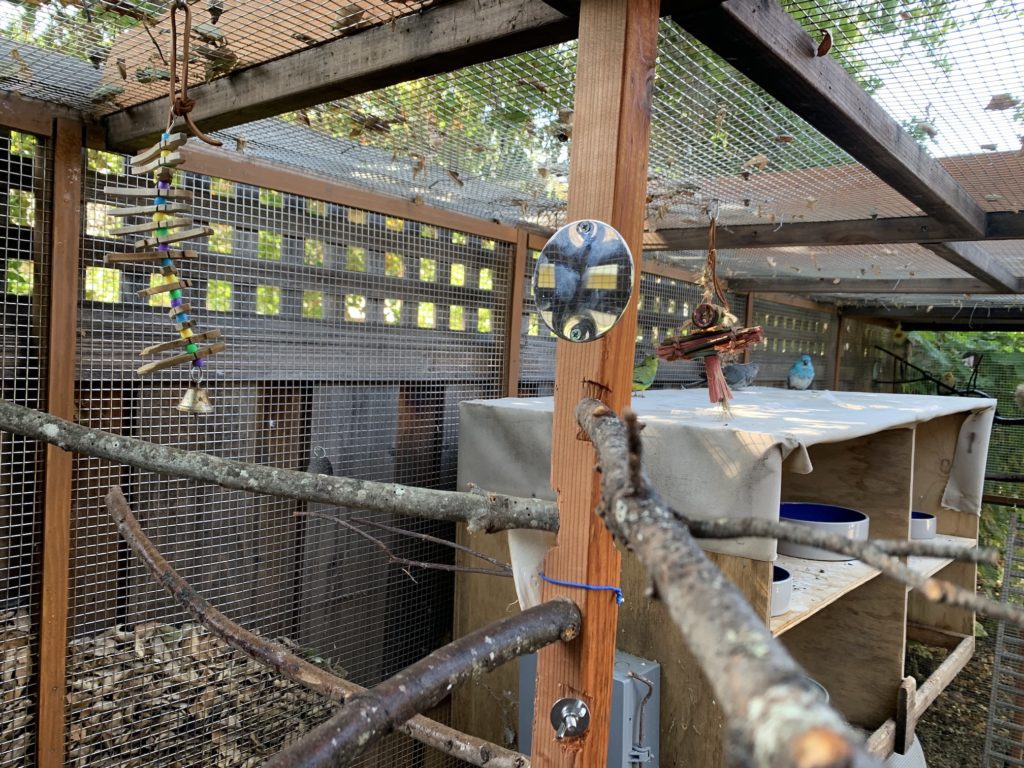
Now I can change out perches whenever I want, and add toys and other doodads. Much more stable than attaching to the wire. The birds love destroying the bark, lichen, and small bits of branches. It’s basically like another toy.
Water and power
I didn’t run water and power to the original aviary as it was an added expense and didn’t seem necessary. However, a lot changed in 2 years that I didn’t anticipate:
- I redesigned the shelter and needed to plug in heaters
- I wanted to run a fan on hot days to keep mosquitoes in check during wet periods
- I got tired of a hose and an extension cord cutting across the yard and poking through the outside wire of the aviary.
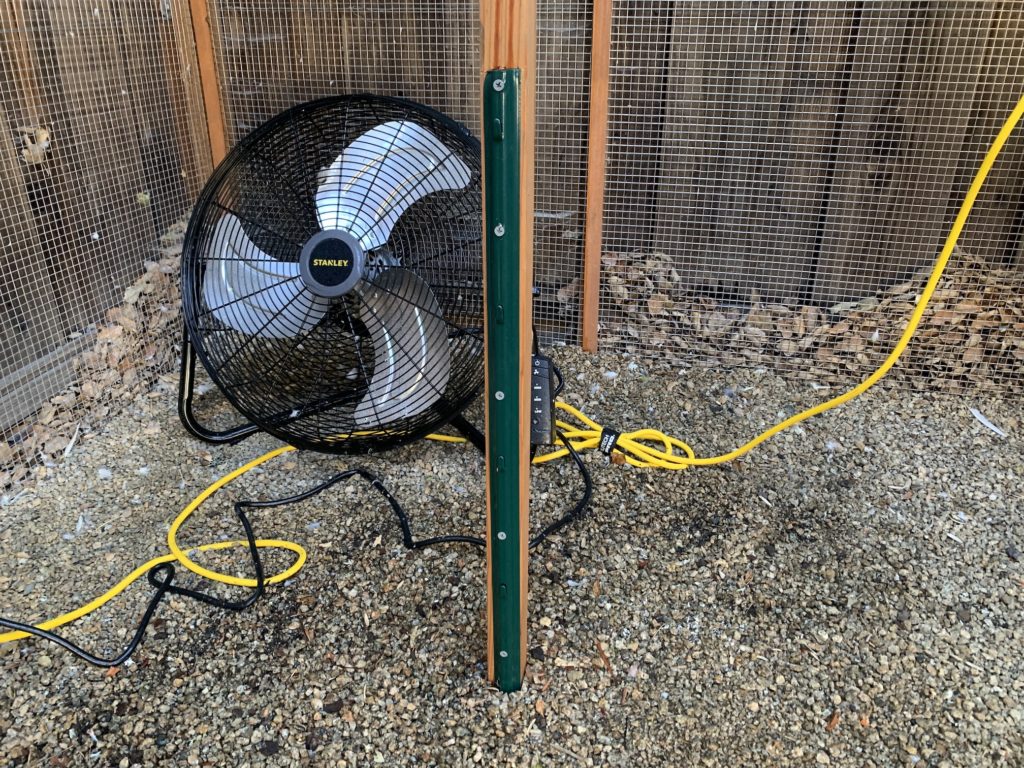
If you’re planning an aviary, you might want to consider having these options available as needs will inevitably arise. Adding them later is more of a hassle and probably more expensive.
Viewing
I didn’t design the original aviary for viewing and spending time with the birds. It seems like such an obvious oversight! This time around, I set things up so I have a chair in the middle where I can see all three perching stations and also peer inside the new shelter.
If you have a comfortable place out of the direct sun where you can sit amongst your birds, you will spend far more time with them, which is a win-win situation. Get a nice comfortable mesh chair that is easy to hose off.
Dirt vs gravel
My first design was for a dirt floor aviary with areas of gravel where I needed to walk and didn’t need to plant anything.
After a few years, I found some downsides to the dirt floor concept.
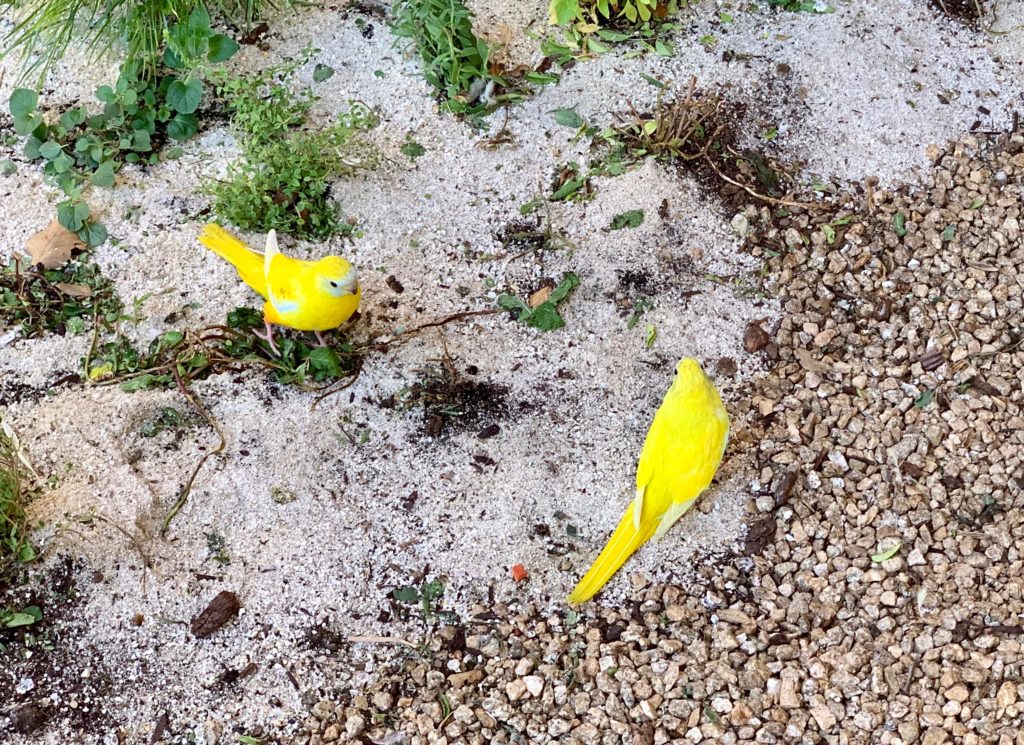
First, the birds would get filthy digging around, and there were many times I thought there was something wrong with them, but it turned out they just had mud on them. It was muddy because of the abundance of plants I was growing for them to eat that needed to be watered.
Second, in high-traffic areas that would get caked in poop, I found it very difficult to disperse the poop with a hose without spraying mud everywhere, including on myself. Some areas, where there was a layer of gravel on top of soil, made it so that I could hose off the poop with less trouble.
I noticed that areas of the aviary with shallow gravel would still get dug up by the birds. However, because the gravel allowed for better drainage, the soil would end up being drier and less likely to get them dirty. So they could still dig without getting muddy.
In the new aviary, I put about 2-3 inches of gravel on top of the soil in most places. This allows the ground birds to be ground birds, allows them to dig in soil that’s generally well-drained, and also allows me to hose off the poop so it doesn’t collect too much on the ground.
In the less trafficked areas, I’ll leave a thinner layer of gravel to allow for more digging. In these areas, I don’t need to hose any poop, so I don’t spray soil everywhere.
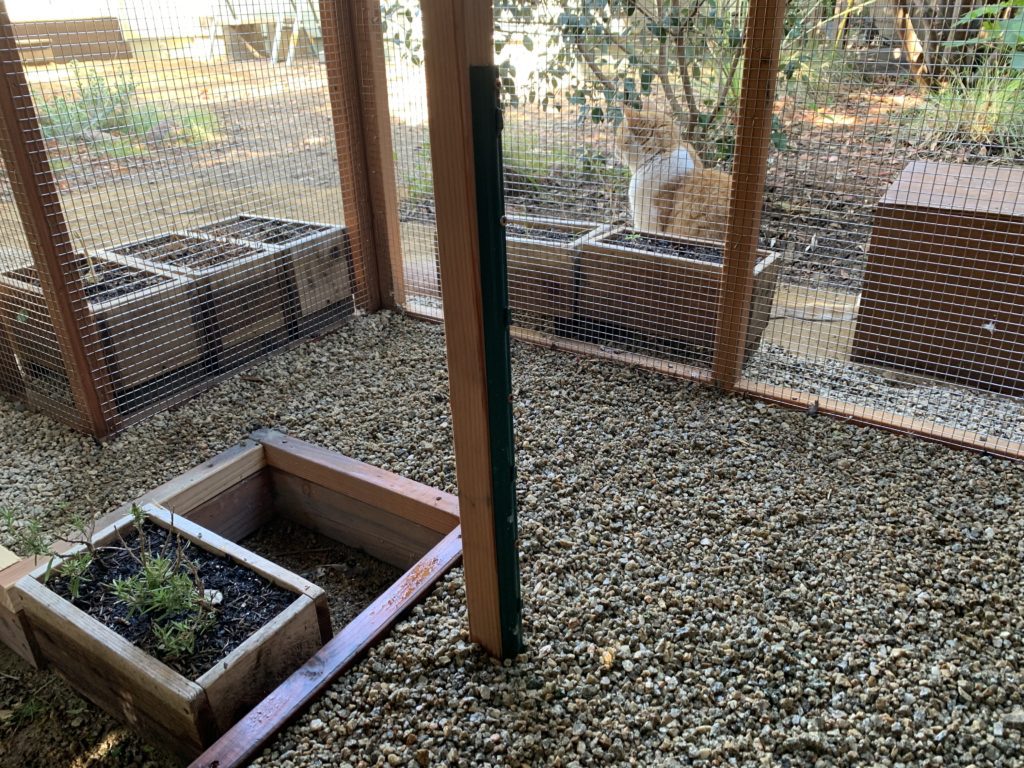
I feel like there’s a better answer, but for now, this seems like a good compromise that allows the birds to be birds and me to be me.
Conclusion
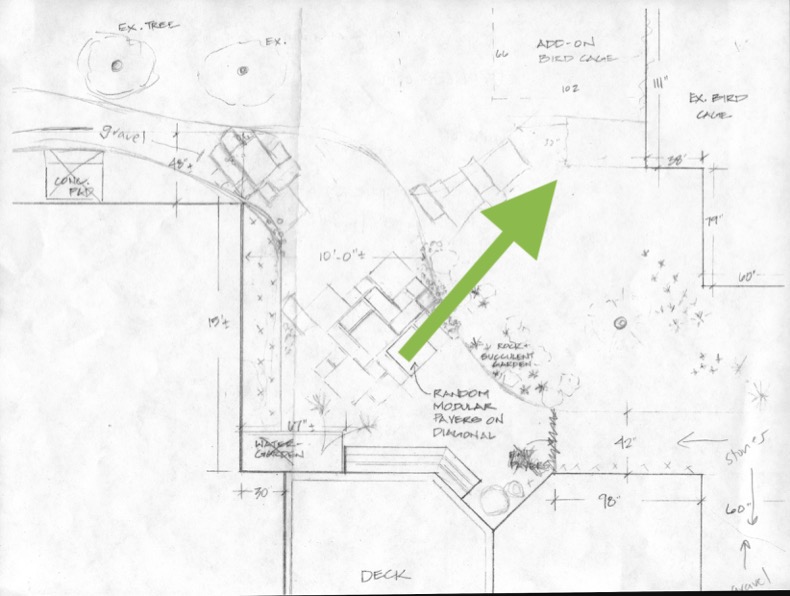
Here’s the only drawing I have showing the dimensions of the combined old and new aviary.
When I designed my original aviary, I did tons of research and tried to design it so that it could be extended to cover potential future needs. It turns out that this is extremely difficult to do! With my re-design, I feel that it’s much more modular, and the stronger structure means I have the ability to leverage the roof for future changes.
Consider this article my contribution to backyard aviary research, as there is is not very much out there for this style of the aviary. You can use many plans, but they typically cover some cookie-cutter structures and don’t go into what goes on inside the aviary. This really important stuff makes it a great place for humans and birds.
Most aviaries are cement floors, typically with a drain, heavy wire and metal piping. For many reasons, this didn’t appeal to me, so I went down a different path. I’m happy with my path, but it’s definitely been a learning experience that has not been without its struggles.
Perhaps in a future article, I will research aviary designs if I can find any compelling research into the topic.
