
Using cameras inside cages
I wrote an article called “Benefits and joys of remote cameras” where I described using a brand of camera called Arlo to observe bird behavior without being present. It’s useful and fun, and sometimes uncovers critical problems.
Inside a cage is a difficult environment to put in a remote camera and get enough coverage, even though the newer Arlo cameras claim a 180 degree view.
Cameras outside a cage are pretty much useless as all you see are the cage bars.
I’ve developed four different methods to attach an Arlo camera inside a cage that I’ll describe here. I’ll mention that I’ve never had problems with any of them, but some theoretically have some risk involved of a camera getting detached.
Strong magnets 101
NOTE: Magnets will NOT work on stainless steel or aluminum cages.
First, a foray into what are called “strong magnets” or “rare earth magnets” — these are no ordinary magnets. You can hurt yourself with them and also damage weaker objects, so be careful and read every bit of the instructions.
The magnets I chose are called Strong Neodymium Disc Magnets that I bought on Amazon (I am not an Amazon affiliate). I chose them because the size and shape worked very well with the Arlo cameras.
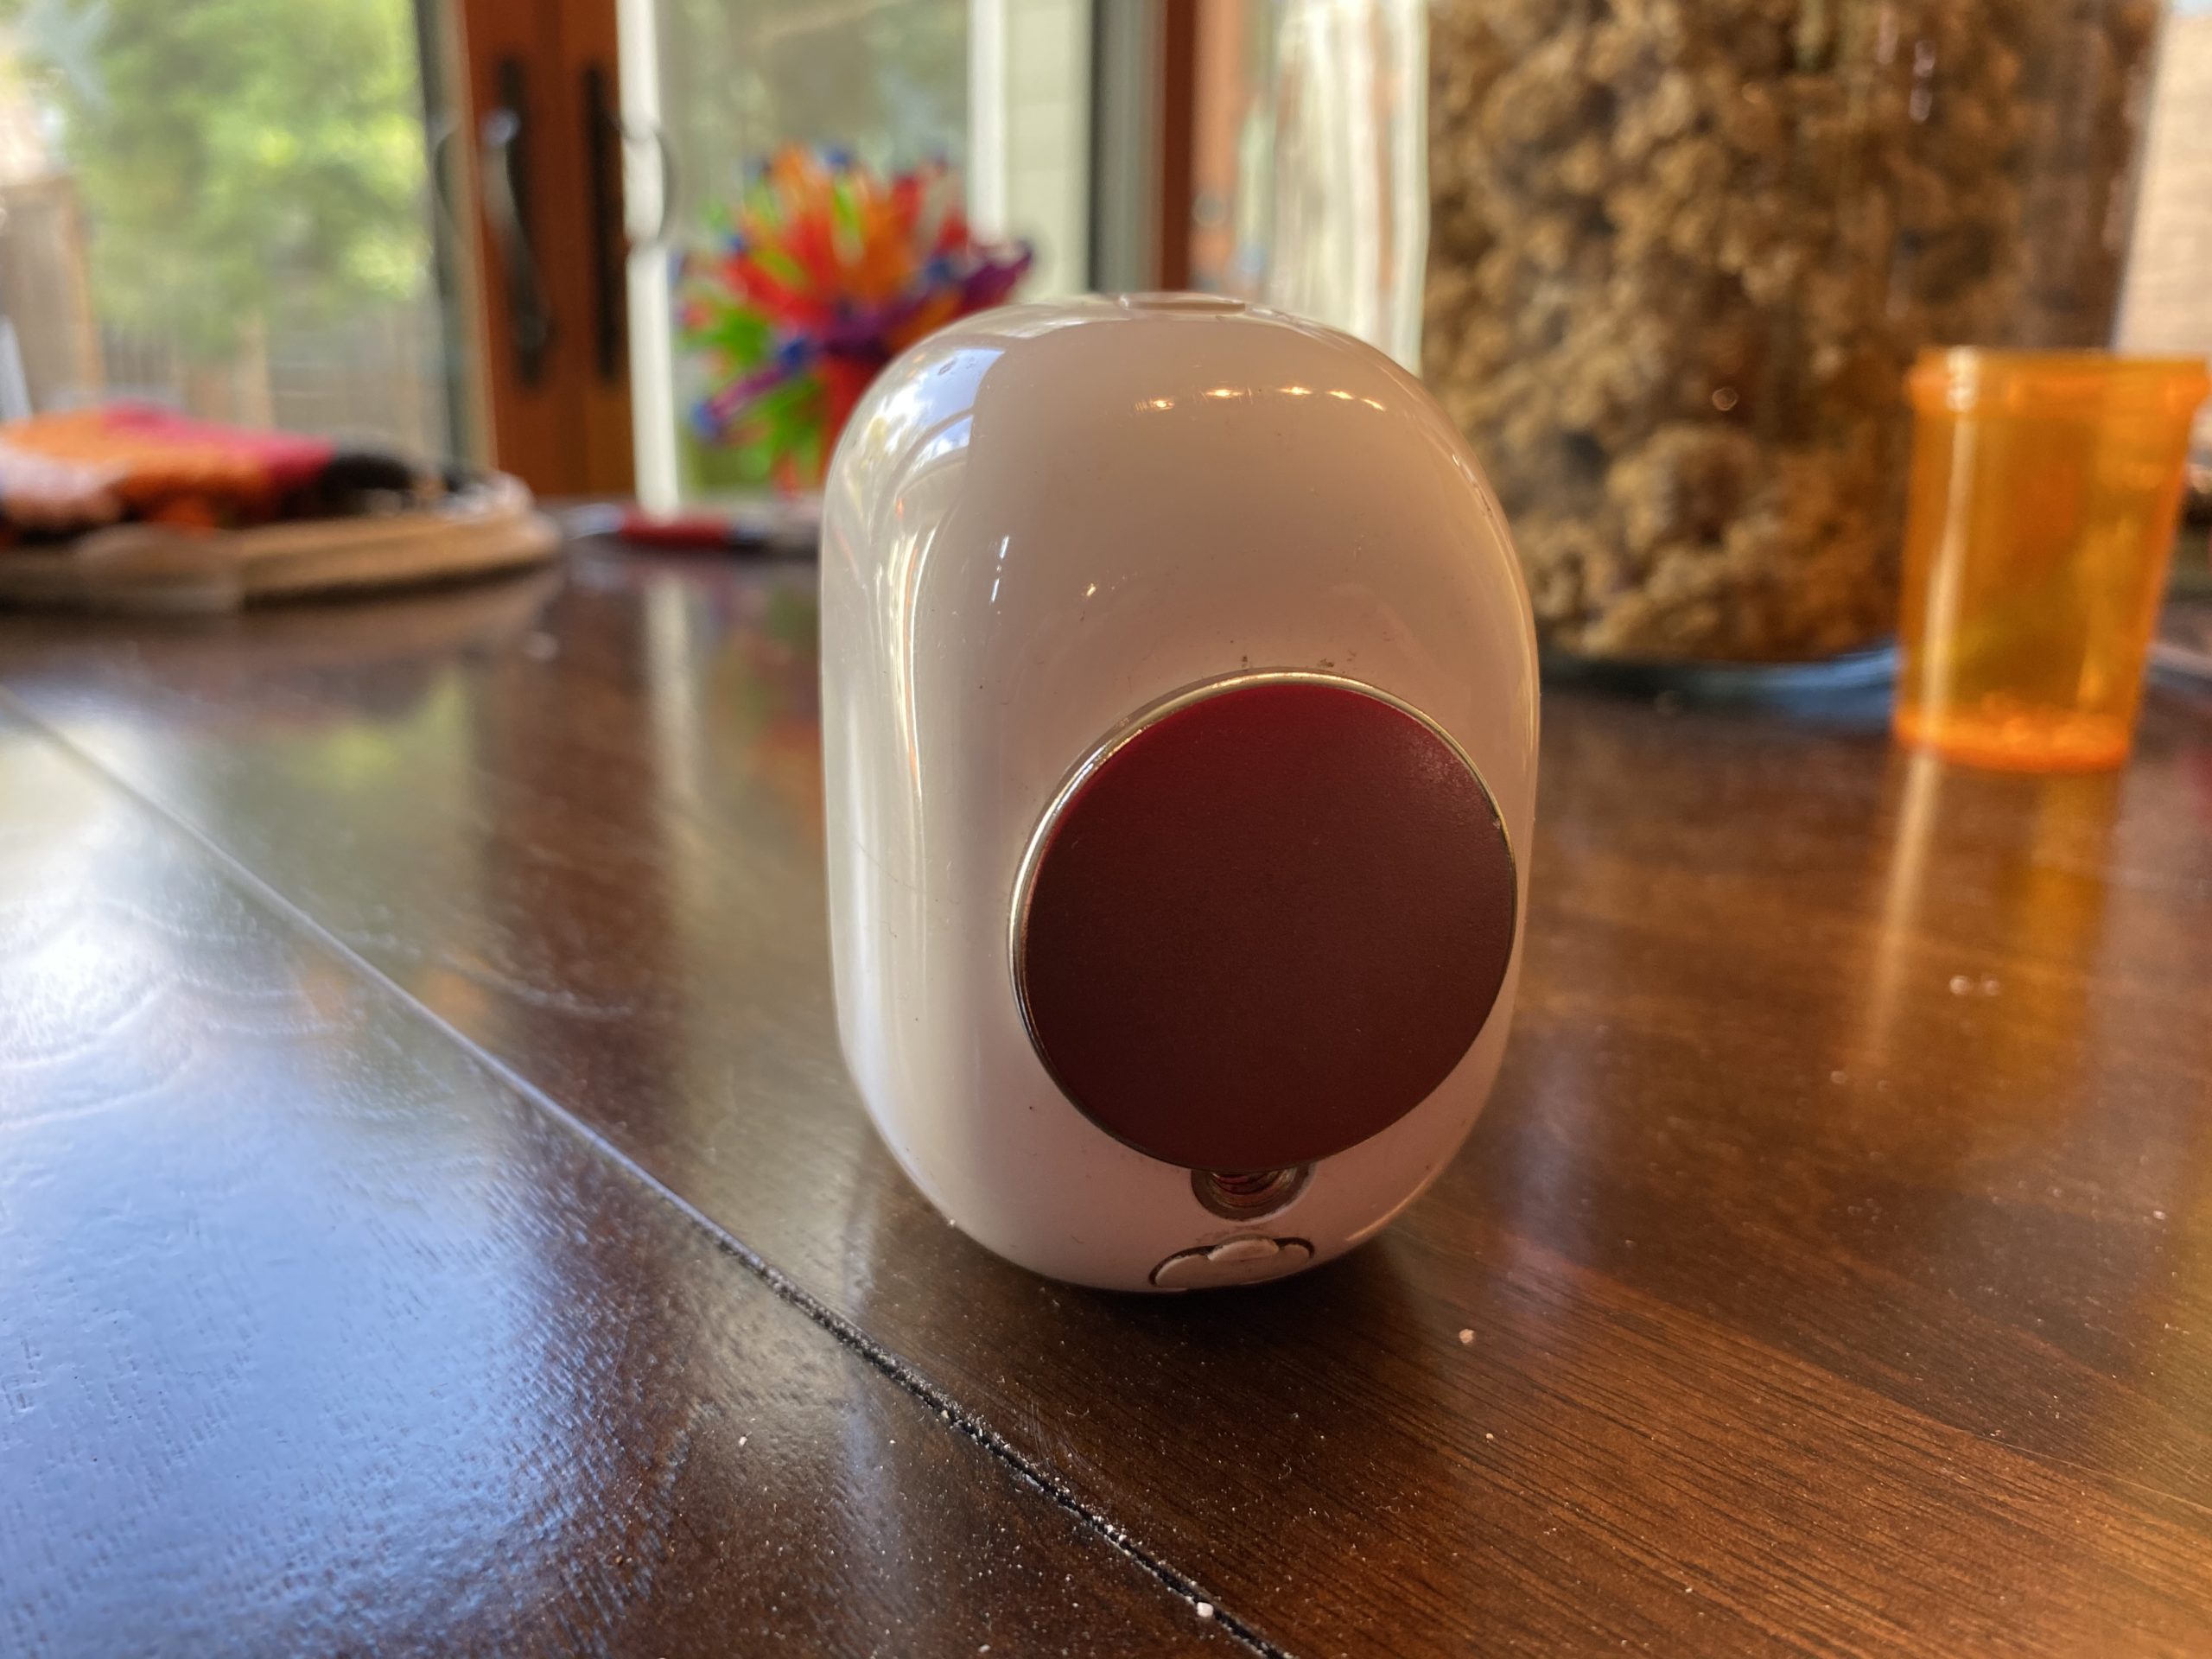
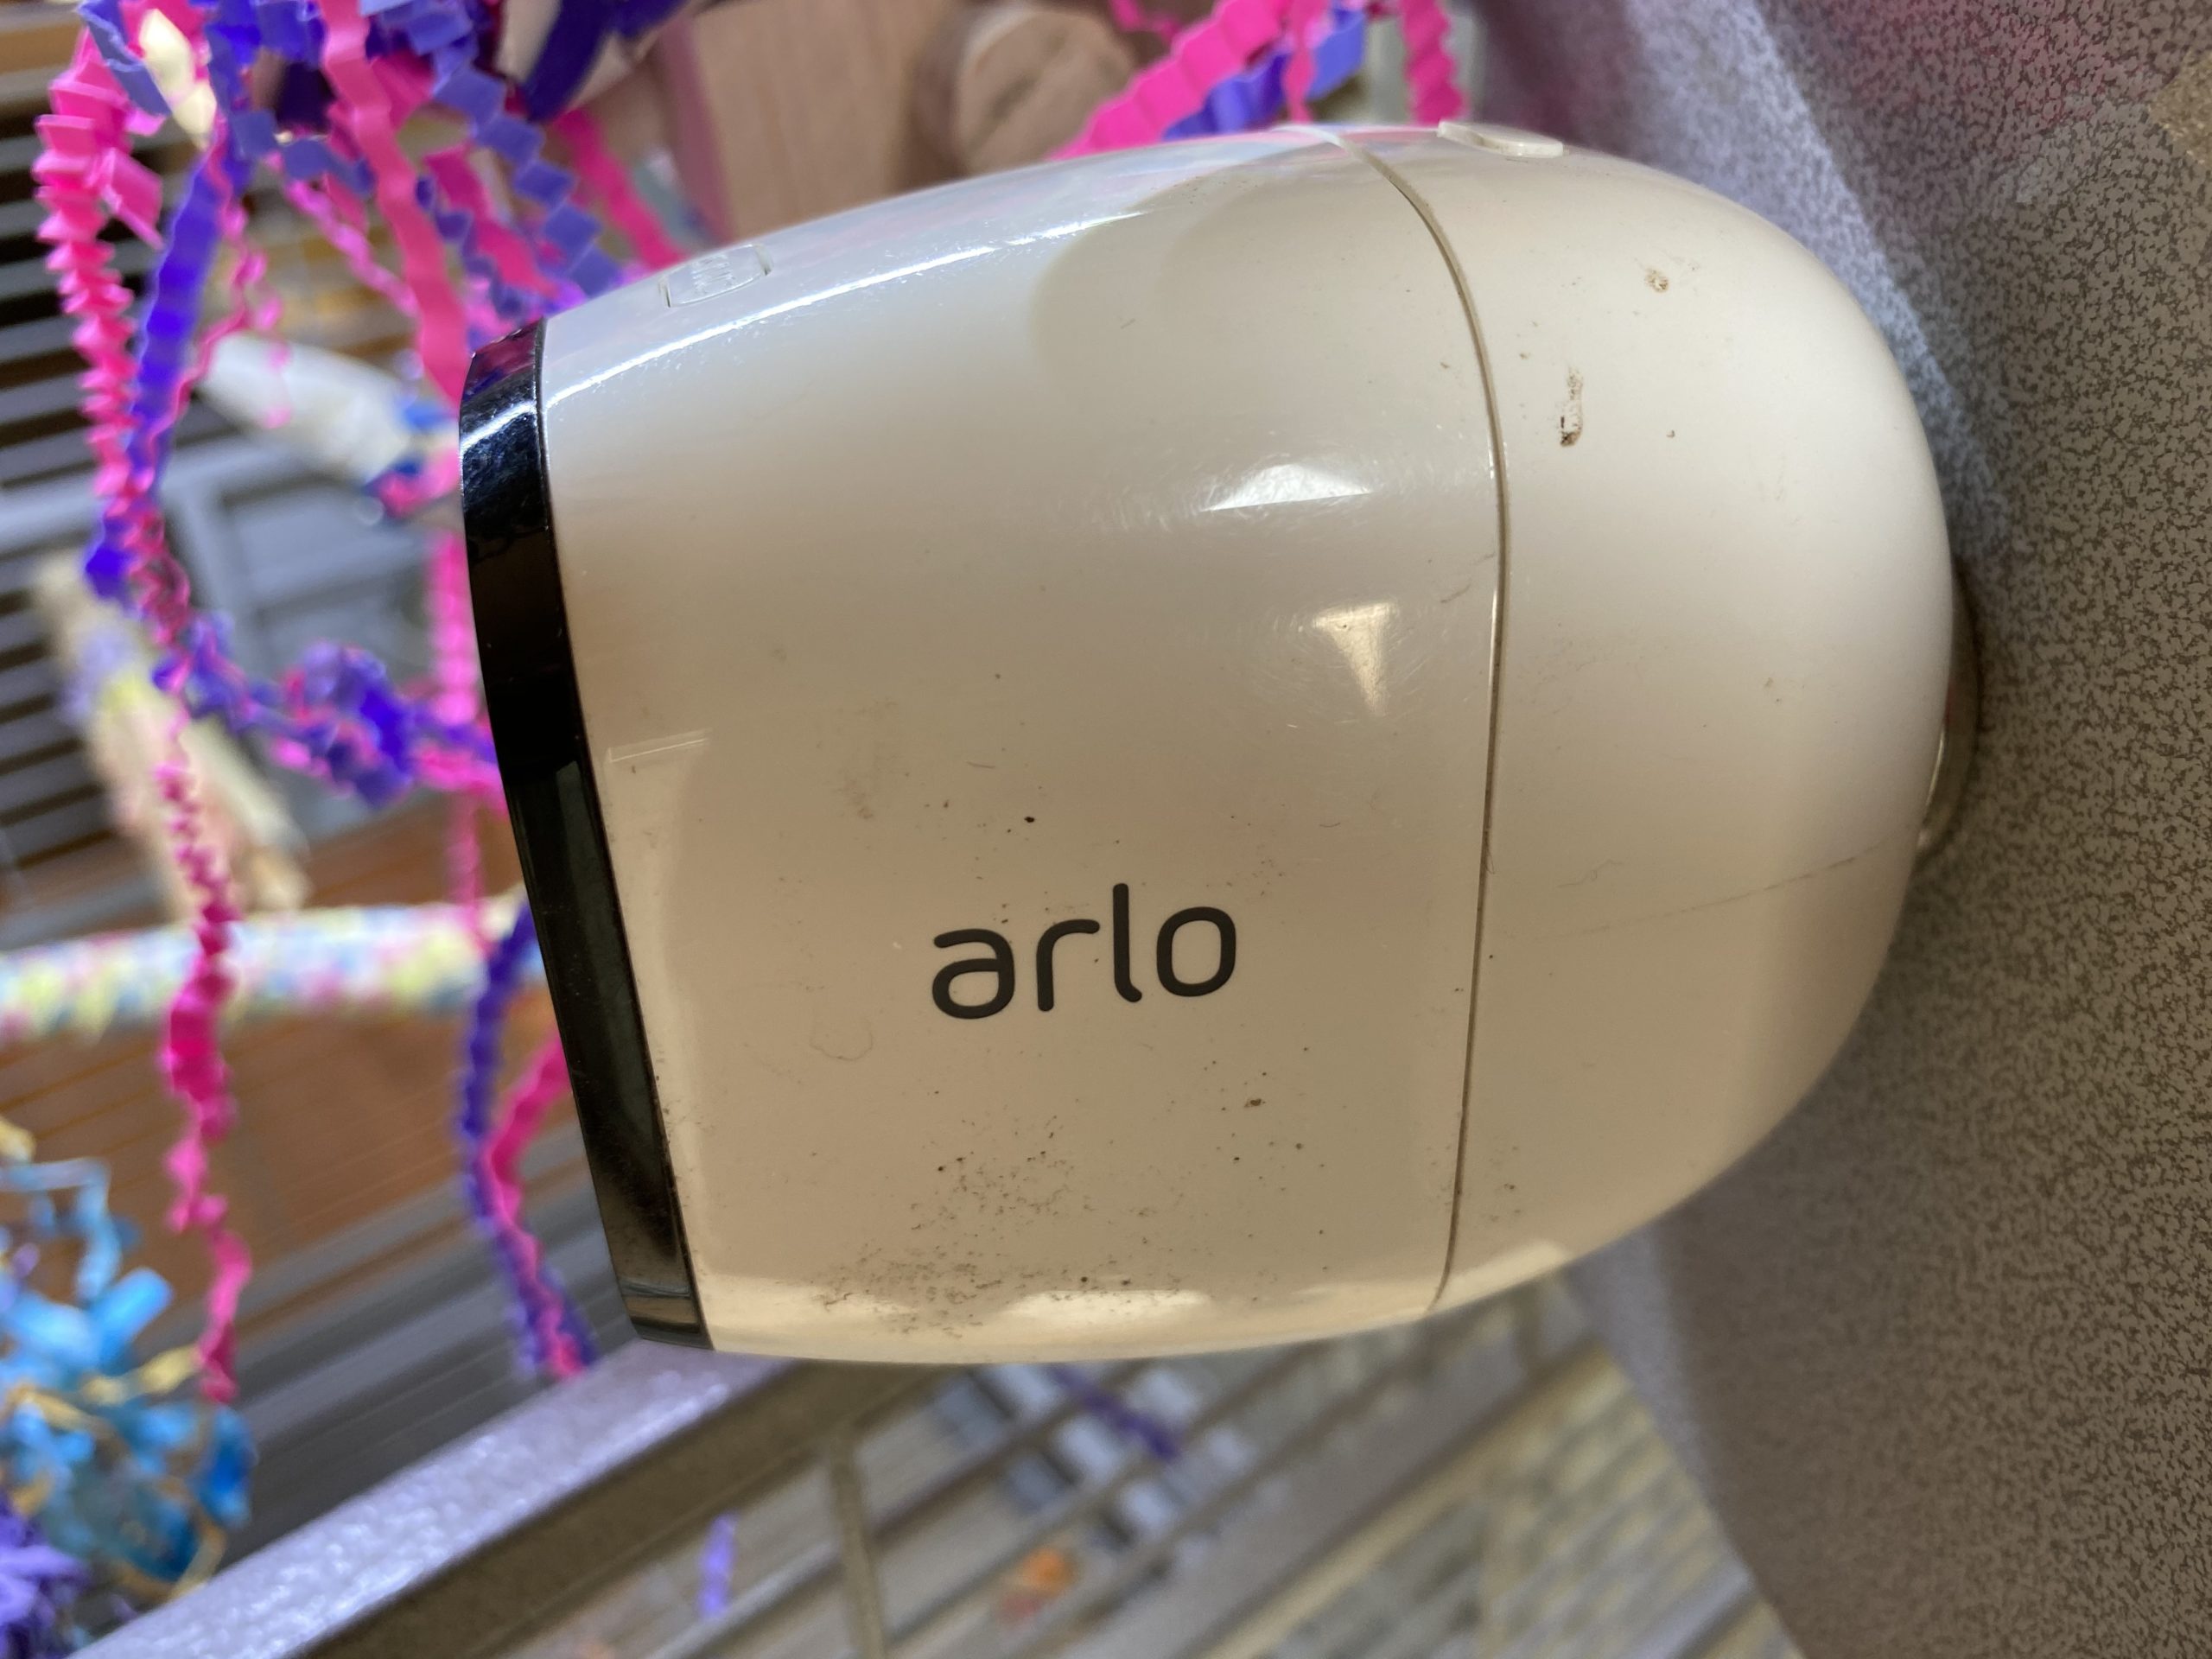
Note that the reason this works at all is that the Arlo camera has a strong magnet in the back and that’s how it sticks to the metal mounting sphere.

Here’s what the camera part looks like. The magnet is in the circular cavity at the back.

Step one is to attach one magnet onto the back on the camera, like this:
Depending on the method, another magnet may be used for extra staying power. Magnets will be employed in Methods #2, #3, and #4
Method #1 – Double-stick tape on flat surface
If you’re fortunate enough to have a cage with a metal surface that’s at least one inch by one inch, you can use double-stick tape to attach the round metal Arlo sphere. Then, simply stick the camera onto the sphere. Then, position it as needed.
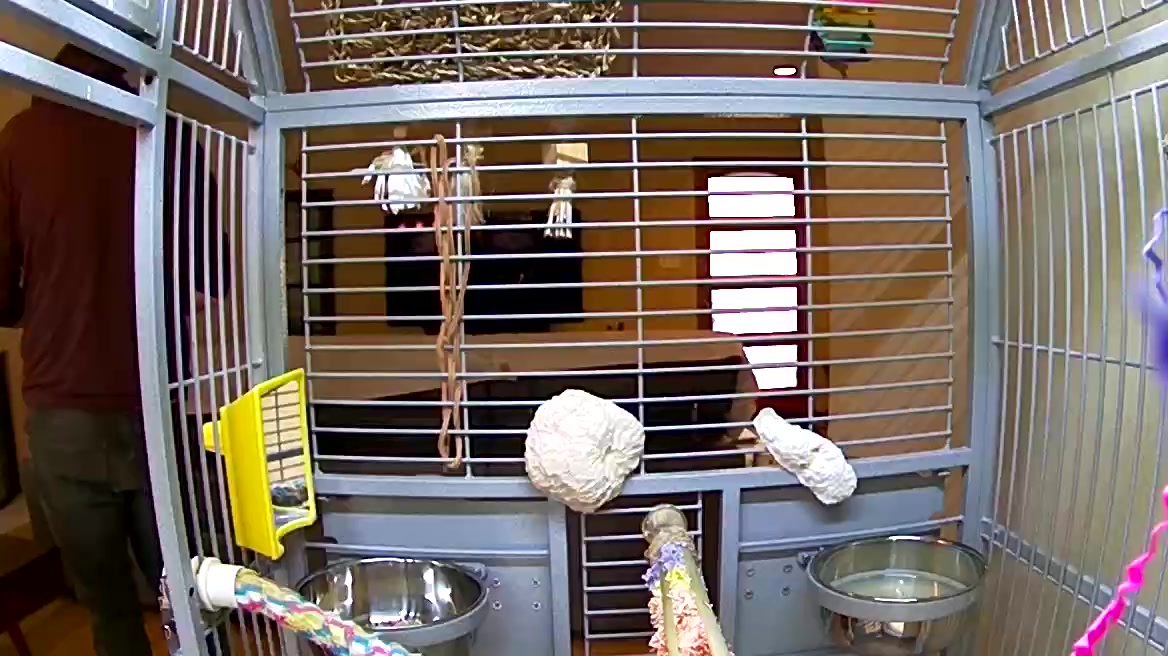
Anytime a camera is in the cage, you’re going to miss whatever is near the camera and only cover part of the cage. In this case, though, I can get a good view of the food and water bowl and some of the perches.
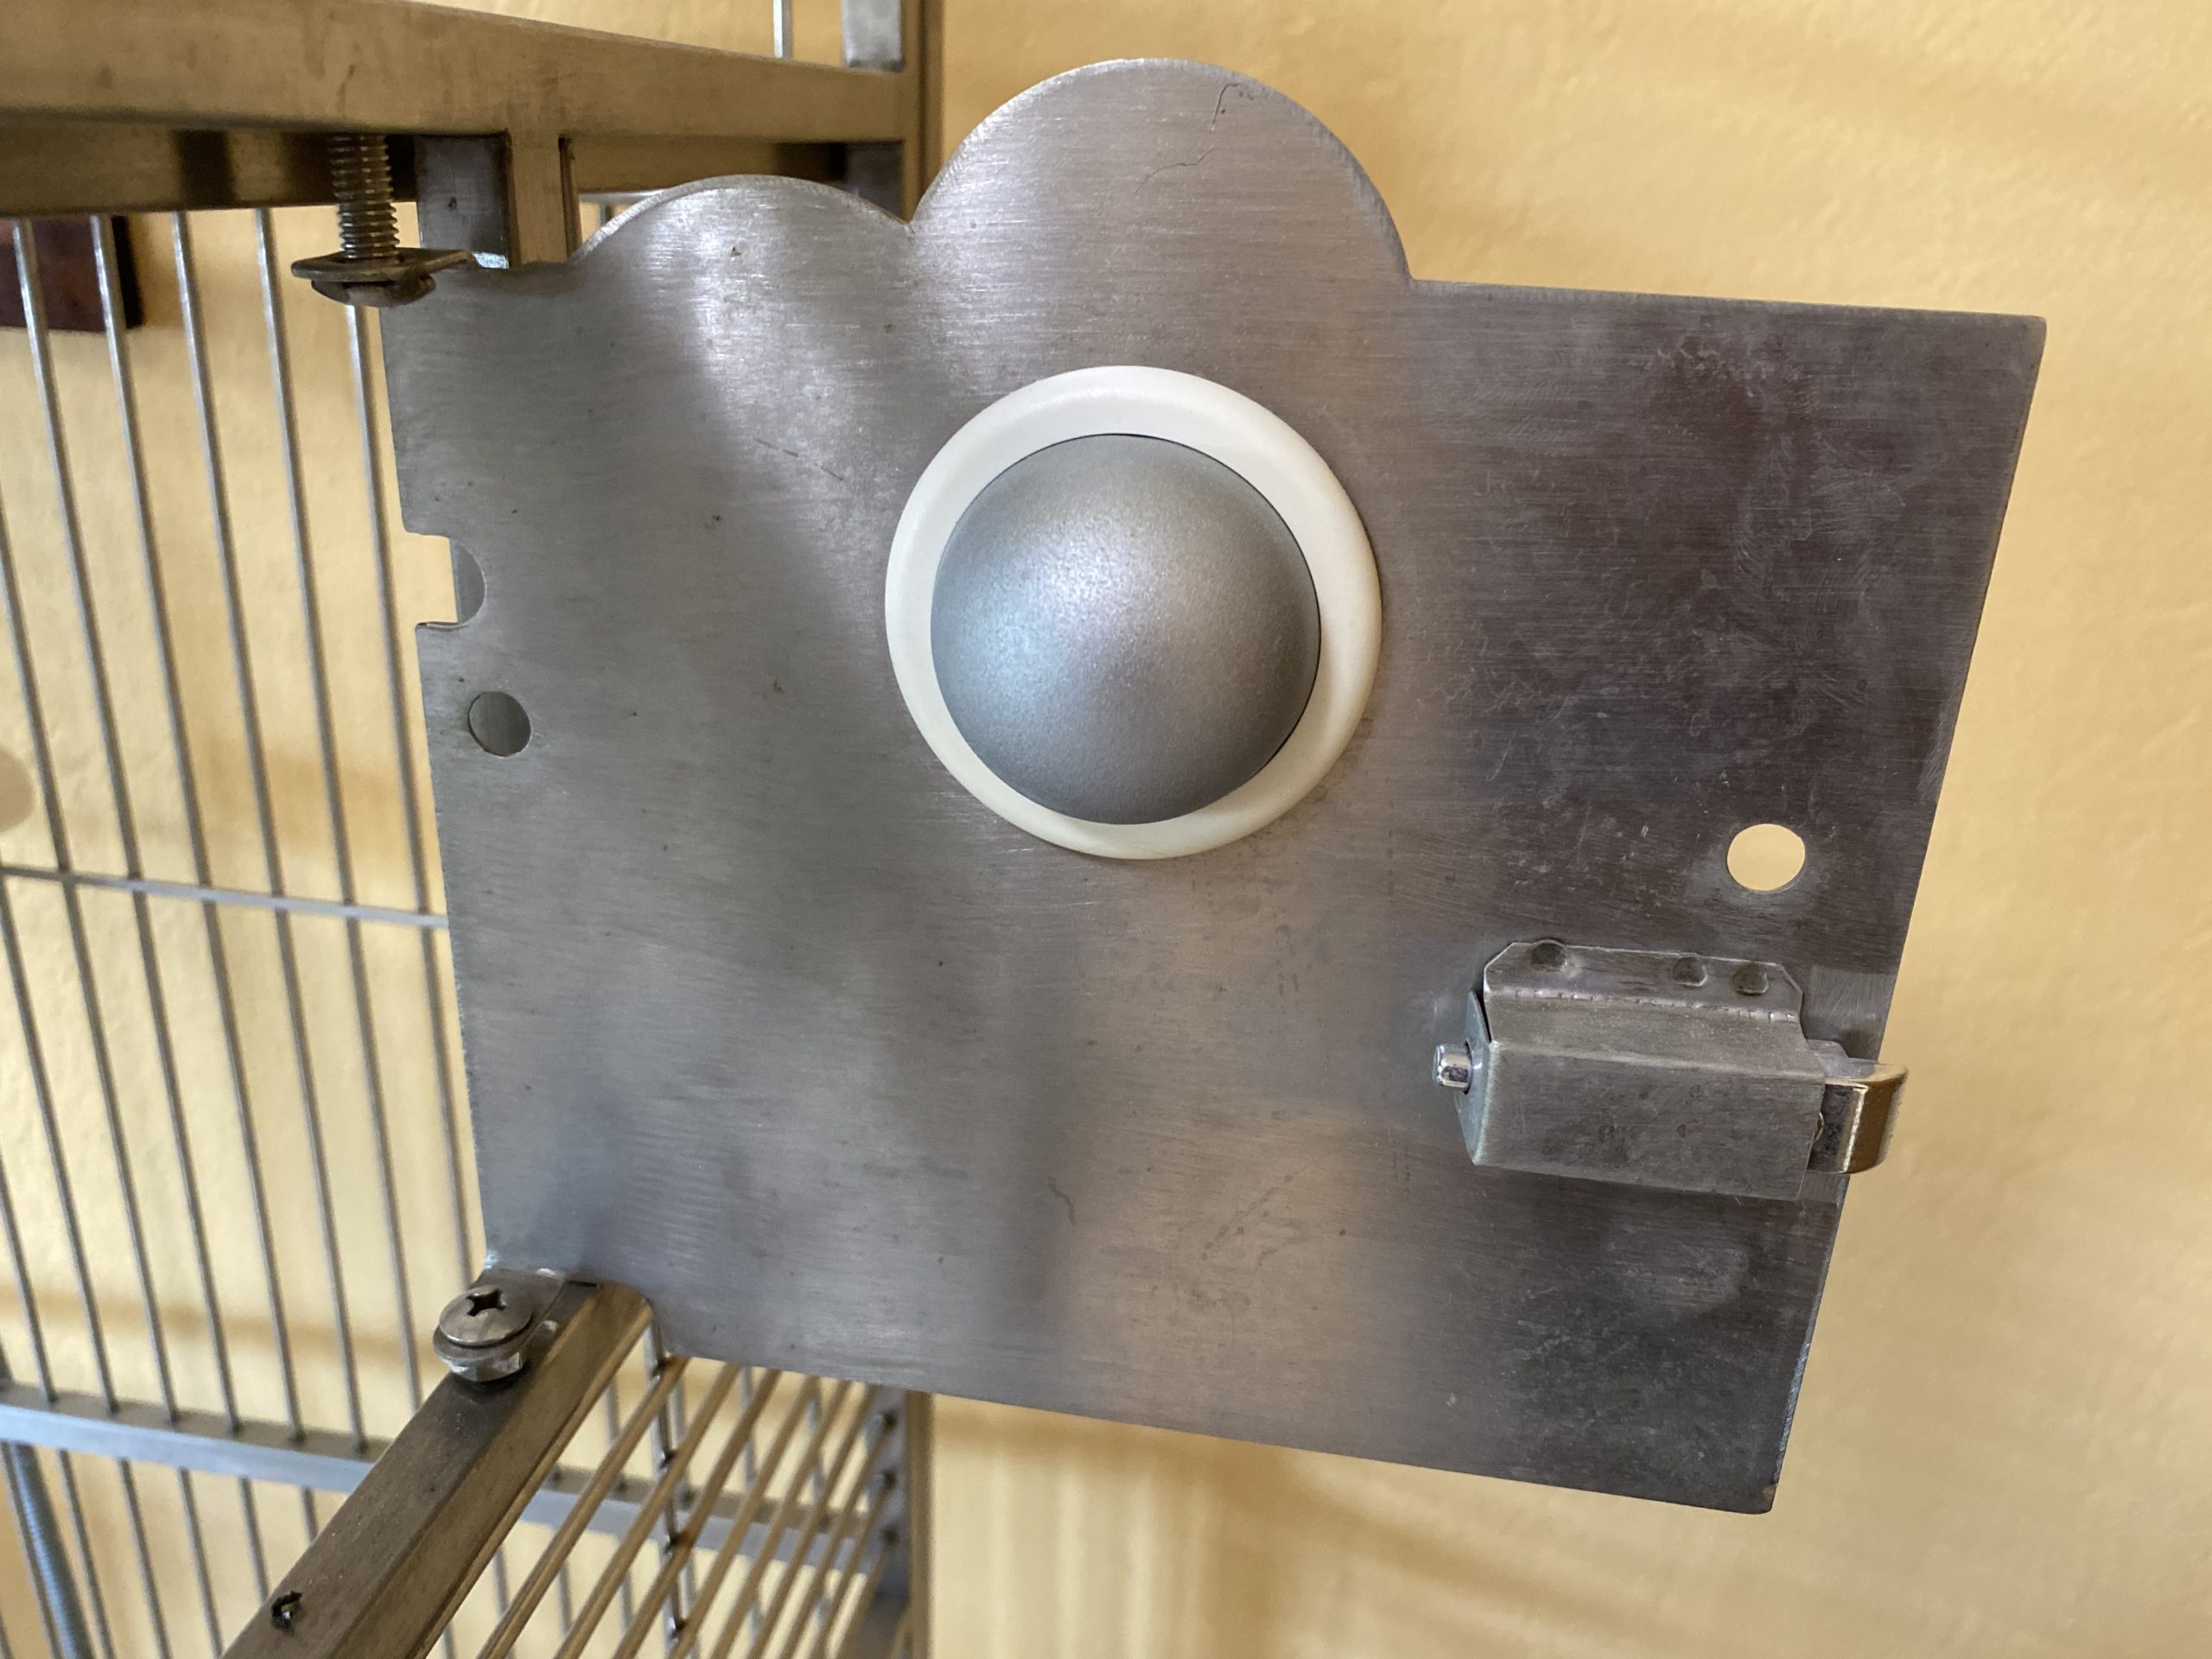
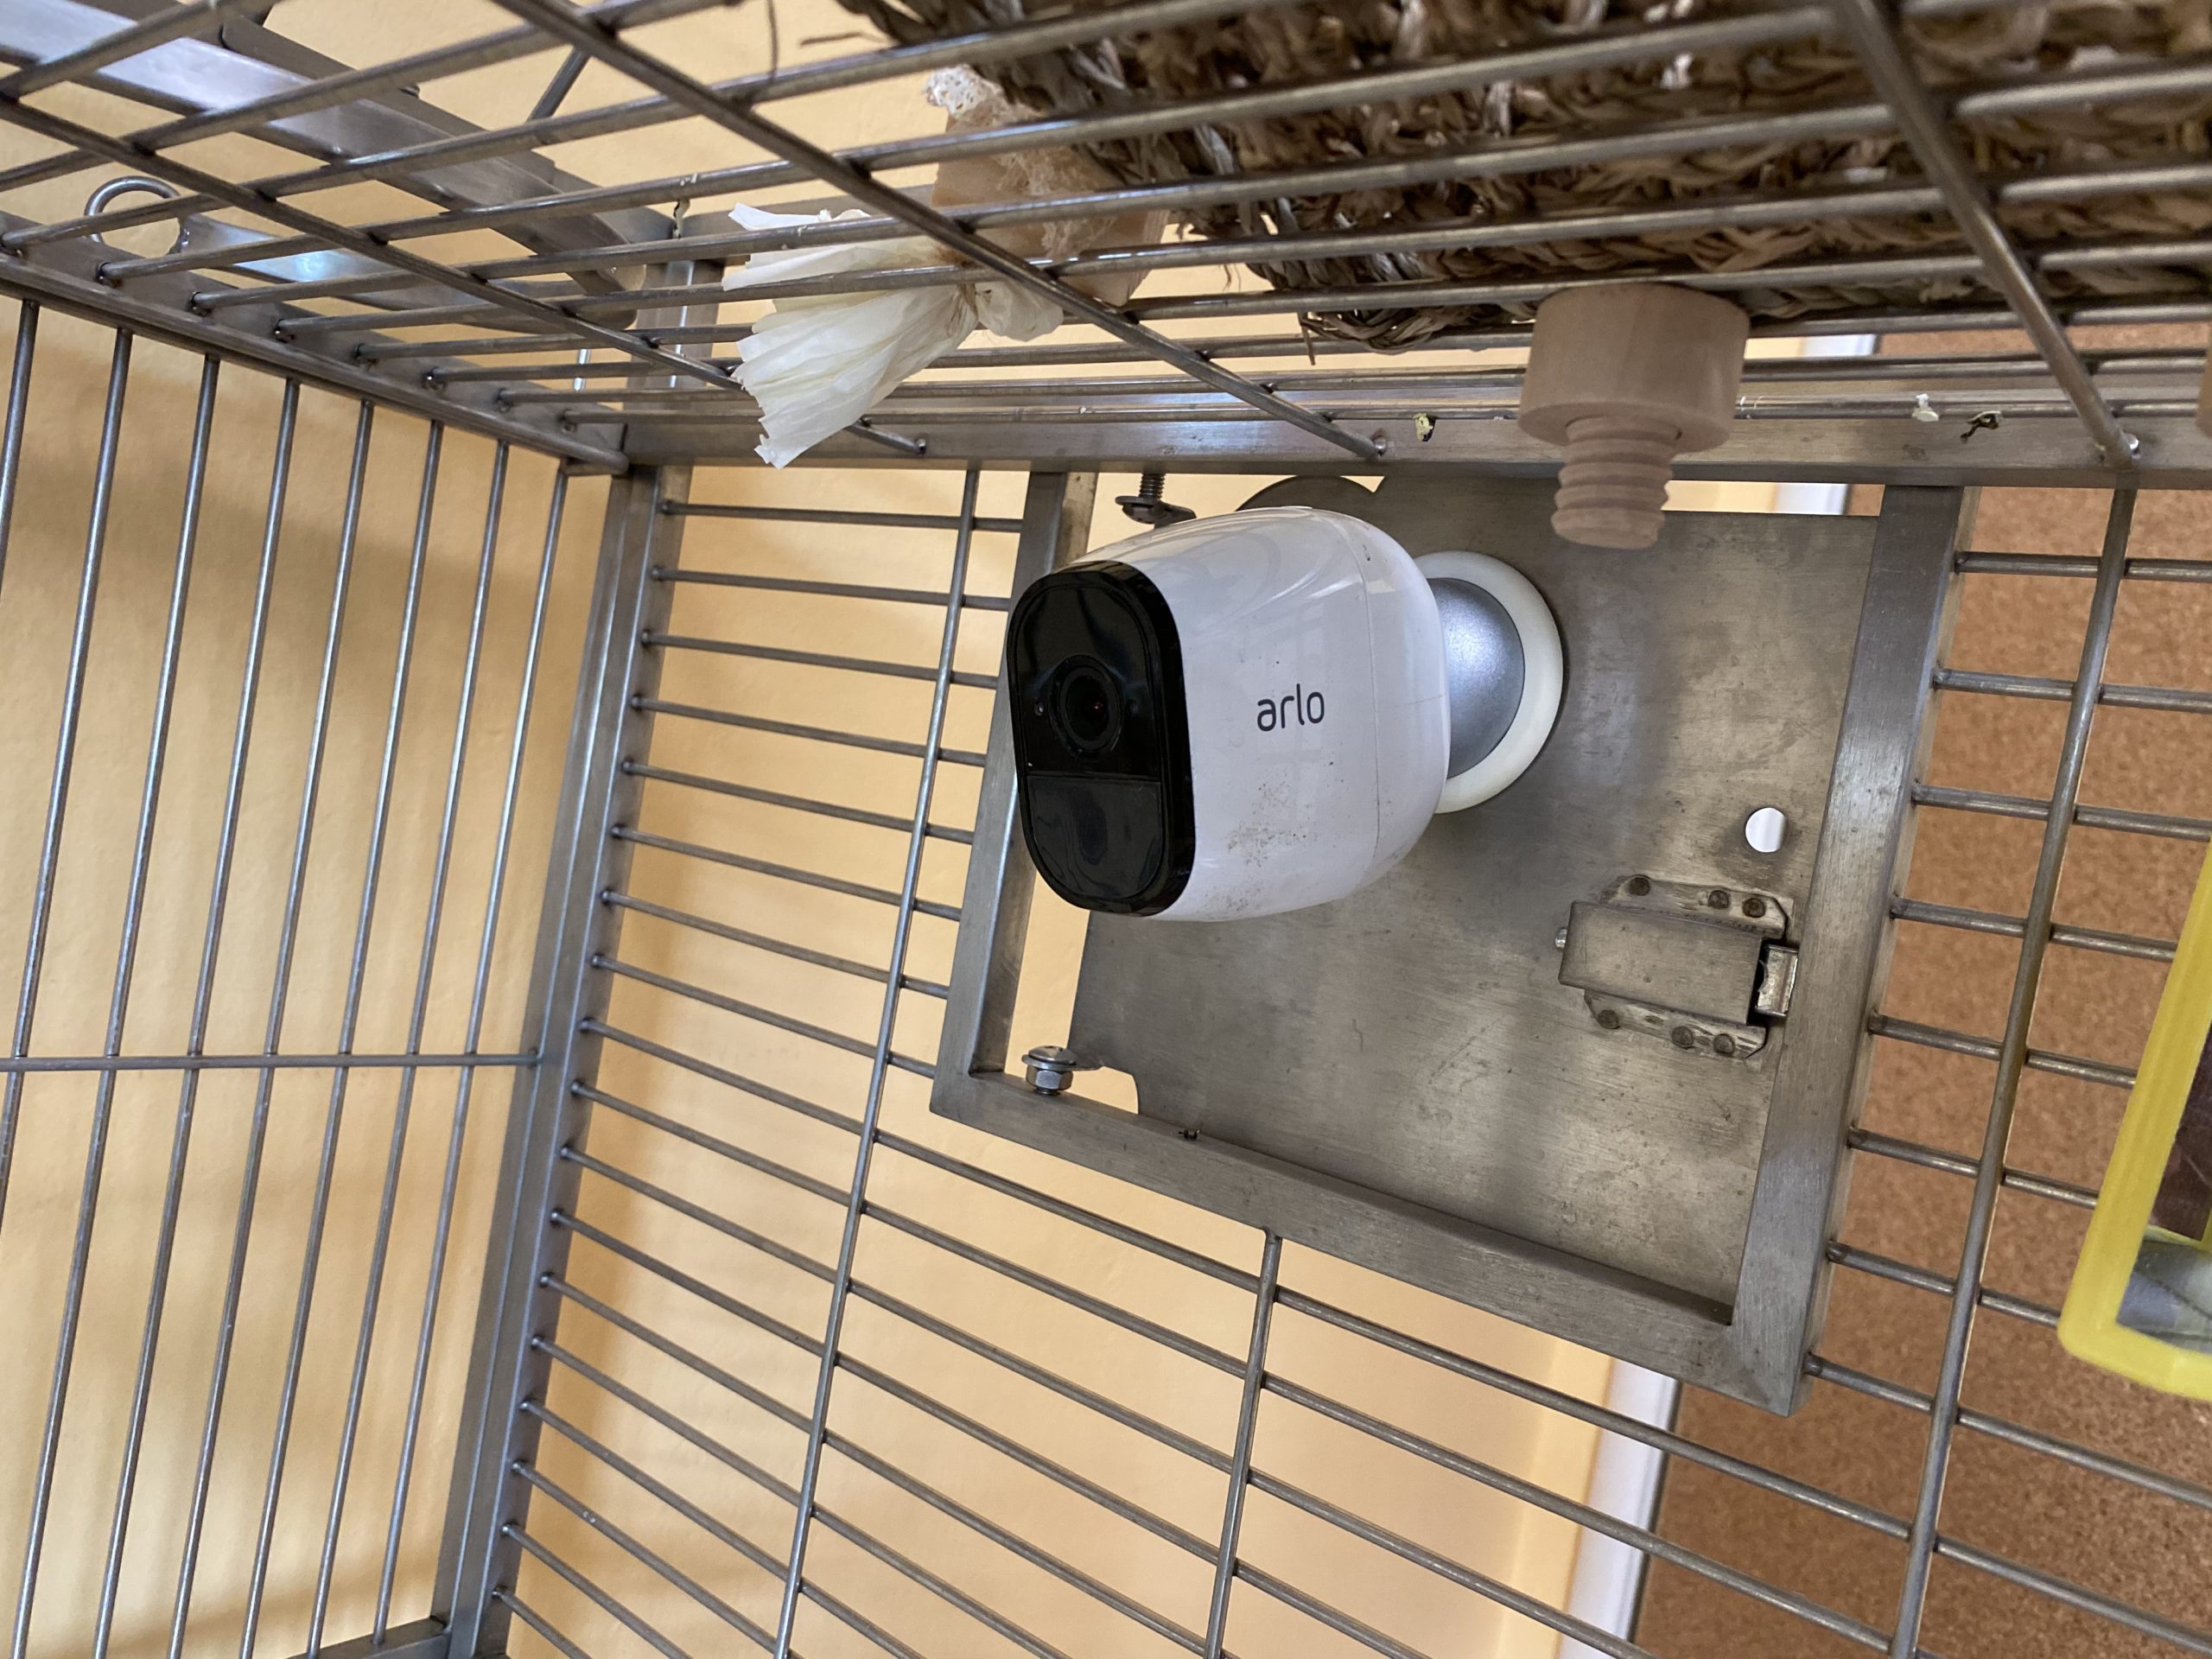
Method #2 – Magnets on flat surface
This is a minor variation on Method #1, except you use magnets. It can work on the cage door like in Method #1, except you don’t need the sphere, just the one single magnet.
A big advantage is you get a better angle of view because the magnet is much thinner than the sphere.
You can also attach the camera using this method to narrower surfaces. Just attach the one magnet to the camera, then attach that to a flat metal surface wide enough to provide stability.
Note in this photo that the two cage wire sections come together at the top of the cage and there is a flat area narrower than the magnet, but wide enough to be stable.
This is my favorite way to mount a camera because, depending on the size of the cage, you can get a nearly full view of the entire cage.

Method #3 – Magnets on top wires of cage
Playtop cages don’t often have that nice flat spot to attach magnets, so you need to use the cage wire.
For this method, you start with the same magnet attached to the camera. Then you place the camera+magnet inside the cage, spaced evenly between two or more of the cage bars.
Then, on the outside of the cage, place another magnet for extra stability.

Just like with Method #2, you can get a great view of most or all of the cage depending on its dimensions. Here is a movie of one of my birds being filmed using a camera mounted on the top of the cage.
Method #4 – Magnets on side wires of cage above cross-piece
This one is the trickiest. It’s the same as Method #3 except using the cage bars on the side of the cage instead of the top.
The trick here is to attach the camera so it rests on top of a horizontal cross piece, not just a horizontal cage bar. Even though the magnets are strong, the camera may be prone to slide down over time depending on the type of coating on the cage bars.
Here’s what it looks like.

Conclusion
Just like with my other article on Arlo cameras mentioned at the very beginning, this is a great way to learn about the behavior of your birds, identify problems, and have some fun.
Is your bird eating and drinking? Are they lethargic? Is fighting going on? Any number of questions can be answered as birds often behave differently when we are not around.